
Today we bring a tutorial which is as cute as a button, you are going to melt like an ice cream when you see the pictures. We now spend all day sighing every time we see our paper clips and little buttons in these animal topped jars.
We had already seen them in different places, and we were dying to try and make them. We had even found some shops selling them at incredibly high prices. So we have decided to go for it and we have made them.
We have relied on Nuria and her spray paints (it is something great to have a graffiti artist in our team!).
DIY: Animal topped jars
Materials we are going to use:
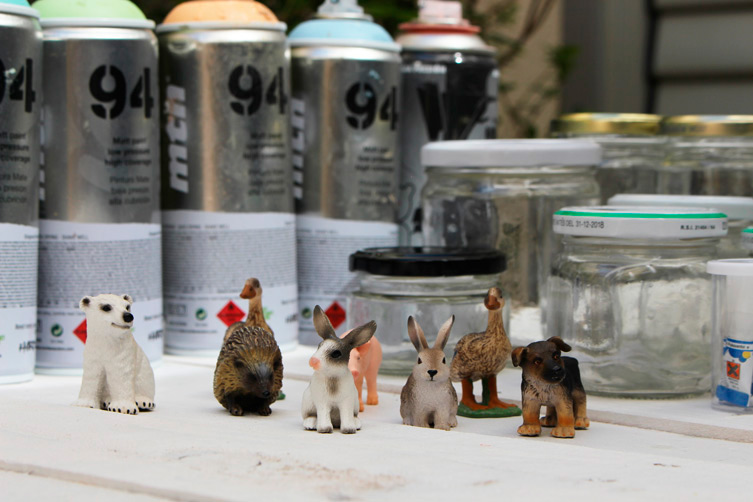
We will need:
- Spray paint. Since we have a cool graffiti artist in our team, we will use Montana 94, but you don’t need it to be of such good quality.
- Medium size glass jars.
- Toy animals, you can find at any toy store. Or robots or Smurfs … whatever you feel like.
- Extra strong glue or hot glue.
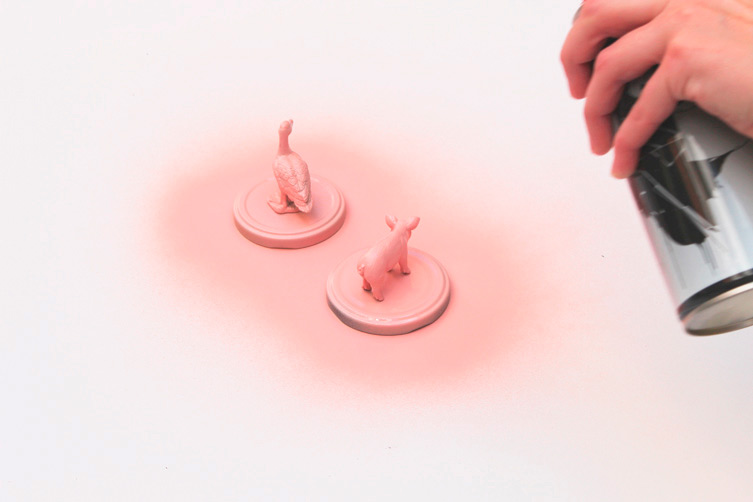
Once we have all these things (the most difficult part is deciding which toy to use ;)), we get down to work. It is actually very easy. We begin by covering the surface on which we will work with a large piece of paper or cardboard, otherwise you would end up having a very colourful table after the process .. and that is not cool. Then the nice part begins: applying the spray paint! We will start with the bottom part since once it is glued to the lid it will not be very accessible. We will start by painting the ‘bum’ and belly of our toy animals:
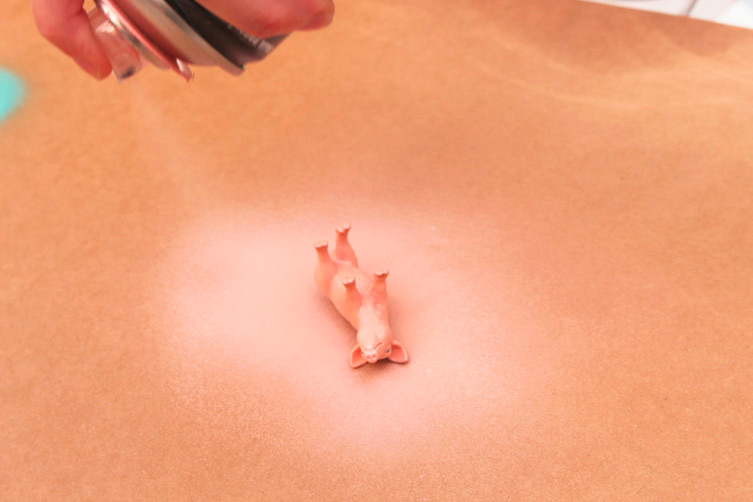
Once the spray paint has been applied we wait until is completely dry. It won´t take long, this paint dries very quickly.
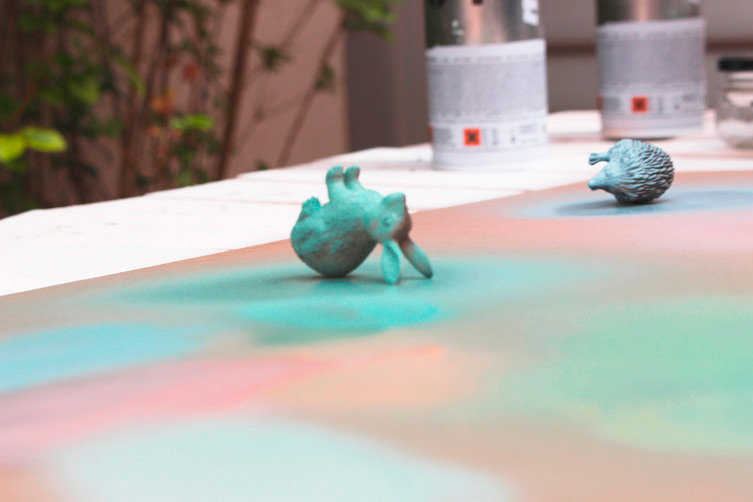
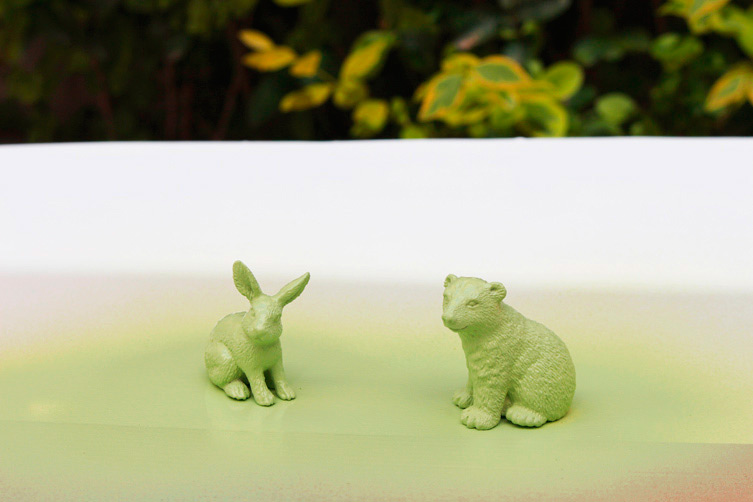
Next, we will apply a first general paint layer on the entire surface of the toys and let it dry again:
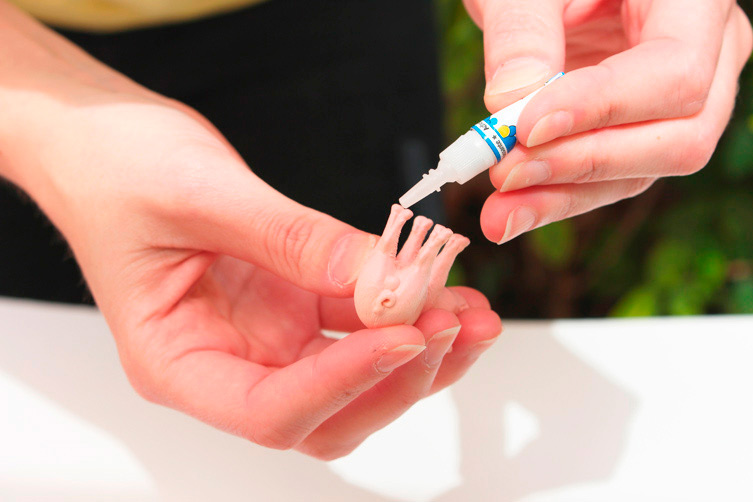
When they are completely dry, we will glue them one at a time to the lids. To do this, we will apply the glue very, very carefully. Specially when – as in the case of this small toy pig – the animal is standing, having a very small surface to be glued.
Once the glue has been applied we put each toy animal on its lid, we will do it quickly but carefully to have them perfectly centered …
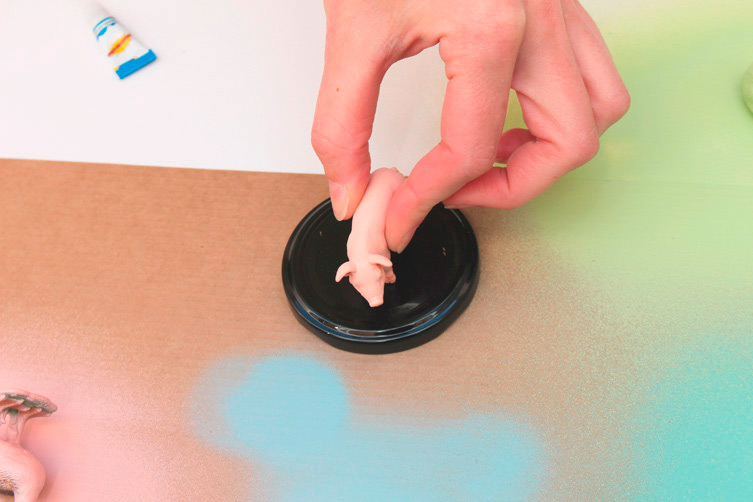
… and we let them dry.
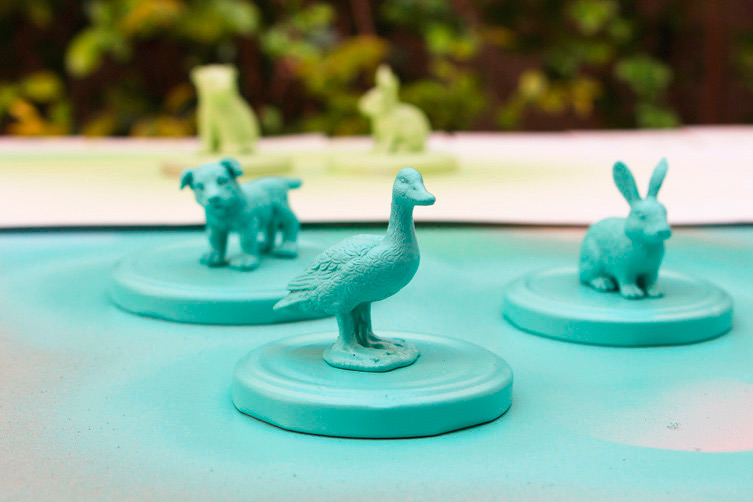
Once they are ‘together forever’ and nothing in this world can separate them, we paint everything: animal and lid.
Surely you will need to apply several layers of paint, especially on the sides of the lids. Above all, let it dry completely between applications to clearly see the surfaces that need improvement.
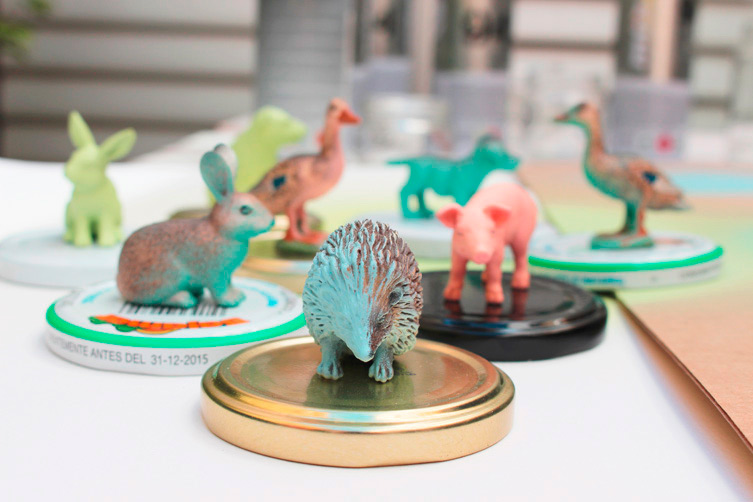
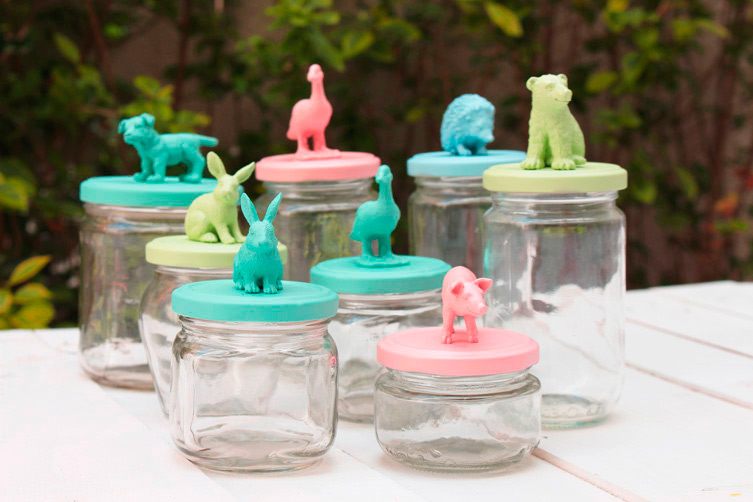
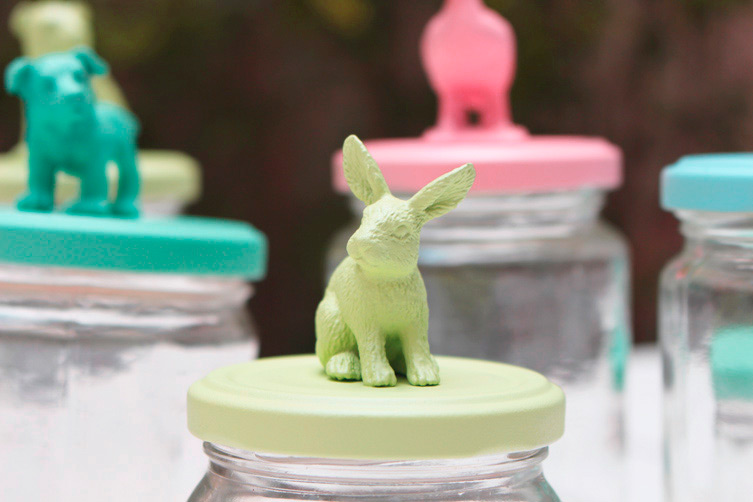
Once it is completely dry, the lids well painted with no gaps… we will have finished our beautiful animal topped jars! They are marvelous and very useful to keep our small stationery things which are always strewn in our drawers. We could not thing of anything better and they look this good:
Quick and easy, isn´t it? Won’t you try it?
Pingback: Beautiful DIY Spring Decorations - Live Better Lifestyle - TipoHealth