
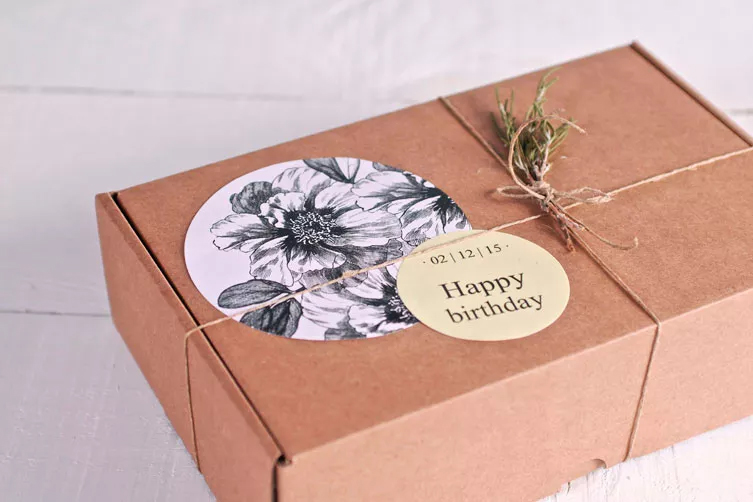
Today we are bringing you a DIY tutorial of how to design your own stickers at SelfPackaging, what do you think? It’s been a while since we started this section and we wanted to show you step by step how to make stickers that are original, beautiful and personal to you, because yes, we are that nice and you are to and you deserve it. What do you think of these examples of what you can make?
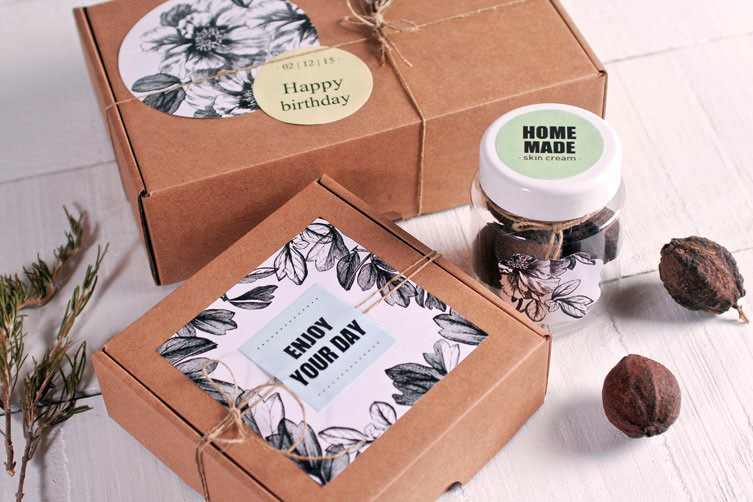
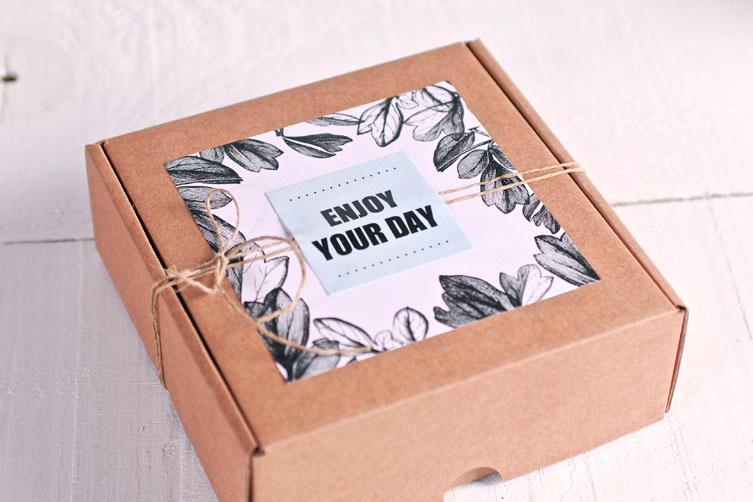
Well let’s get going, step by step, how to design your own beautiful stickers. Let’s start with this combination of stickers:
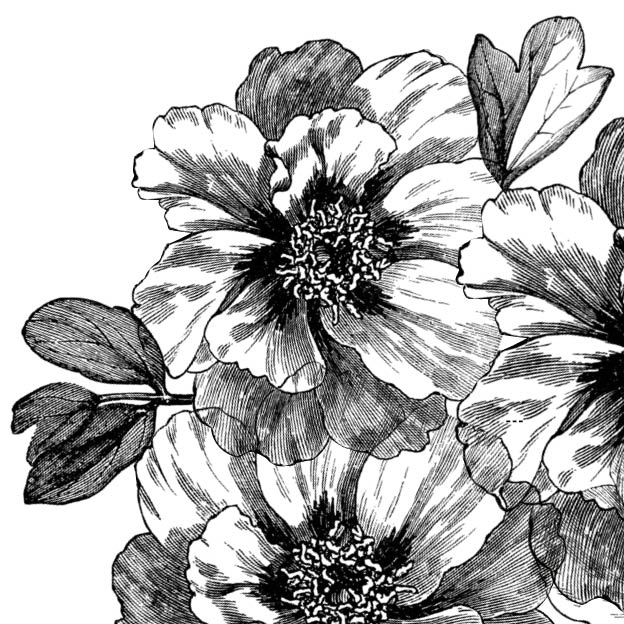
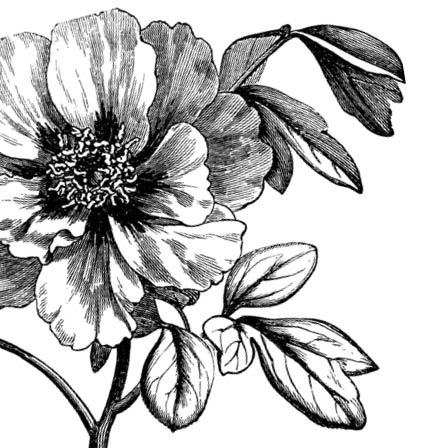
Firstly, we will do the background sticker with the floral pattern. To do this, save this image on your computer:
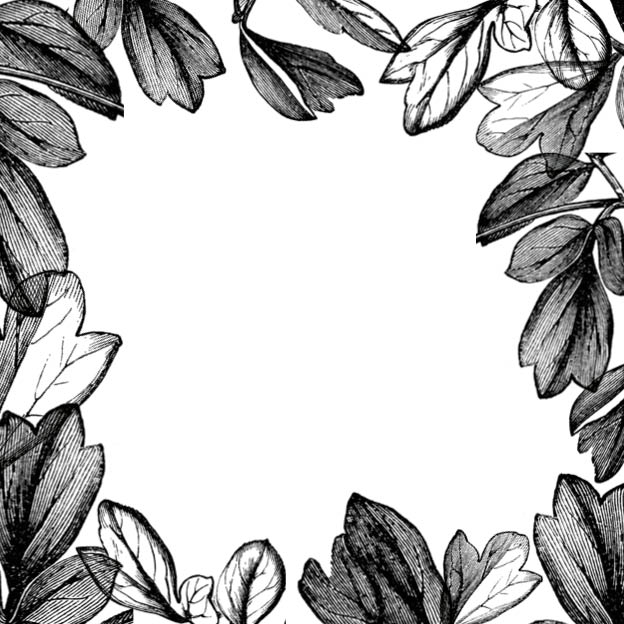
Once you have it, upload it as a file on our square custom sticker measuring 10.5 x 10.5 cm, which corresponds with our sticker in Large. You will find it HERE. This part is very simple, you only need to select the option ‘upload photo’ on the lay out of the sticker in question:
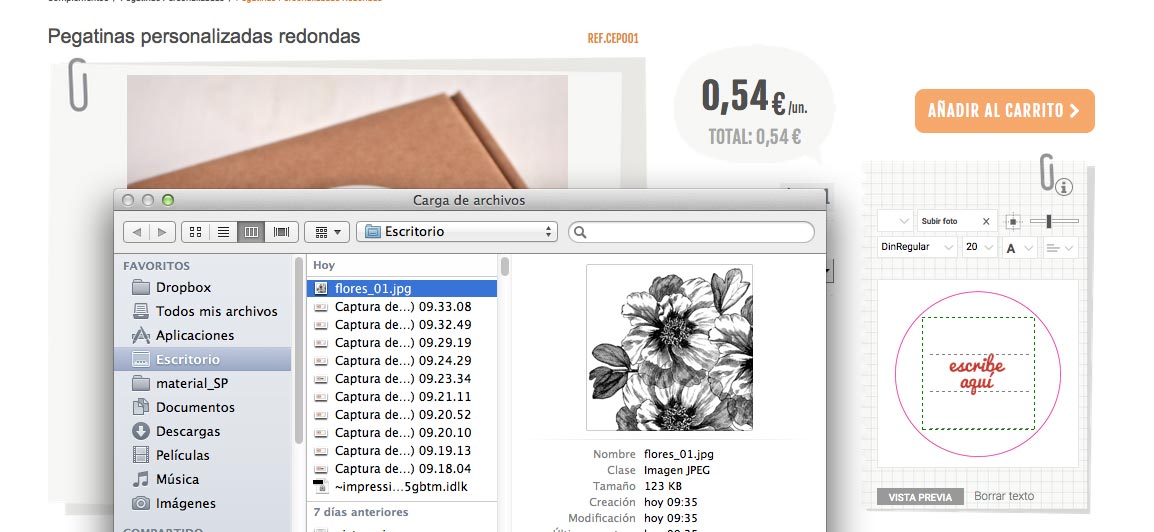
And select the flower image you have just saved.
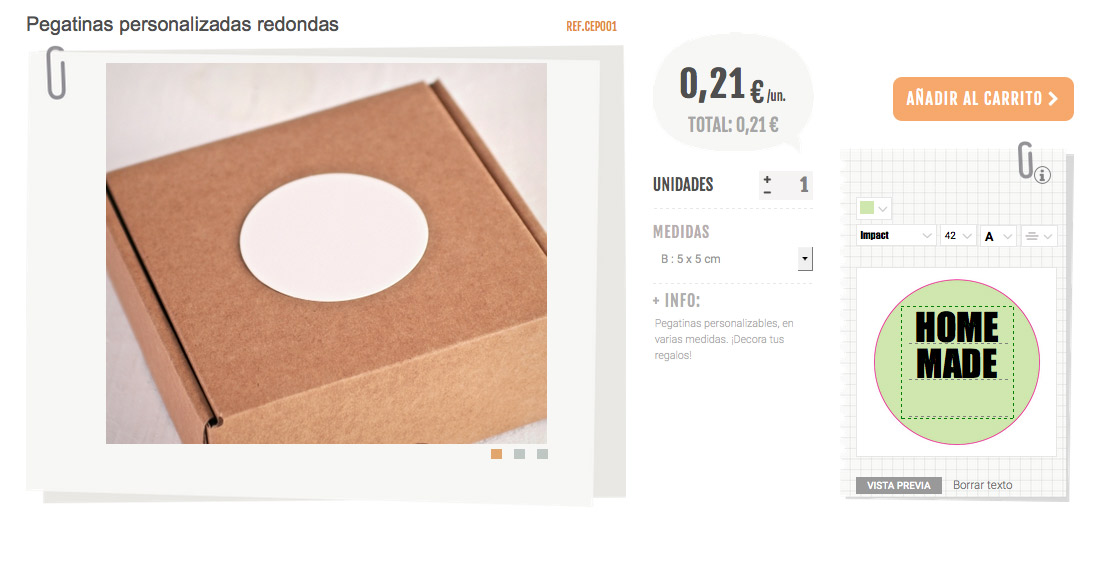
This will be the base of the combination. Regarding the label with the message, you can put that together like this:
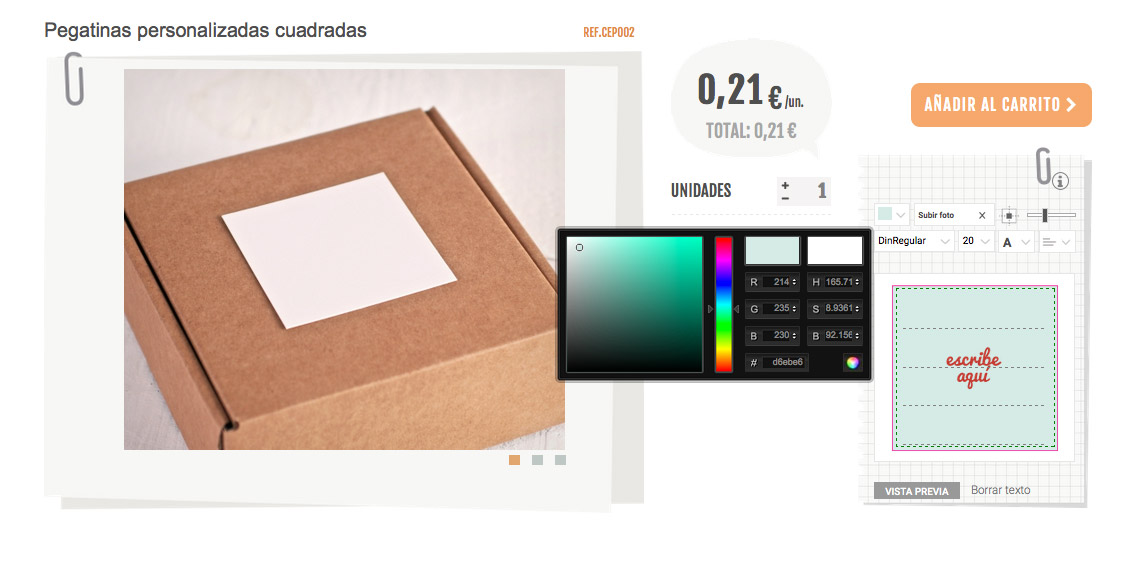
- Select the size 5 x 5 cm from our square custom stickers, corresponding to the size B.
- Apply the color # d6ebe6 to the background (corresponding with RGB: R: 214 – G: 235 – B: 230).
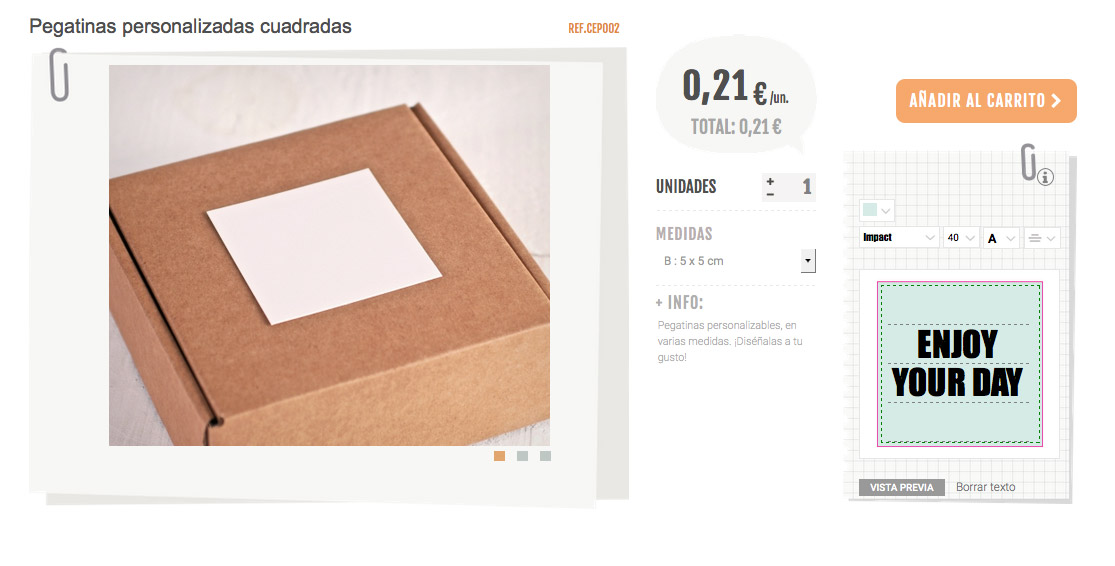
Write the text using the font ‘Impact’ in size 40, in black.
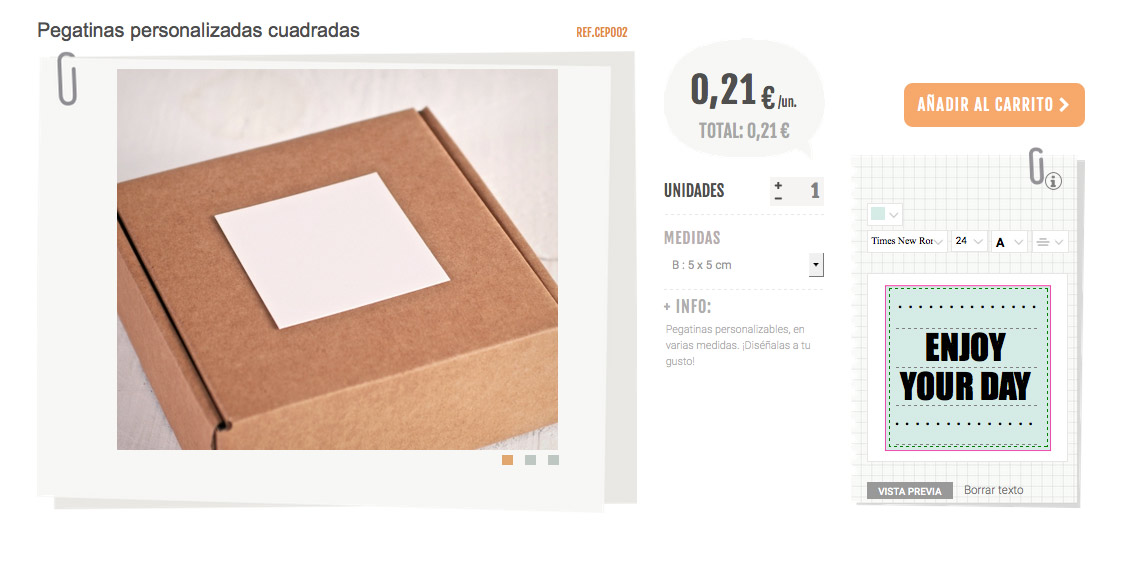
Apply decorative dots above and below the text using the font Times New Roman size 24, in black, leaving a space between points .
And that’s our first choice made. You can complement it, as in the photo, with a thin hemp cord for a more rustic feel.
Let’s go to another design, such as this:
In this case, the first thing you have to do is save this image to use as a background for your label:
Once you have it saved on your computer, let’s go about printing it, on our website, in the round custom stickers section, selecting the 1.5 x 10.5 cm stickers, corresponding to the size Large.
This is how we do the sticker that displays the message:
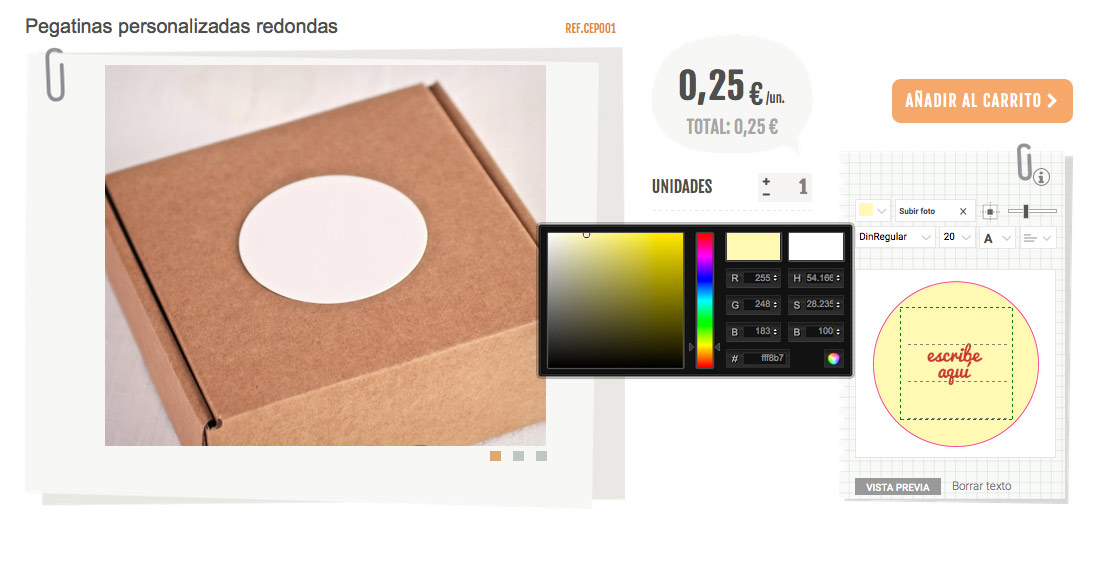
- Select the size 6 x 6 cm in our round custom stickers, corresponding to the size C.
- Select the background colour of the sticker by selecting # fff8b7 (which corresponds with the following code RGB: R: 255 – G: 248 – B: 183).
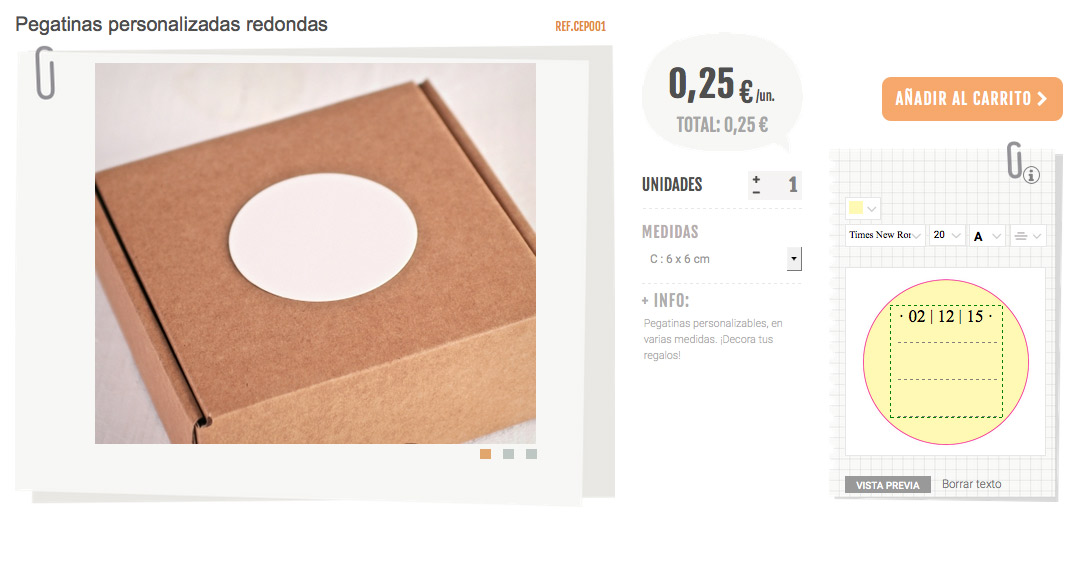
Write the date on the label at the top, using the font Times New Roman in size 20, in black.
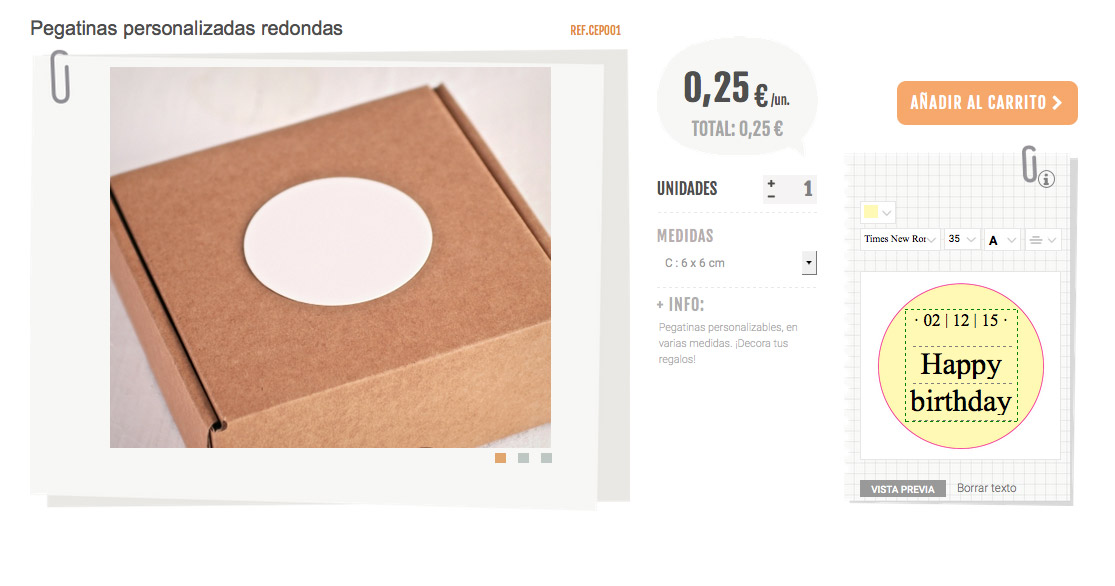
Write the rest of the message using the same font, Times New Roman, also in black but this time in size 35. And there you have it. And the cherry on top to complete the packaging and give it a completely personal touch…?
Lastly, we are going to design another combination of stickers:
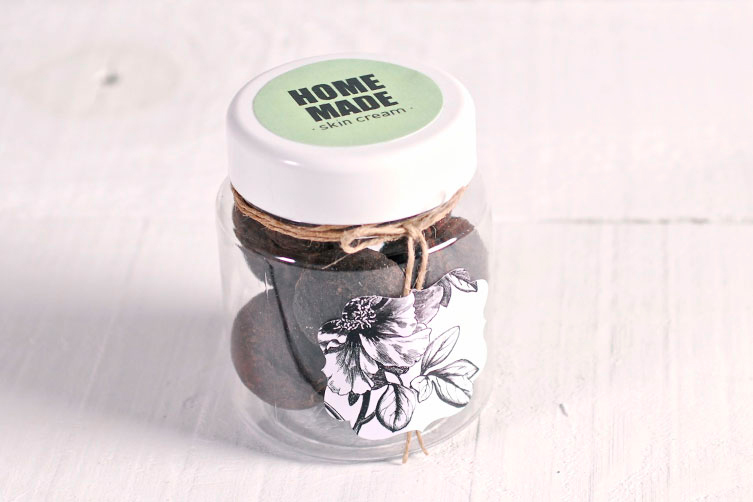
To make the one for the jar, the first thing you have to do is save the image on your computer:
Do you have it? Let’s get to the printing then. For this, we will select the Vintage shape when choosing our labels, in the size 6.5 x 5.5 cm, corresponding with the size C. You can find it HERE.
To design the other sticker, we will select the size 5 x 5 cm of our round custom stickers, corresponding with the size B. For the base colour, the RGB code is the following:
R: 207
G: 235
B: 179
Once we have it, we write the text:
For the main text, which goes in the upper part, we select the font ‘Impact’ in size 42, in black.
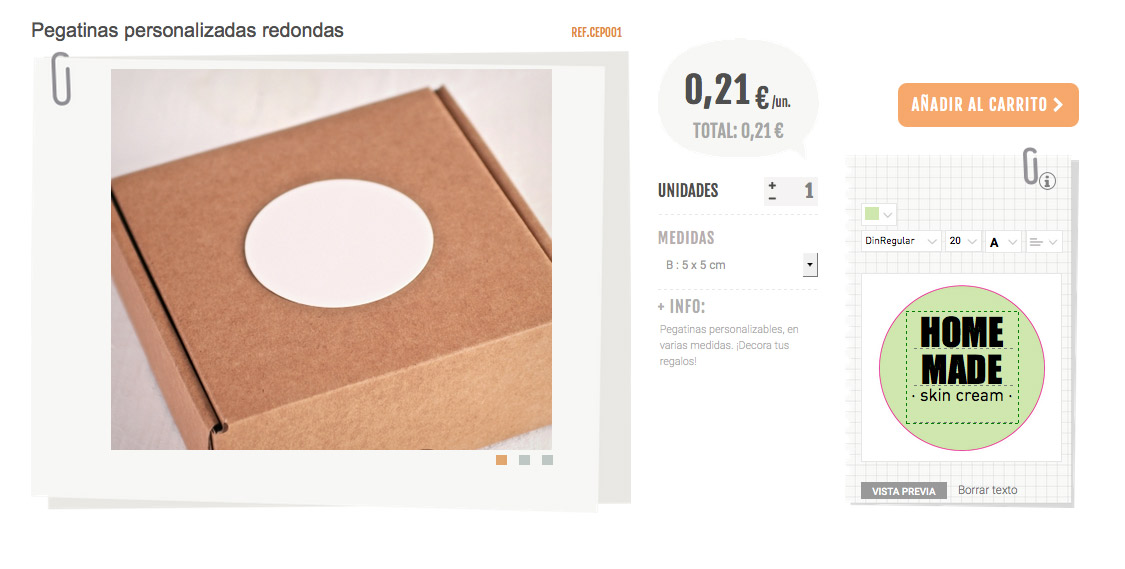
The text below, including the two central points, are done with the font ‘DinRegular’ in black and in size 20.
And there we have everything done and dusted. Now you only have to send it all to the shopping basket and wait in the comfort of your own home for us to send you your custom stickers in a tick. How much easier can it get?
I hope you have enjoyed our tutorial on how to design stickers.