
At SelfPackaging we are fans of anything we can create with our own hands. That’s why, today we propose you a very sweet DIY! Are you cooking? Have you ever made your own cookies?
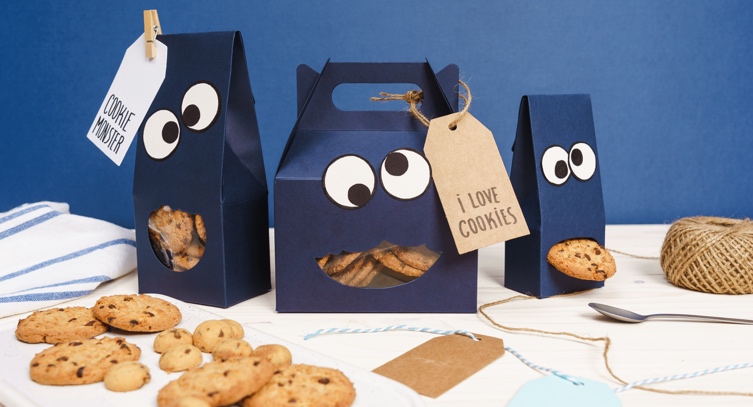
This time, we challenge you to look for your favorite recipe so that you can prepare your own cookies to give them away in a very special way. Remember the Cookie Monster? A globally known and very endearing character. It is a very sweet monster that likes adults and children. Well, the idea that we present below has the mission to sweeten palates and make smiles to your friends and family. Give your homemade cookies with our little boxes transformed into tasty Monsters of the Cookies!
Surely if you have kids at home they will love to help you!
Post made in collaboration with: Warm Home Life

MATERIALS:
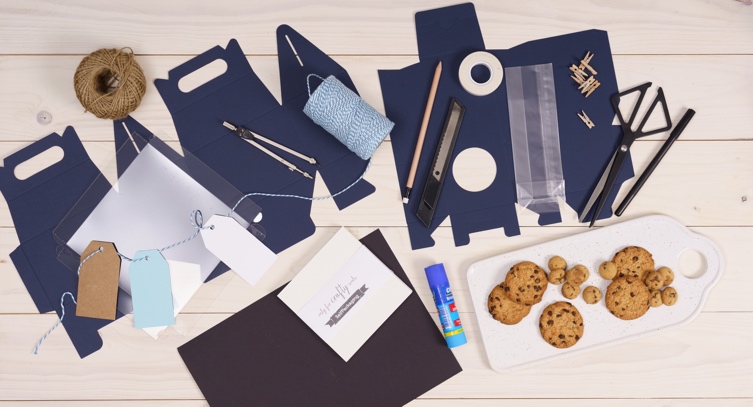
– Block Bottom Side Gusseted Cellophane Bags
– Cookies
– Black Marker
– Compass
– Cutter
– Scissors
– Glue
– Double-sided adhesive tape
– Transparent plastic
Box with window for food
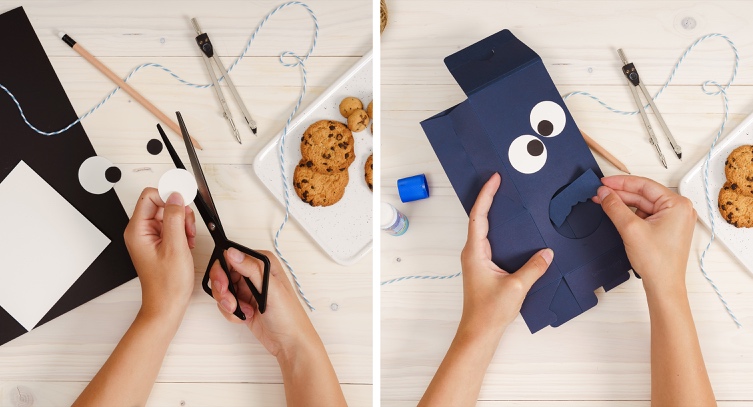
1. Start with the eyes, draw a couple of circles on a white card with the help of a compass. Do the same on another black card, but of a smaller size. You can also give hairy shape to the window of the box with a piece of cardboard with rounded shapes, to represent the mouth of the Monster.
2. Now stick the black pupils inside the white circles and stick both sets on the top of the box. Remember that one of the main characteristics of this character is that he has the asymmetrical eyes that give him that funny touch. Then, paste the hairy shape of the Monster’s lip on the inside of the box, so that it looks from the window of the box.
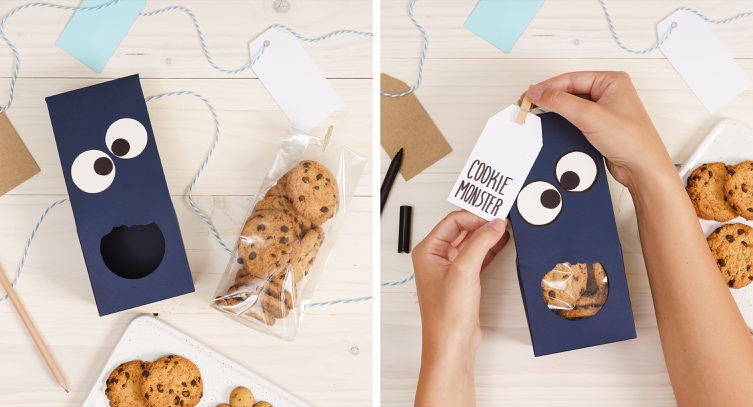
3. Then, mount the box with double-sided adhesive tape, fill the cellophane bag with your cookies and insert it inside the box. You will see that it is super easy to assemble!
4. Now give the final touch to the box: with a black pen, review the outline of the Monster’s eyes to give it more volume and write a phrase or name on one of our labels. To finish, fix it to the box with a wooden pin.
Picnic Box
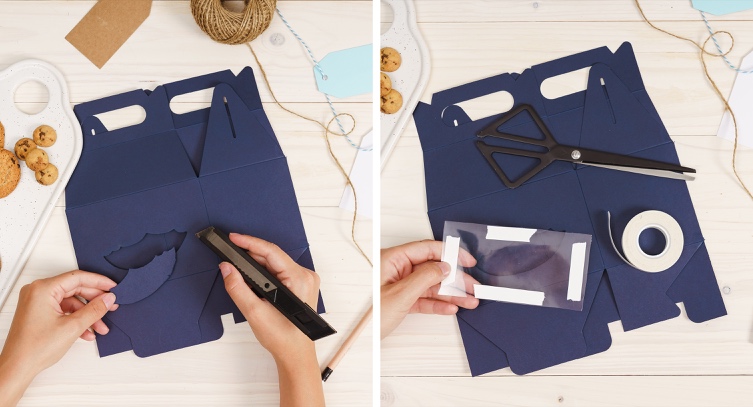
1. To start, draw a mouth on one side of the box and cut it with a cutter or scissors as an opening.
2. Now cut a rectangle of plastic sheet and stick it with adhesive tape on the inside of the box, covering the opening of the previous step.

3. Following the same system of the previous box, cut out some eyes with cardboard and stick them on the box. On this occasion, we have only put a bar tail on the middle of the back of the eye, so that when the box is mounted on the left.
4. Finally, assemble the box and fill it with your favorite cookies. Write a phrase or name on another label with a black marker and hang it from the handle of the box with a piece of thick string of hemp.
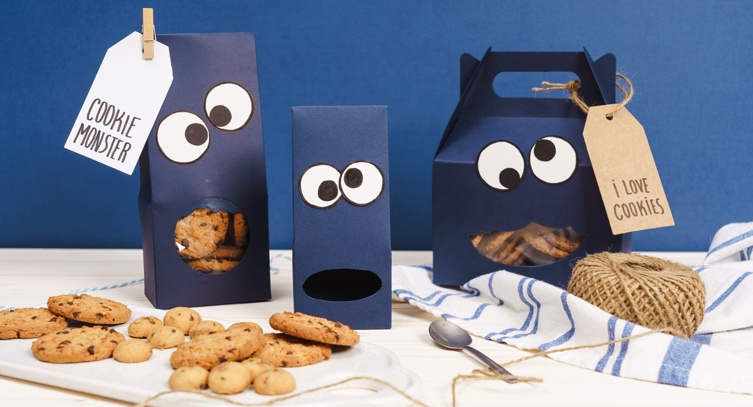
Voilà! Some monstrously funny and endearing boxes filled with your delicious homemade cookies. Take smiles by giving away your creations with boxes decorated by yourself!