
The season of flowers is here: Happy spring! Little by little we will receive more sunbeams along with a slight increase in temperature. These are the highlights of the new season, which please everyone and make us feel a more vital and happy energy.
Without a doubt, something that also makes most of us very happy is the great protagonist of the new season: flowers. Full-color nature that gives off wonderful fragrances that beautify our homes. Flowers are the star element of this DIY and this idea can become a totally original way to give away bouquets of flowers in a new format.
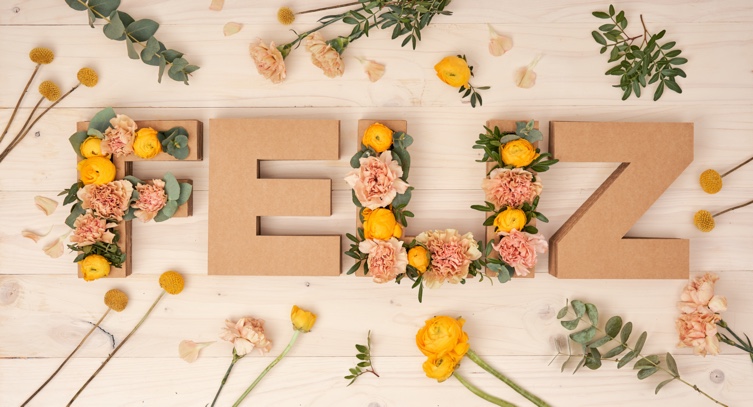
Take paper and pencil, because we are sure you will love it: give different bouquets or decorate your home with floral letters!
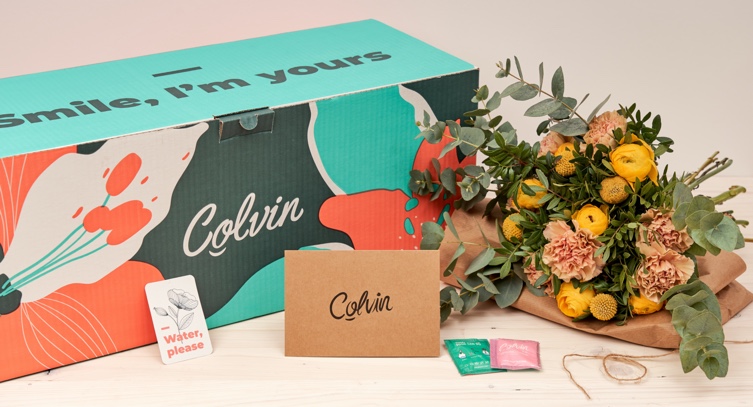
To realize this DIY we have joined our friends from The Colvin Co., the kings of flowers! Colvin has regained the magic of flowers, making them accessible to everyone at affordable and transparent prices. Their bouquets are designed to distribute love through their freshly cut seasonal flowers.
From its fabulous bouquets, we have chosen the Lumière. Its Carnations, Buttercups and Craspedias are pure explosion of color! In addition, they are combined with twigs of Lentiscus and Eucalyptus that provide a super natural touch.
- Material:
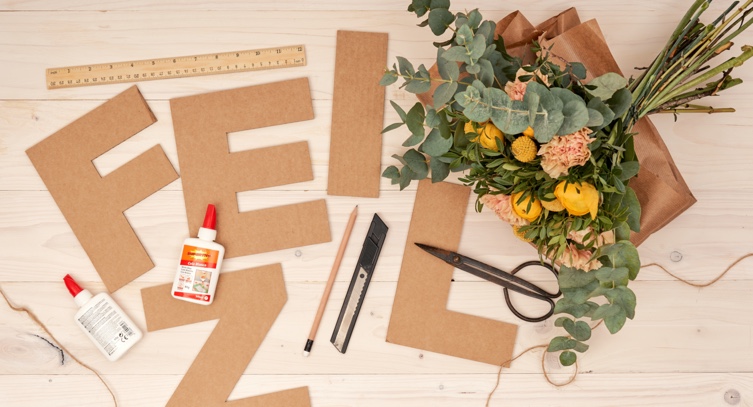
To create this, you’ll need:
– Cardboard letters
– Glue
– Flower Bouquet
– Scissors
– Pencil
– Rule
– Cutter
- Step by step:
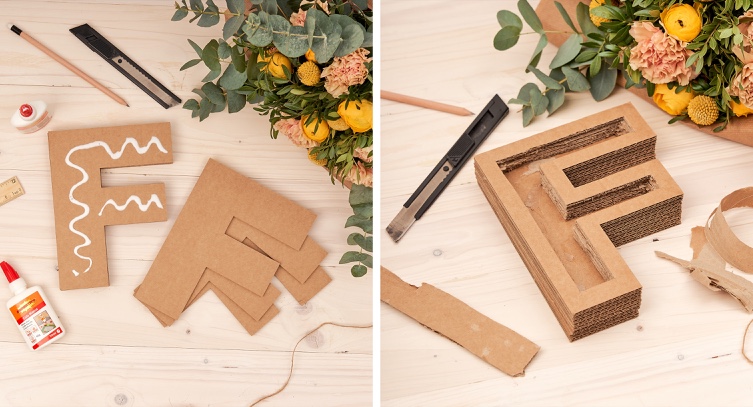
1.We send our letters of cardboard without gluing, so to start, paste each layer of cardboard with the white glue that comes in the kit.
2.When the glue dries, select two or three letters to empty the inside. Use the cutter and ruler to cut the most superficial layers of cardboard leaving a contour of about 1.5 cm. In this case, we have cut out about four layers of cardboard and left a cavity 4 cm high.
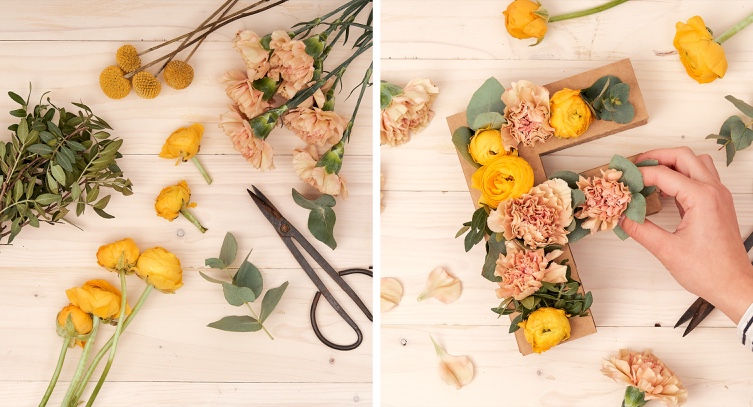
3. Now, dismantle the bouquet and separate the different types of flowers and branches by groups. Then cut much of the stem of the flowers and branches with the pruning scissors. To know exactly how much to cut, measure the height of your letter cavity. Note that, to get the best results, the flowers must protrude above the surface of the cardboard letter.
4. Finally, place one by one each flower and twig so that the composition is visually compensated. Place each flower of color in a different position in each letter, to get a more dynamic result.
Para que tus flores aguanten frescas más tiempo, rocía cada día agua sobre las flores con un envase tipo spray. También evita colocar tus letras delante de una ventana con sol directo.
¡Ah! One last tip: the Colvin bouquets come protected with a soaker bag that gets you your fresh bouquet. If you want you can trim this soaker to the base of your well-watered letter, so you can get your flowers to stay fresh longer. direct sunlight.
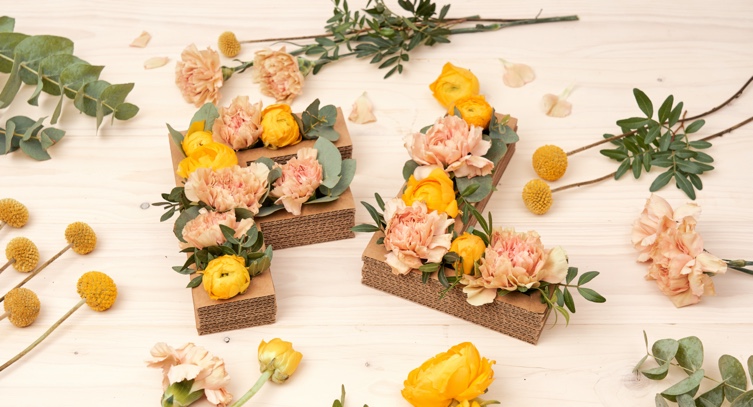
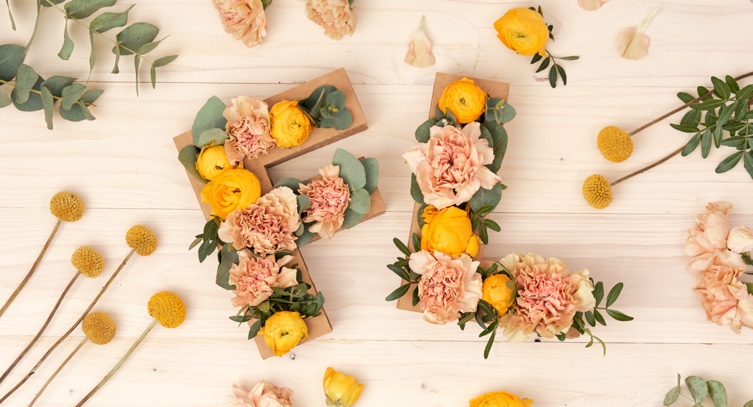
Voilà, Your floral letters ready to give and decorate!.