
Christmas provides us with a highly extensive colour palette, from traditional white, red and green to more imaginative colours. Today we are going to show you an idea with a different range of colours. We have adopted a timeless technique to wrap our Christmas presents. It is a super colourful craft which can be done on paper and other materials. Although now we are going to apply it to our boxes.
In this tutorial we guide you step-by-step to achieve a coloured-marble effect pattern. You can use different paints to get this effect, but today we are going to use nail varnish. It is the perfect excuse to make use of those nail varnishes you no longer use. We have chosen a colour palette that combines different tones of green and yellow. This way, we have given our Christmas a different colour. The varnish finish is really saturated and shiny, we love the result!
Get those nail varnishes you no longer use at the ready and let’s start!
We are going to have a ball!
A super post made in collaboration with Warm Home Life.
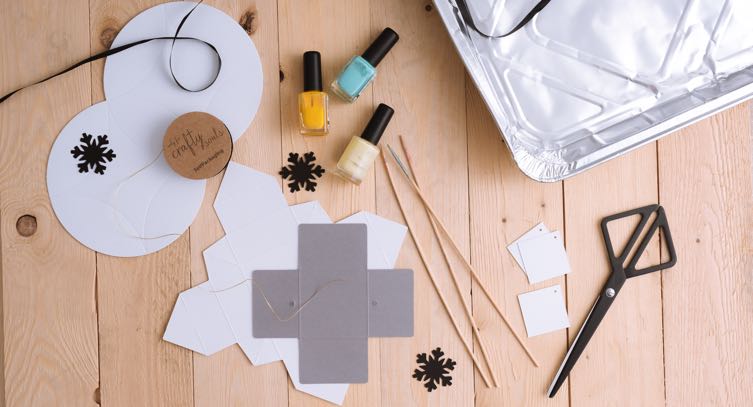
Materials:
Simple square box with a white lid
Coloured nail varnish
Tray or container
Tepid water
Long sticks
Scissors
Marker pen
STEP BY STEP:
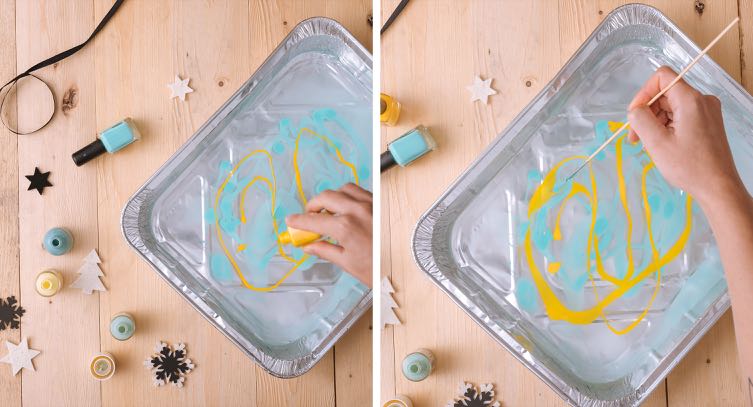
- To start, bring some water to room temperature and pour it into a tray or container. Then, throw a few drops of nail varnish in the colours that you like the most.
- With a wooden stick, draw lines on the varnish and the water to mix the colours.
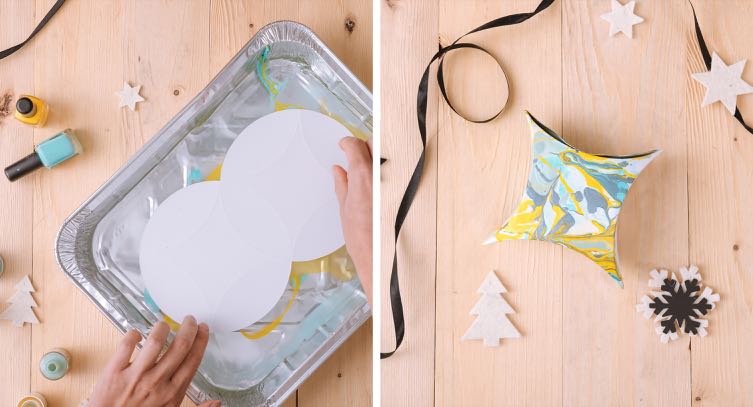
- Now, place the unfolded box on the surface of the water (without submerging it) and wait for a few seconds. Then carefully take it out, holding it at one side and leave it to dry on a flat surface.
- When the box is completely dry, assemble it and put your gift inside.
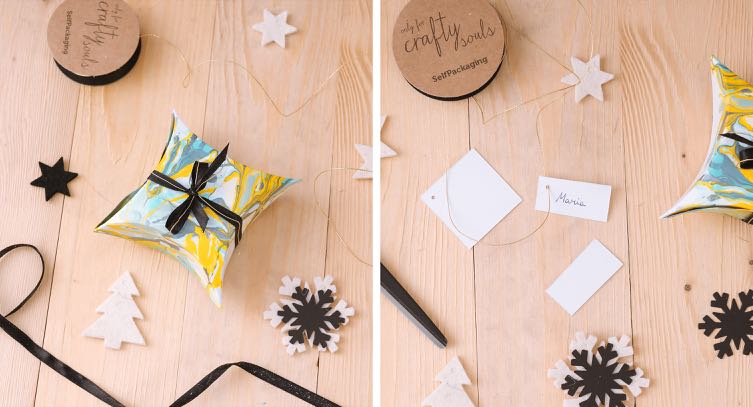
- Use a ribbon tape that combines all the varnish colours that you have chosen to tie and knot the box. Then, add a Christmassy touch with a golden lace on top of the ribbon.
- To put the name of the recipient, use a smooth label. In this instance, because our box is very small, we have cut it down the middle with scissors. Remember that you can always personalise your labels!
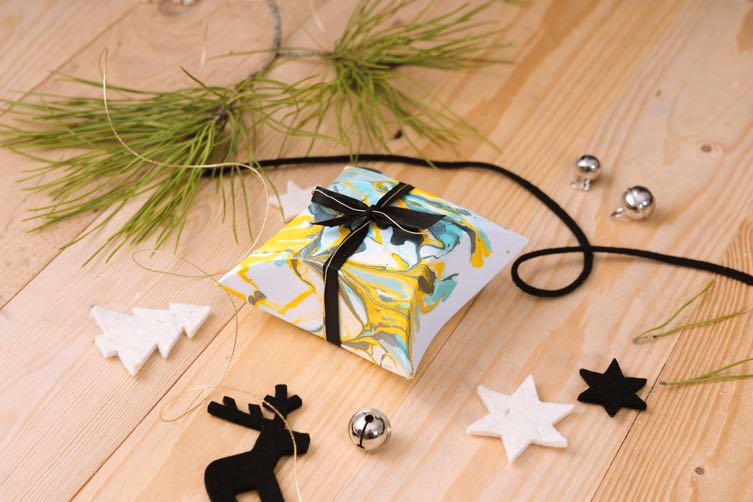
Experience a truly colourful Christmas by wrapping your presents with the coloured marble effect!