One of the best times of year for children is Christmas. They get really excited for the Christmas holidays. Decorating the house, writing their Christmas list and getting everything ready are really fun moments for them that are full of magic.
Today we have an activity for children to decorate any part of the house they want. It is an adaptation on our box of matches so that they can keep Christmas treasure or receive gifts from Father Christmas or the Three Kings. To remind them that they need to be asleep to receive their gifts, we are making Father Christmas, one of his elves and a snowman all with their eyes closed. These card bags are dreaming about the magic of Christmas and the kids need to be asleep to receive what they asked for in their letters.
Prepare the coloured card and get ready to start!
A super post made in collaboration with Warm Home Life.
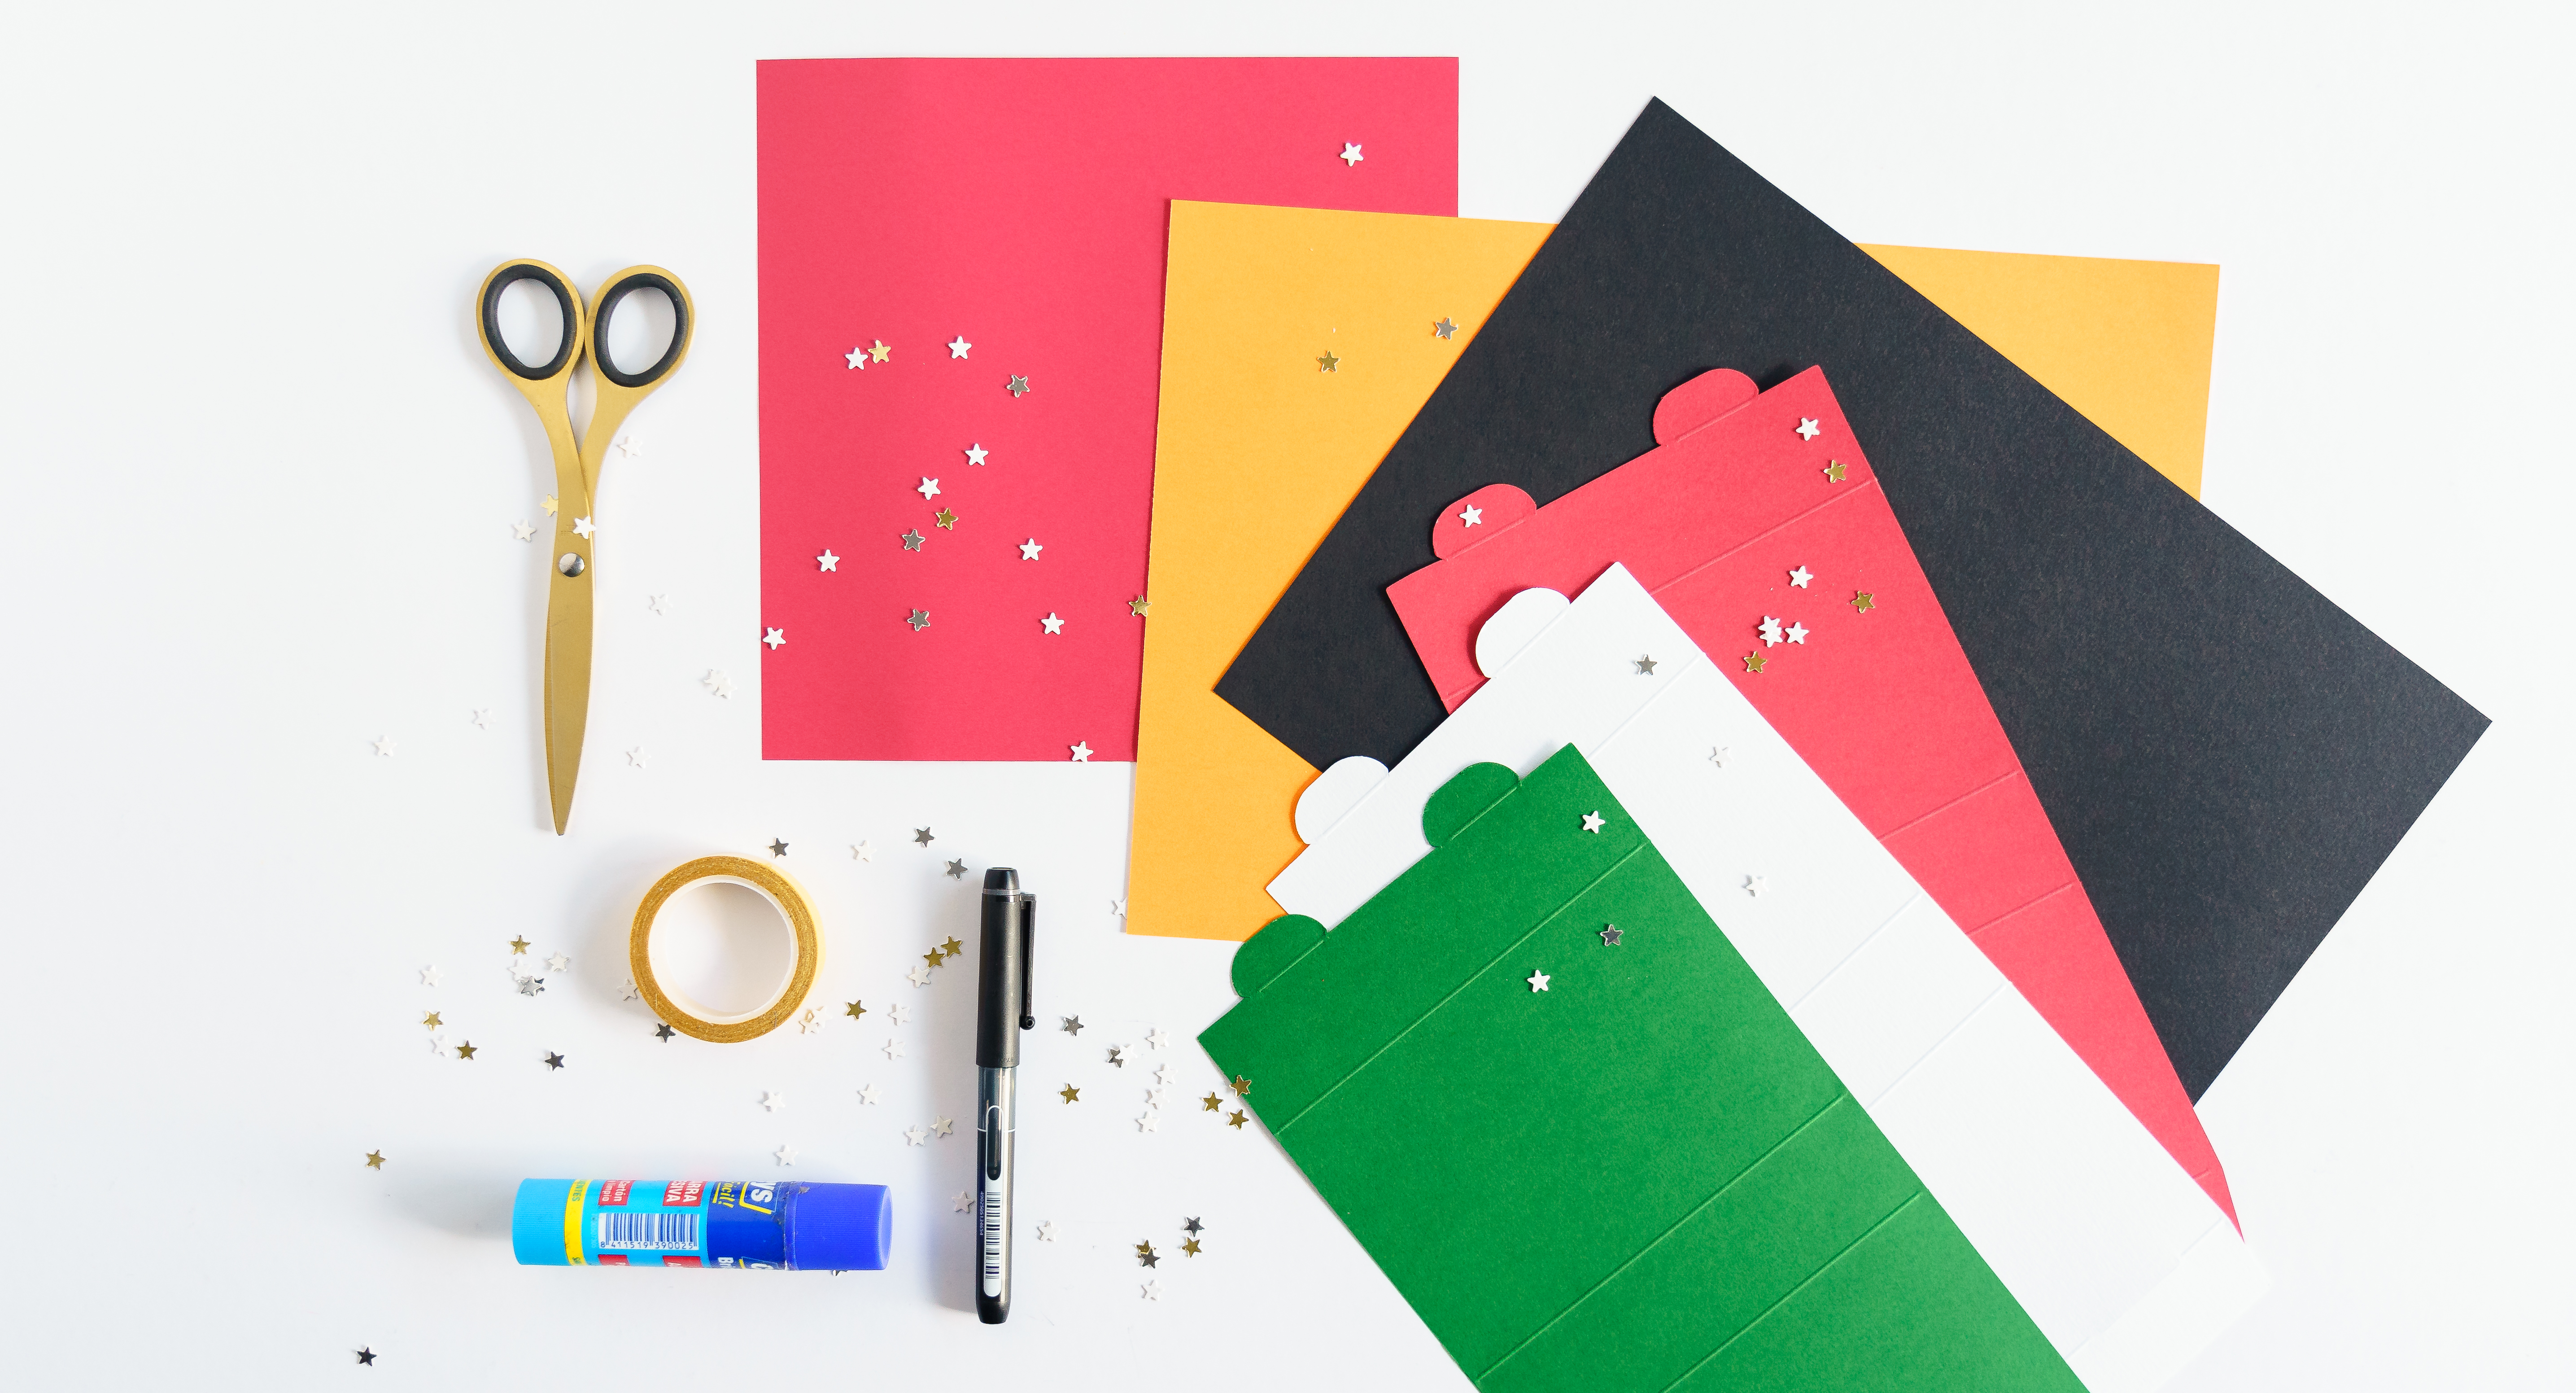
MATERIALS:
Coloured card: white, red, black, green and orange
A black marker
A pencil
A ruler
Double-sided tape
A glue stick
Scissors
Coloured tracing paper
STEP BY STEP:
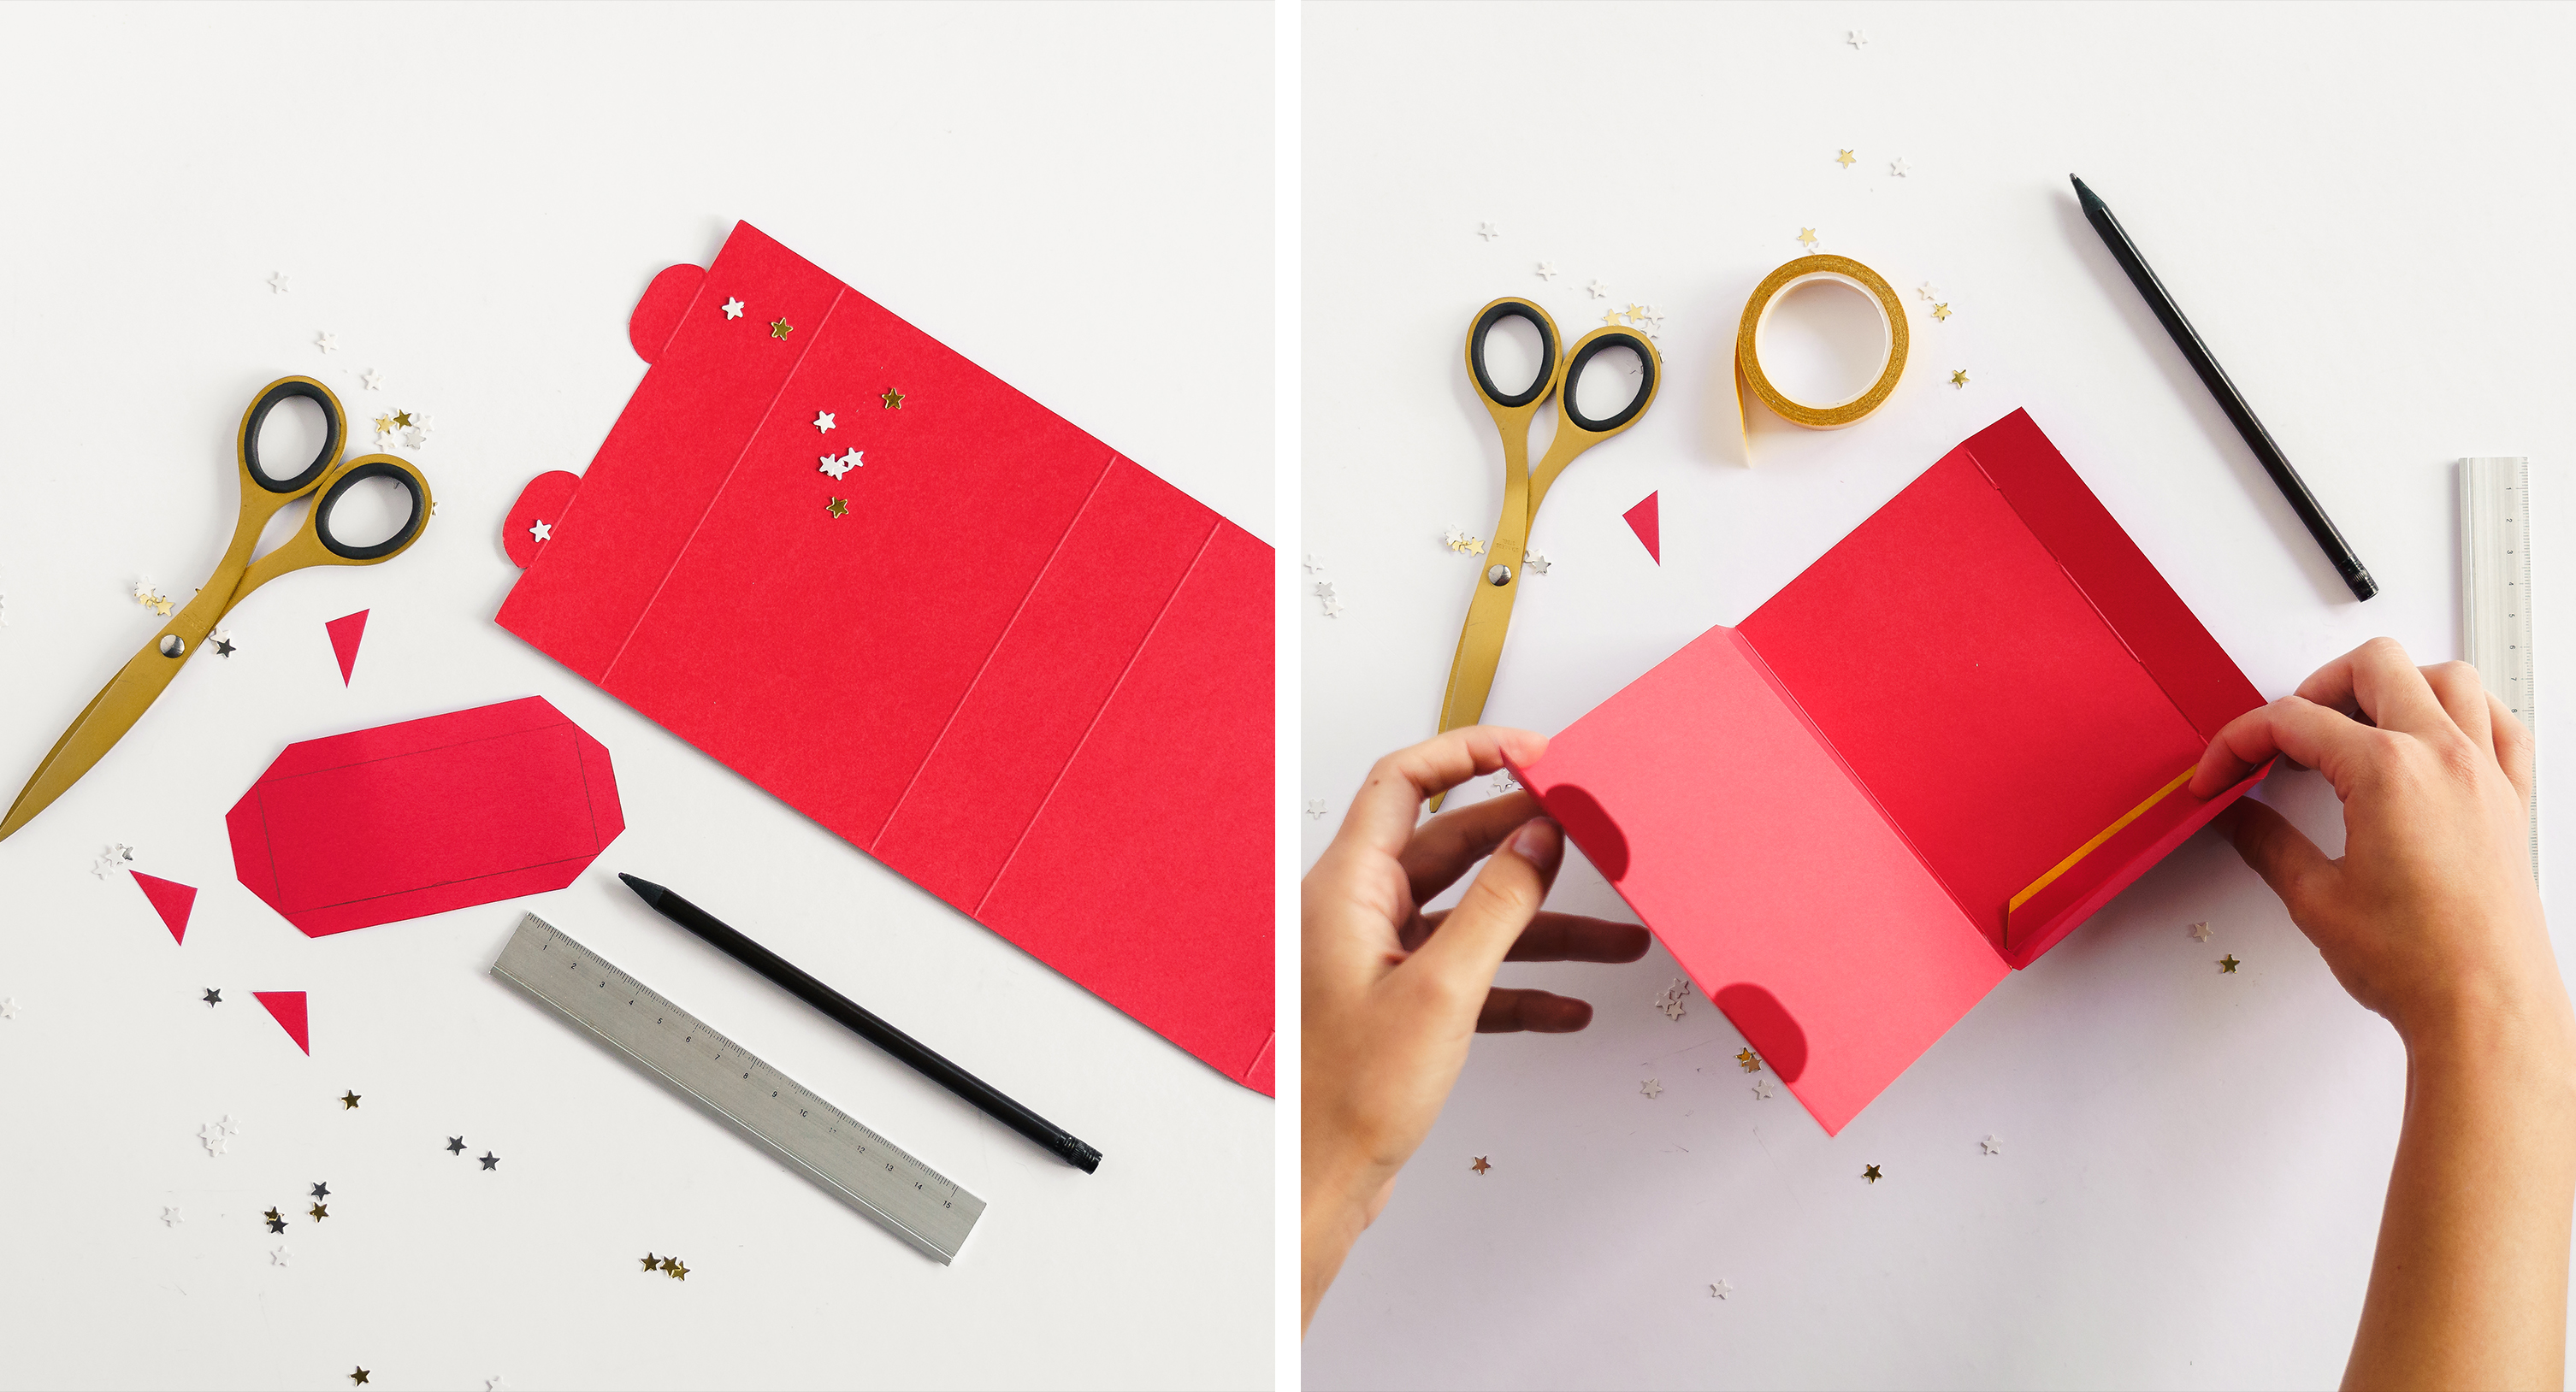
1. We will start with Father Christmas. To start, draw a 9.4 x 3.7cm-rectangle on a red piece of card and add 1cm to each side so that it is like a flap. Cut it out and fold each line.
2. Now bend each fold of the red lid on the box of matches. With the help of some double-sided tape, stick each flap from the red rectangle on one of the ends of the box lid. This way the rectangle will be like a base for the bag of card.
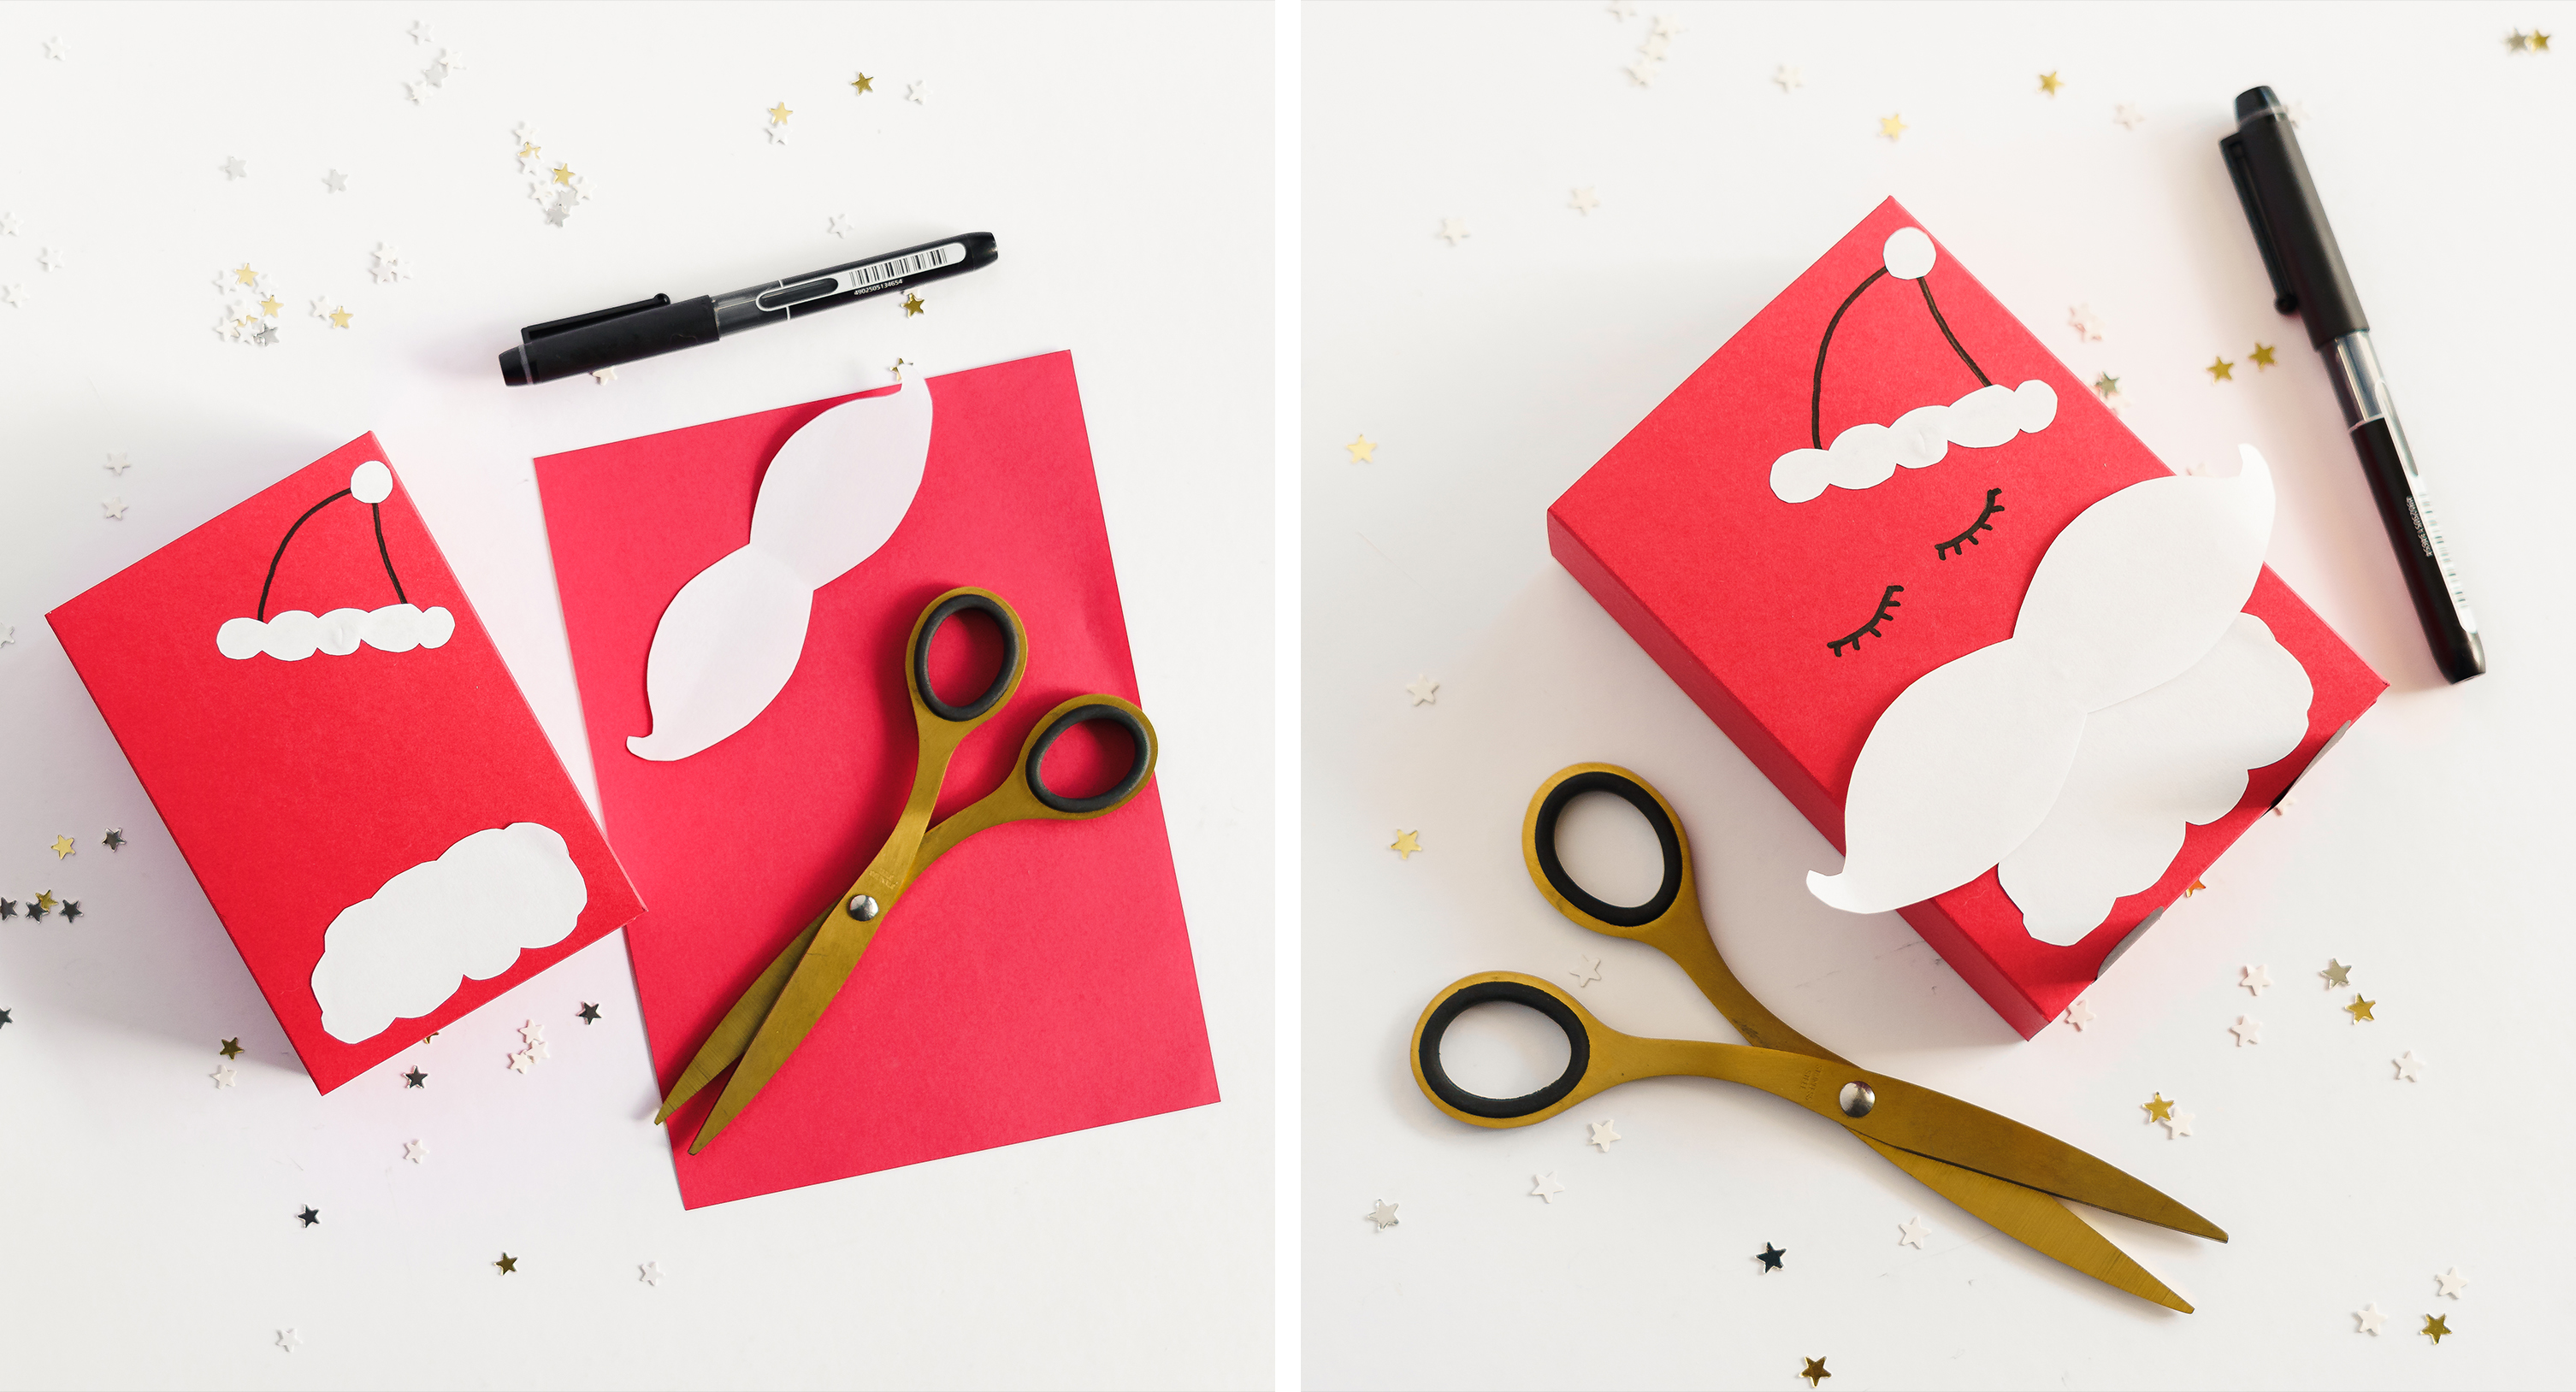
3. Now draw the moustache, beard and hat on a piece of white card. Draw the shoes on a piece of black card. Now cut it all out and stick it on one of the fronts of the red card bag with a glue stick.
4. To finish the Father Christmas, draw the silhouette of his hat and some closed eyes with a black marker on the bag. Don’t forget his eyelashes!
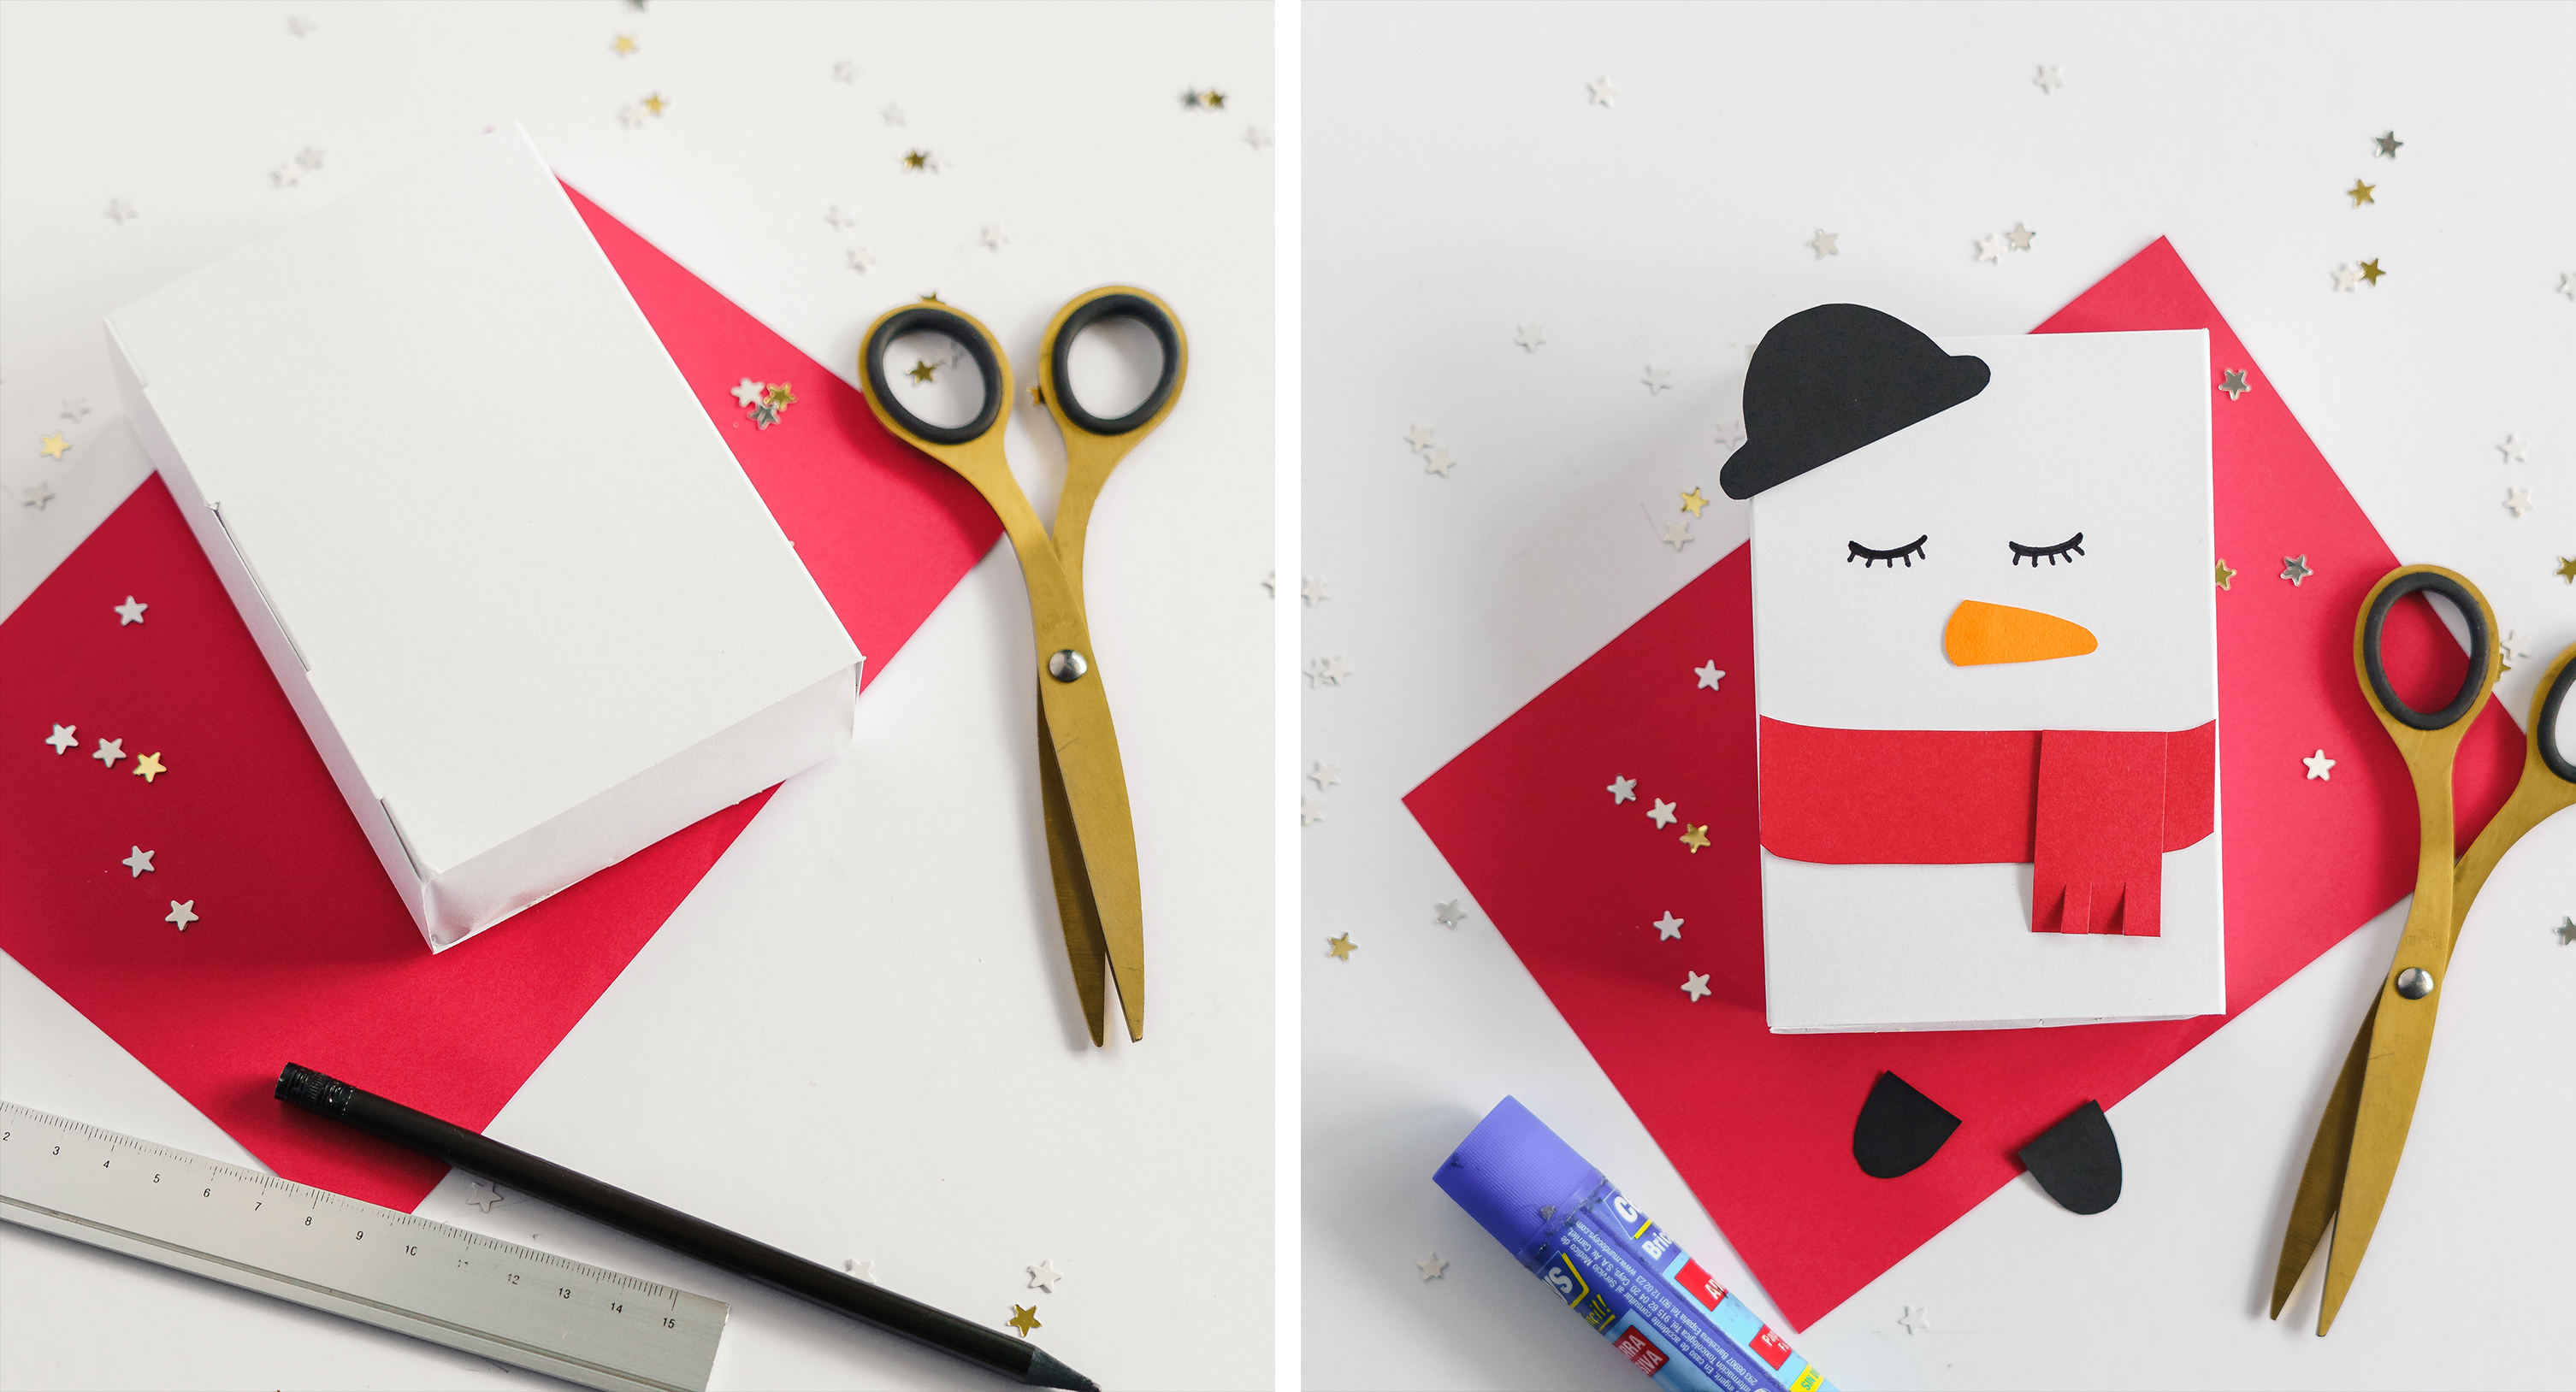
5. Let’s continue with the snowman bag. To do so, repeat steps 1 and 2 but with the lid from the white box and the base with white card.
6. Draw the shoes and a hat on a piece of black card. On another piece of red card, draw a scarf with two pieces and a nose on a piece of orange card. Cut it all out and stick it on the white bag and draw the eyes with a black marker.
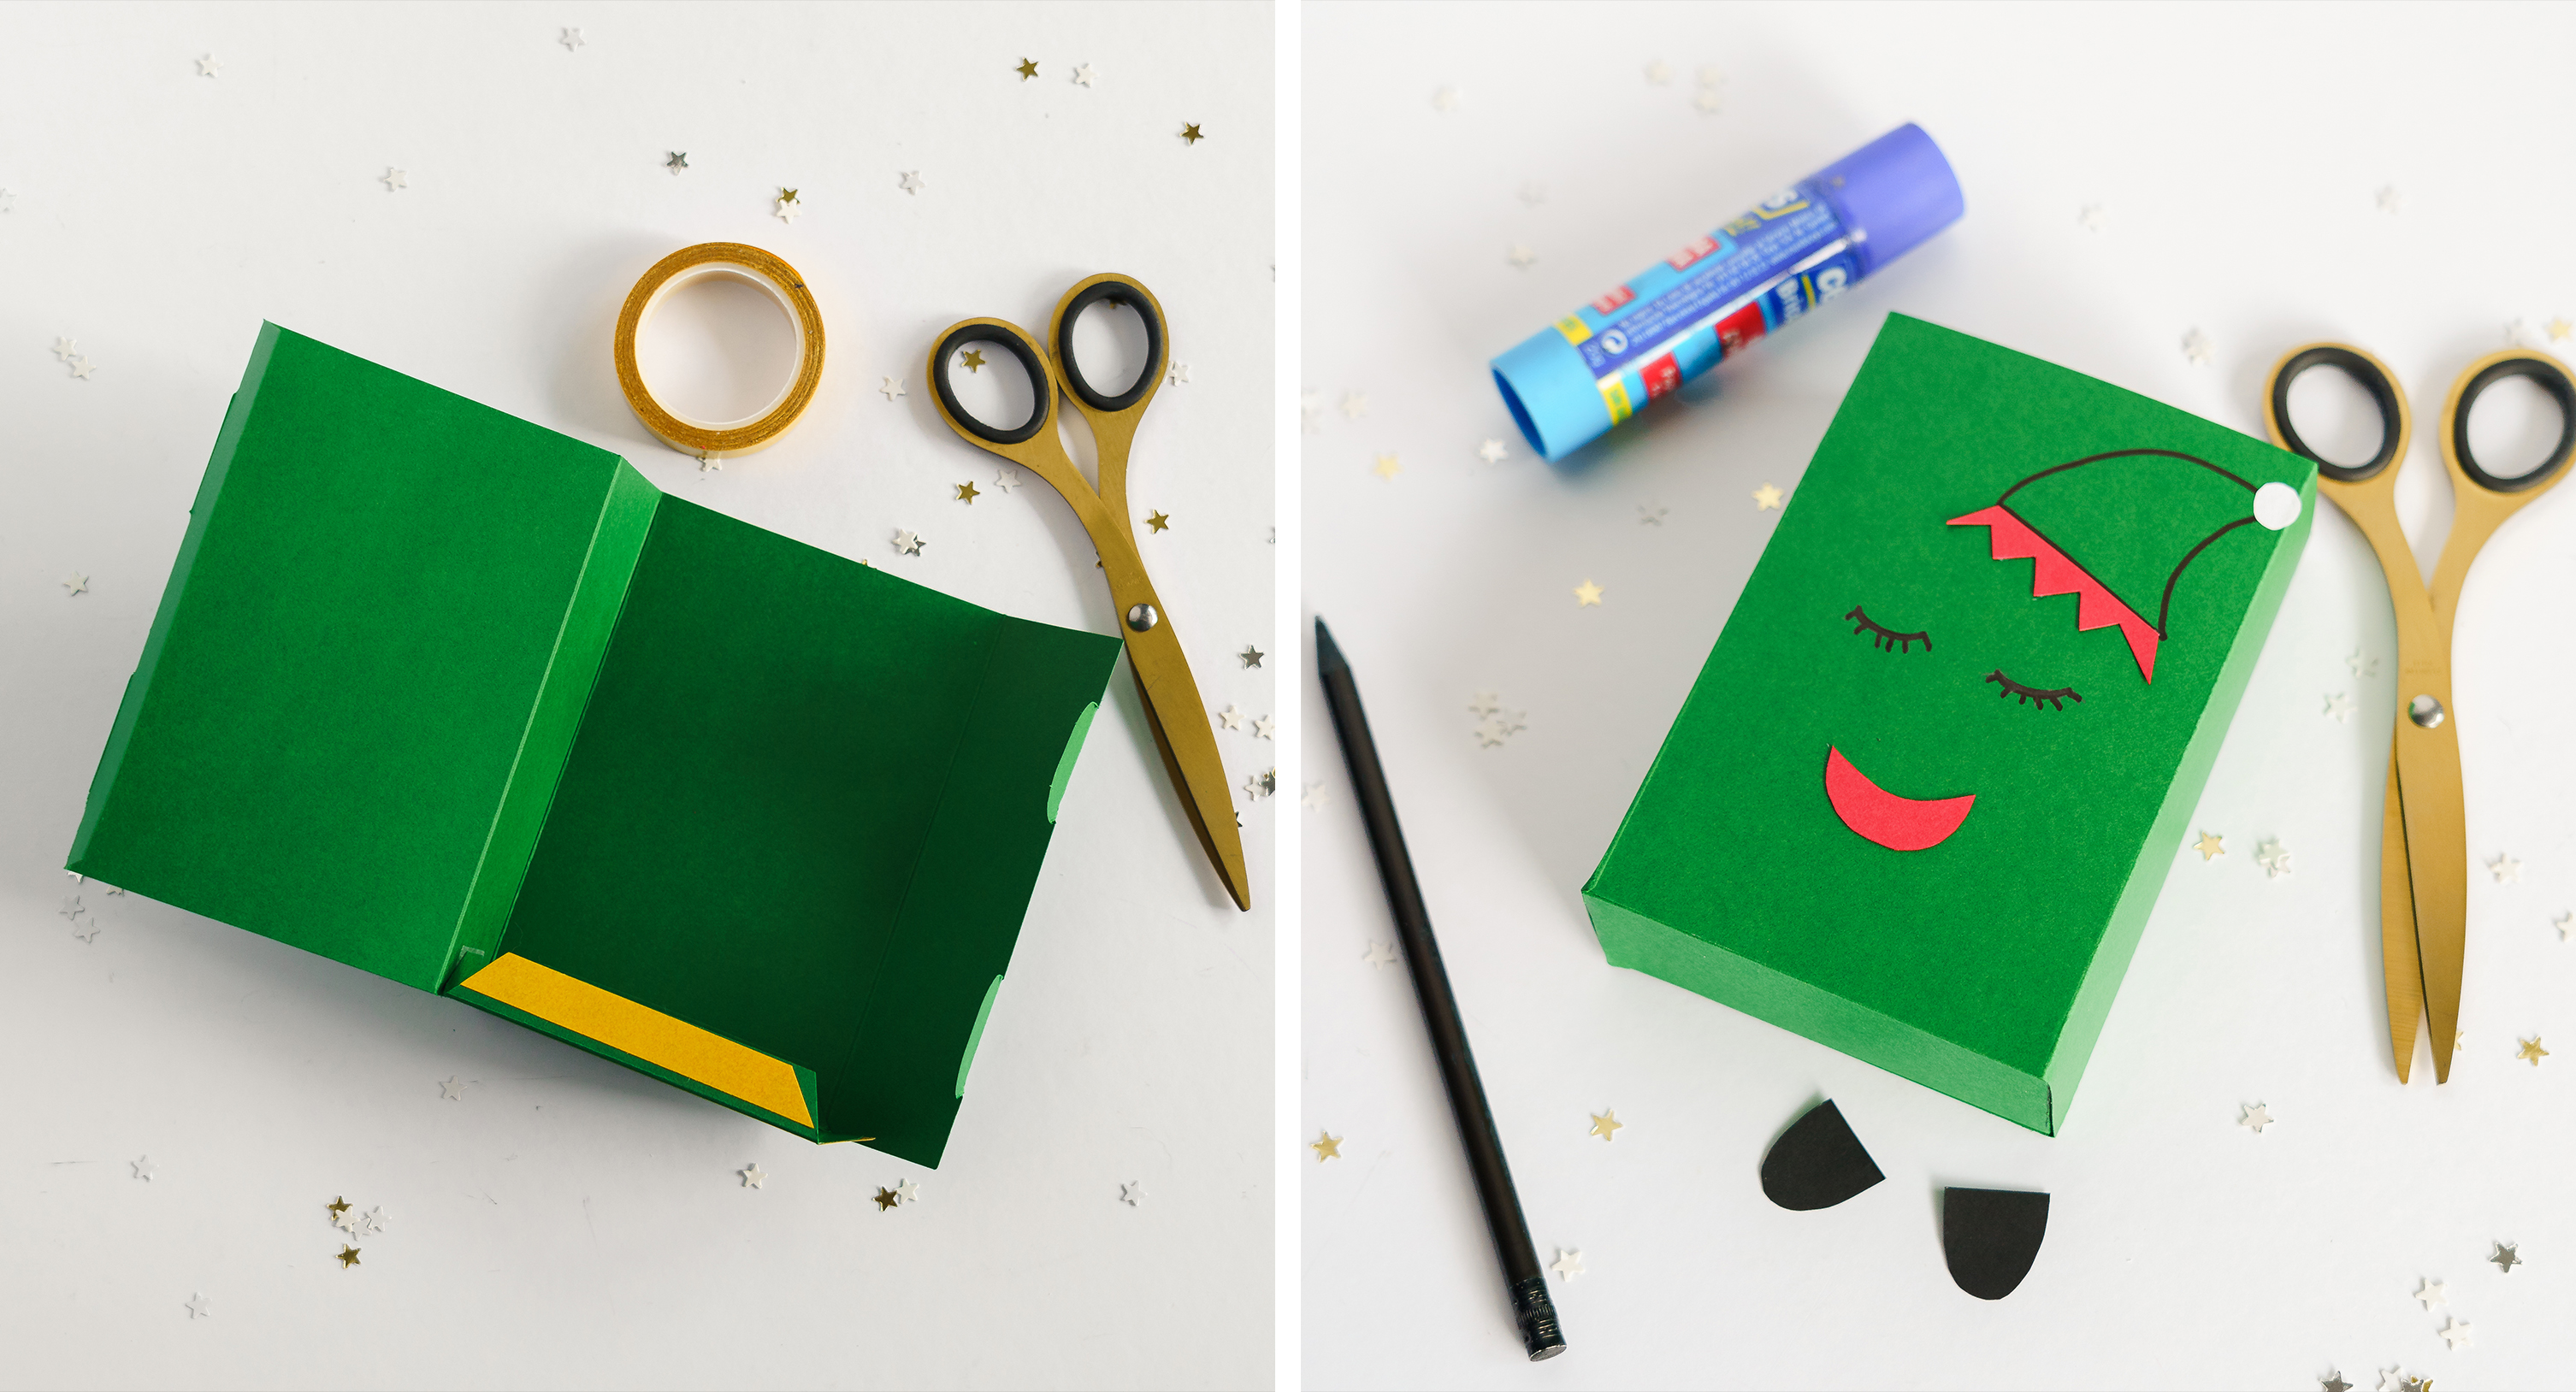
7. Now we are going to assemble the Elf box. We will use the green box lid and repeat steps 1 and 2 with the base of the bag matching the bag.
8. Draw a smile and the hat accessories on some red card. Cut out the shoes and the bobble of the hat with black card on a piece of white card. Stick it all with the glue stick and draw the hat and eyes with the black marker.
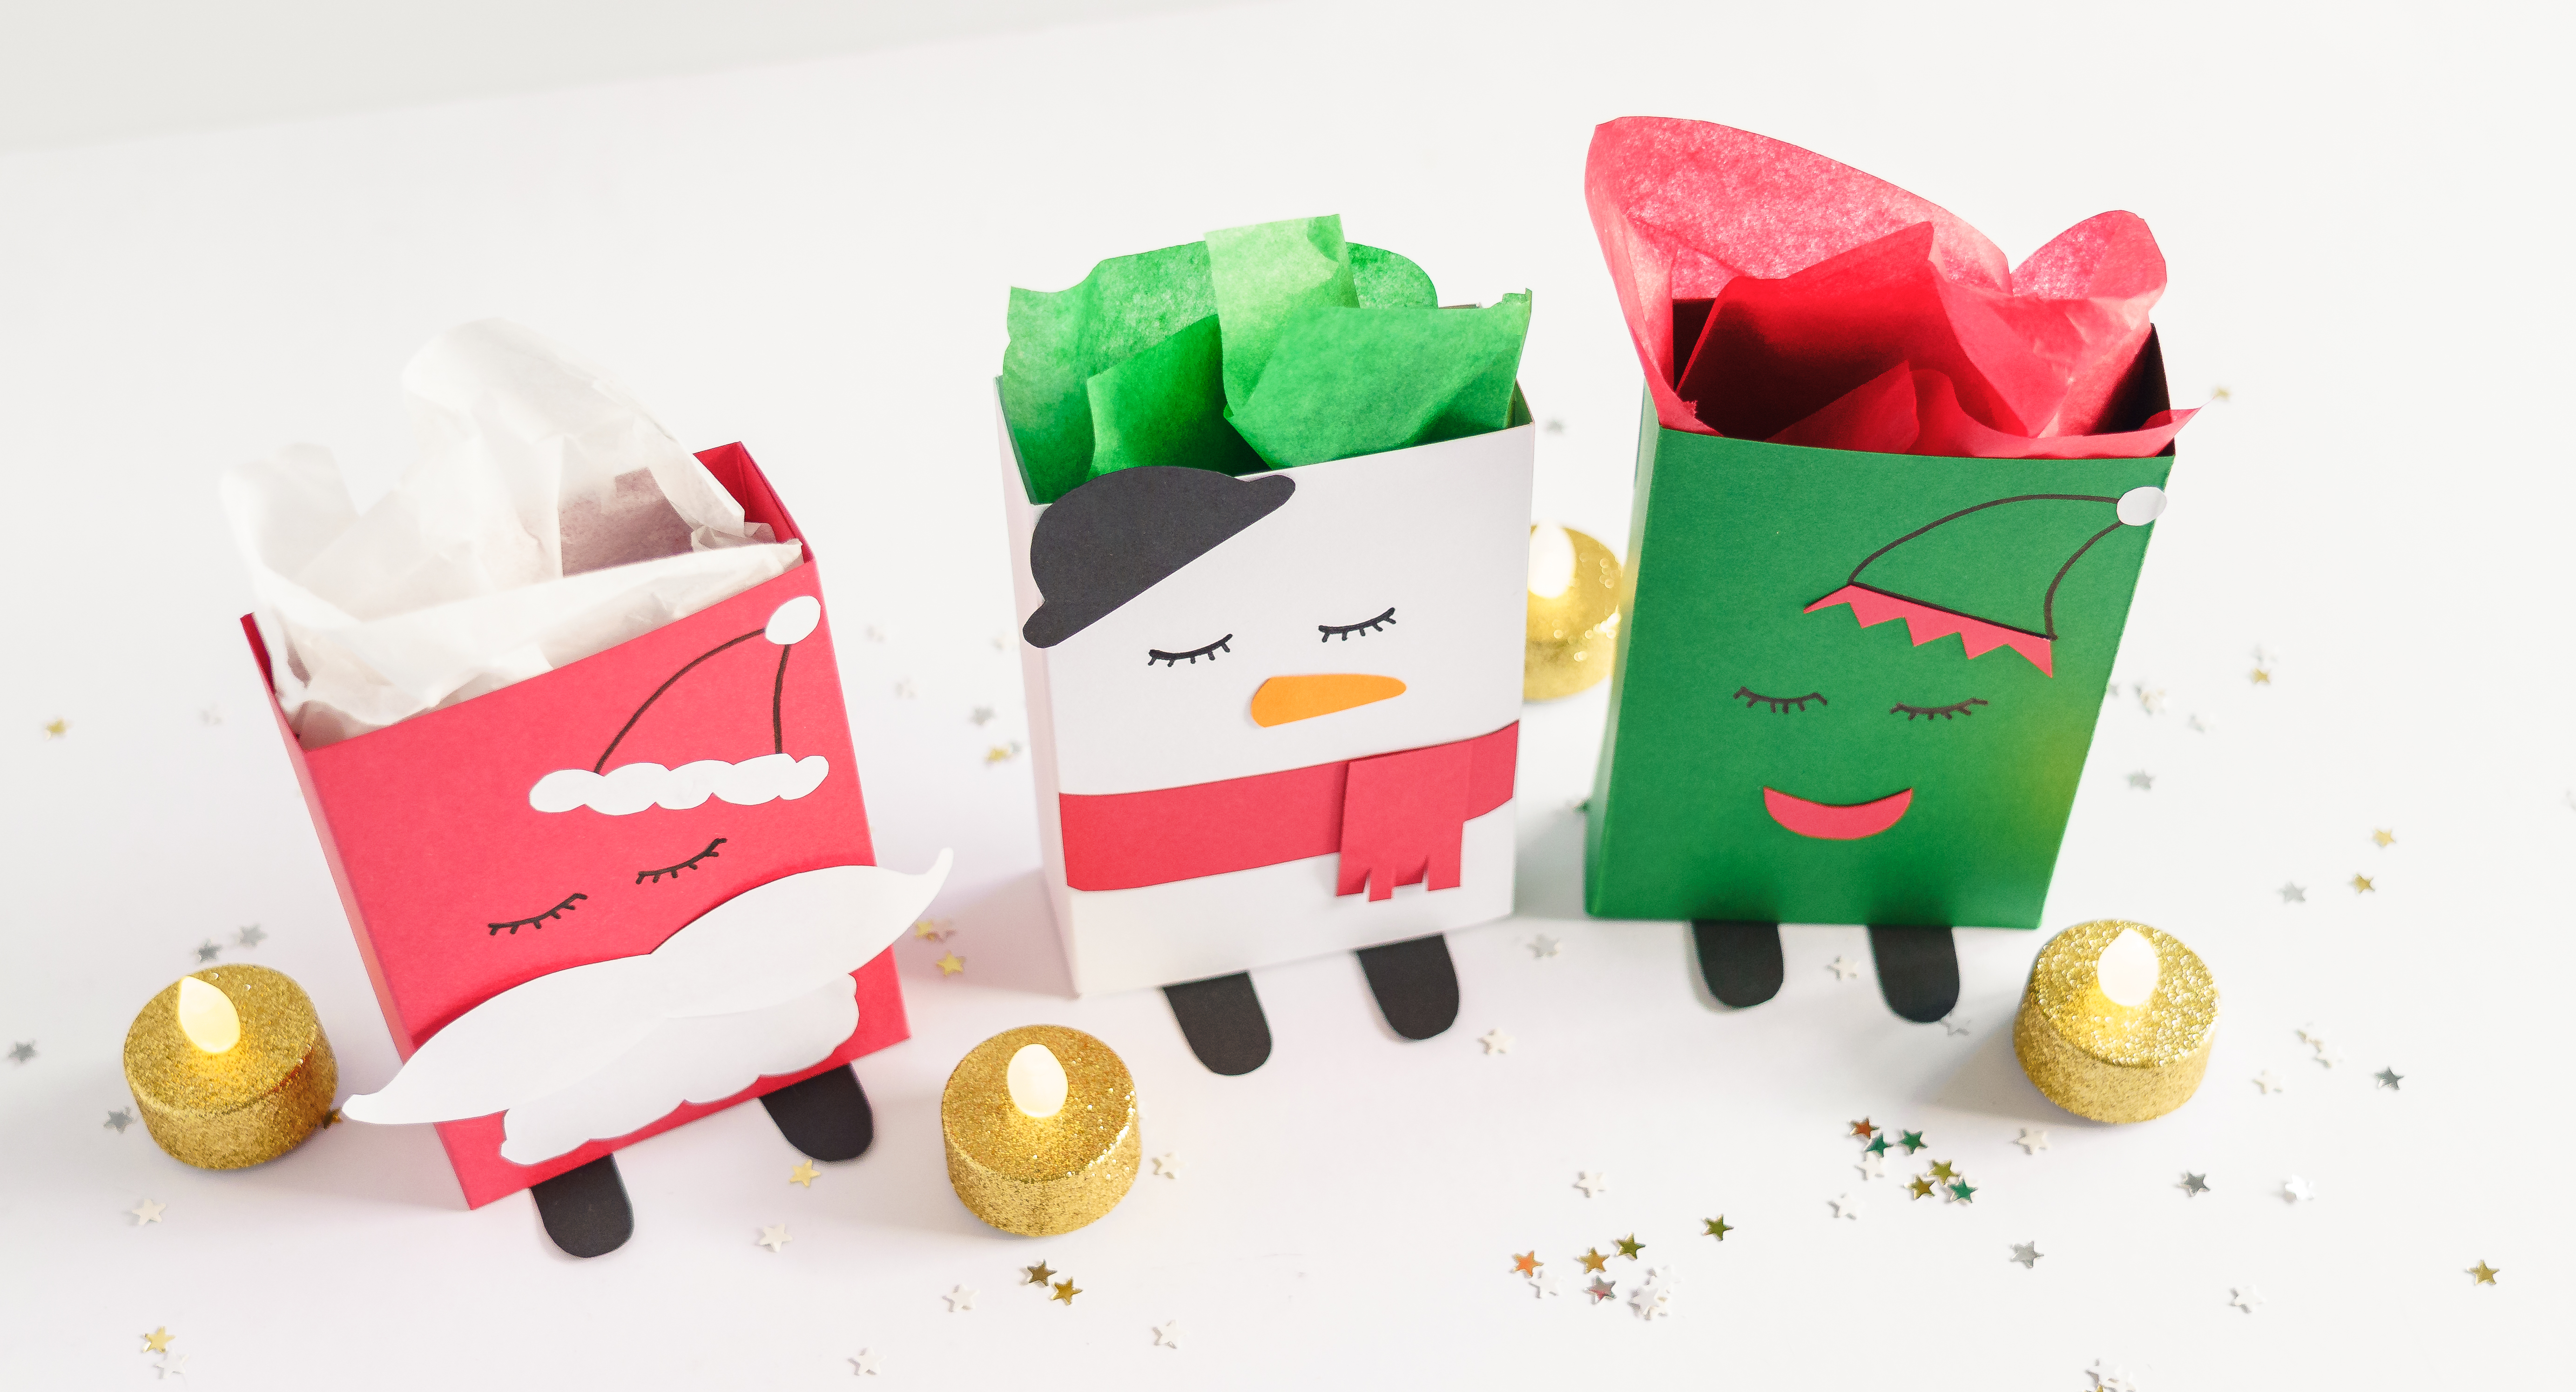
The kids have got the perfect excuse to have a creative, Christmassy afternoon at home. Help them to give their creations a finishing touch by adding coloured tracing paper to fill the card bag while they wait until Christmas to receive their gifts.

