Content
After our romantic breakfast post, today we want you to prepare something very, very cool for the next birthday, celebration or special date coming up. Here is a fun tutorial where we will show you How to make a surprise box or a mystery box.
A surprise, what fun! Everyone likes to be surprised once in a while. And this box will be intriguing from the start. What is it hiding? You can put different kinds of presents in it: gifts by textures, gifts for your secret santa, gifts by sizes, etc. You’ll have lots of possibilities!
Shall we begin? Let’s prepare the great surprise that will take everyone’s breath away!
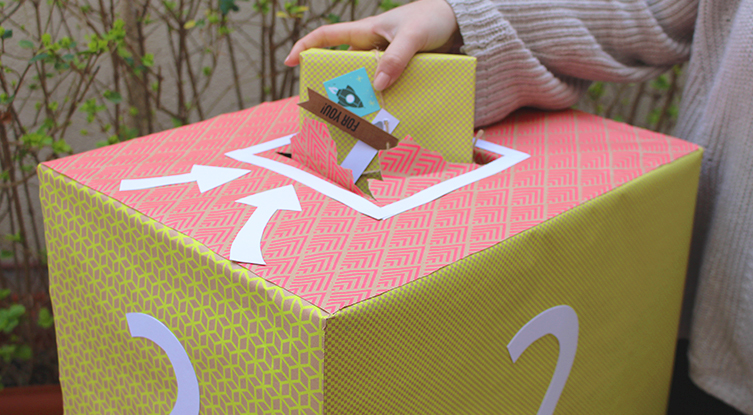
Surprise box: materials
This short list will allow us to have everything ready so nothing is missing when we get to work.
- Moving boxes ref.7001
- Wrapping paper ref.E-PR1
- Wrapping paper ref.E-PR2
- Wrapping paper ref.E-PR4
- Wrapping paper ref.E-PR3
- White A5 card
- Security tape
- Double sided tape
Surprise box: step by step
Everything ready? Let’s begin with the step by step tutorial to make our surprise box and surprise someone on a special occasion.
Step 1
The first step consists in assembling our large moving box and leaving the top open
Step 2
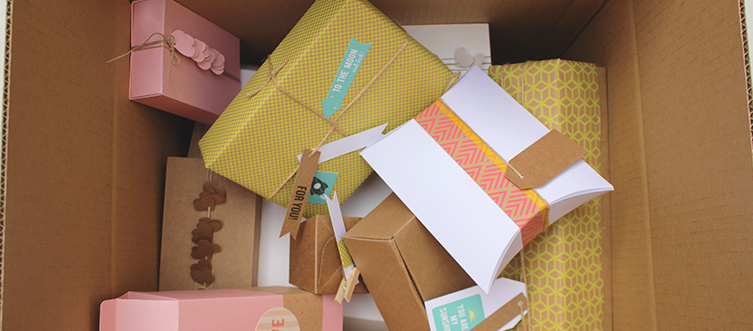
The second step is filling this box with the presents or objects you want to put inside. It could be notes with clues or messages, several little gifts, objects with different textures, etc. So many possibilities!
We have chosen to include different sized presents, each with different wrapping paper for an original touch and especially, for a great combination of colours.
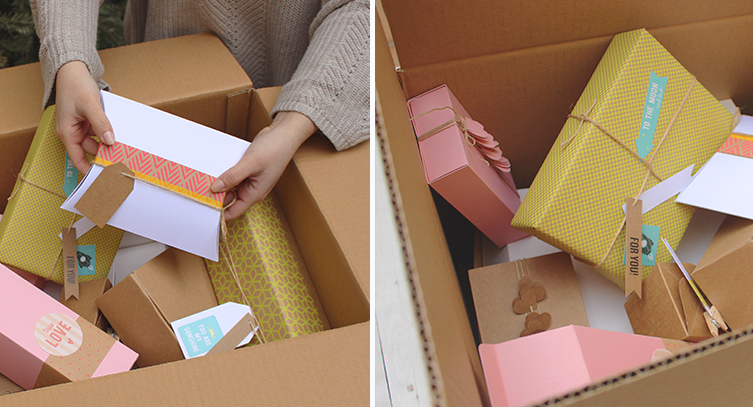
Look at how cool it looks brimming with presents! (who wouldn’t want them… hahaha)
Step 3
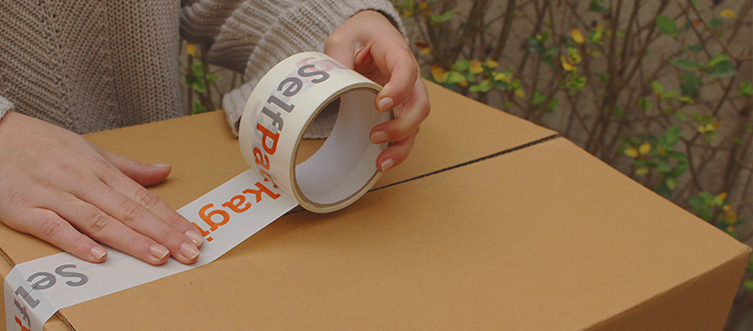
Close the top of the box with the security tape or any other kind of wide tape. The inside is ready! Let’s start on the outside.
Step 4
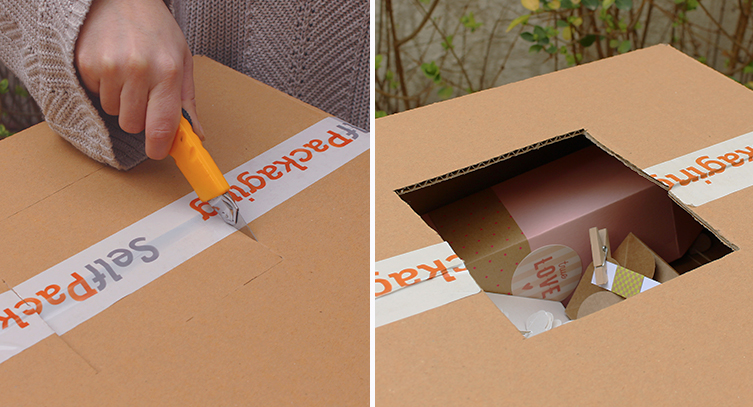
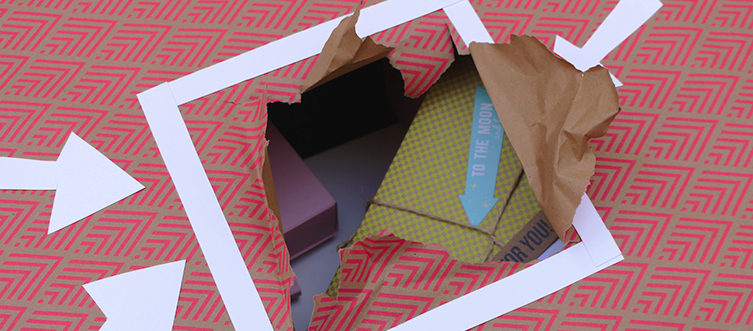
Next, we make a square hole (or a round one, your choice!) with the help of a box cutter. This is the hole through which the person you want to surprise will put their hand in to find out what the box is hiding.
Step 5
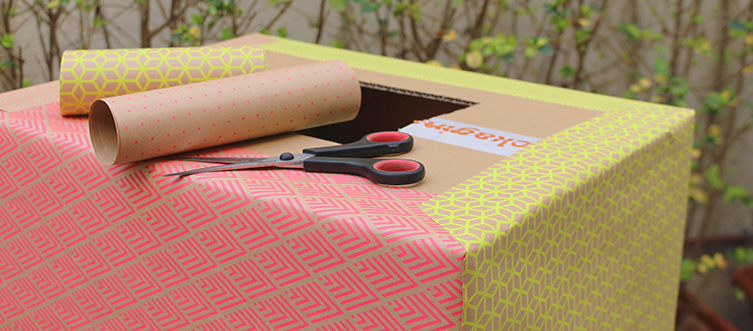
The next step is to wrap the box. You can wrap is in a single colour, with tissue paper, newspaper, wrapping paper, etc. We have chosen wrapping paper, combining different ones.
Kraft coloured wrapping paper with geometric drawings in bright pink and yellow. We love this paper!
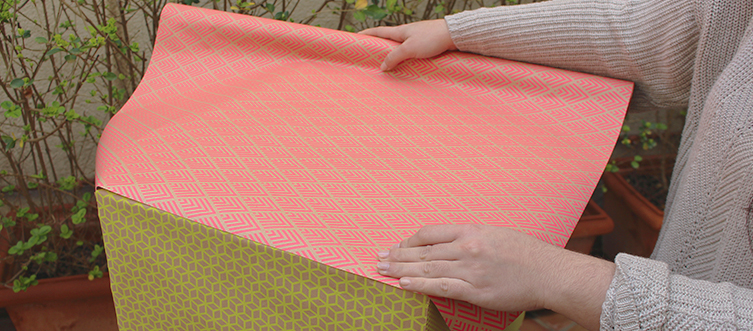
Don’t they look cute?
We wrap each side with a different pattern and the top part with our favourite.
Ready! Surprise box wrapped.
Step 6
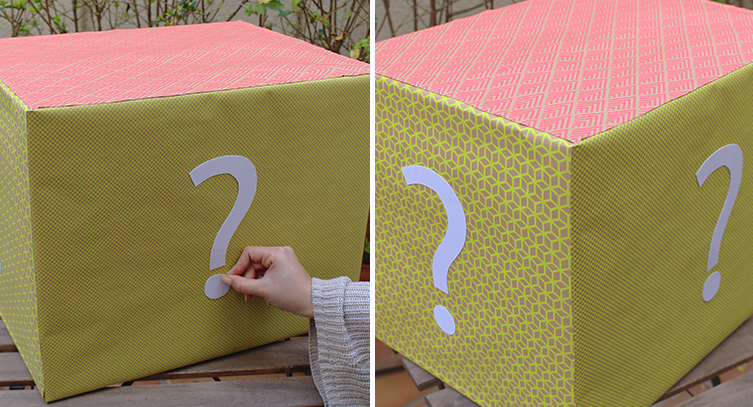
We almost have everything ready so we are going to decorate the box and indicate where the hand should rip through.
We have used the white card to draw fun question marks and stick them on one of the sides of our box to decorate our surprise or mystery box.
Step 7
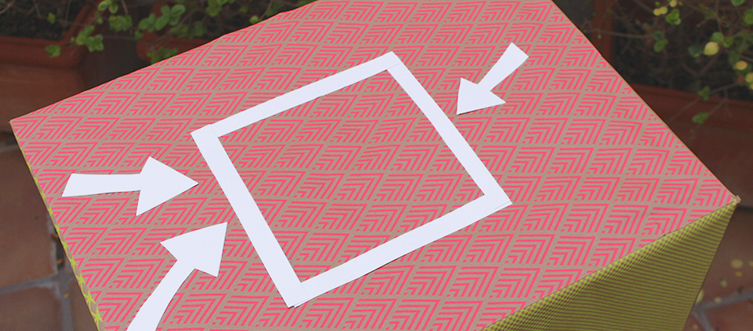
To decorate further and use the rest of the white card, we cut out a basic frame to stick where the hole in our box is and, also using the card we have cut out little arrows pointing at the frame. There will be no doubt as to where the box should be ripped.
Et voilà! Our box is ready and now… let’s wait for the person we want to surprise to break through and find the presents! A very simple tutorial with a very cute result and an original gift giving idea.
What do you think?
The surprise box is perfect for all ages as you can adapt the theme and play with what you put inside. Add an original touch to your next party, everyone will fall in love with your mystery box!
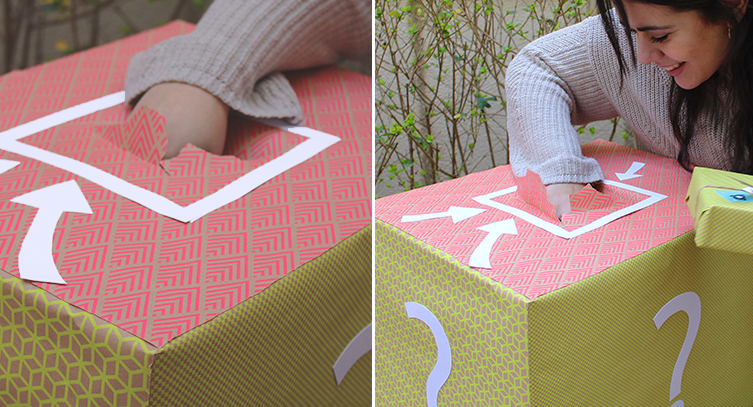
We will be happy to get your creations 🙂 If you feel like it, share it on your social networks and don’t forget to tag us or use the hashtag #Selfpackaging.


Pingback: 30 Homemade DIY Gift Box Ideas You Can Easily Make
Pingback: 25 Best DIY Gift Box You Can Easily Make - Susie Harris