Ladies and gentlemen, it’s almost Easter! This means we will soon be surrounded by bunnies, pastel coloured eggs and, of course, chocolate. Heaps of chocolate of every kind, shape and size.
At SelfPackaging we love a holiday, but we are crazy about giving them a twist with our cardboard boxes. This time we thought you may want to prepare one of these two surprise boxes for that special someone near you. Whether they are children or not… they will love it! Love has no age, and neither does chocolate.
A tutorial in collaboration with Mary Galou.
So, let’s get to work! Two very simple DIYs you can do with no effort and using materials you’ll easily find in any craft store. Write it down…
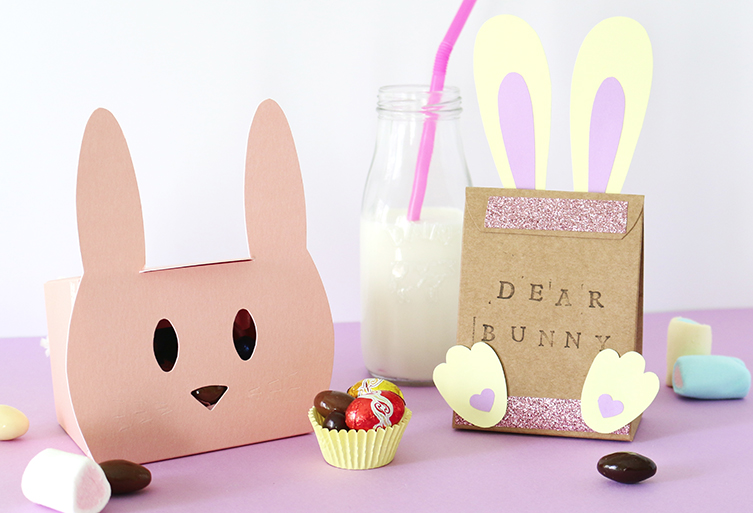
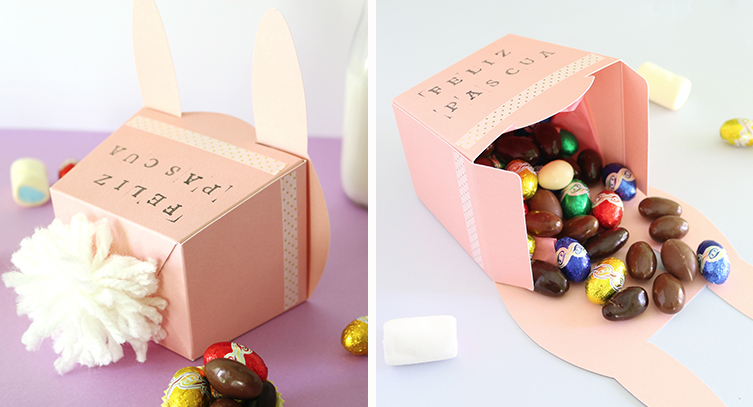
EASTER BUNNY
Nothing says “Easter” like a sweet pink bunny, right? Look at it! You feel like eating it up, even without the chocolate inside. A little washi tape, some stamps, a woolly tail and… voilá! A great gift even for those who don’t have such a sweet tooth.
Materials:
- 1 bunny shaped box, light pink (ref. 2217).
- Double-sided adhesive tape.
- White washi tape with golden details.
- White wool.
- Alphabet stamp kit.
Step by step:
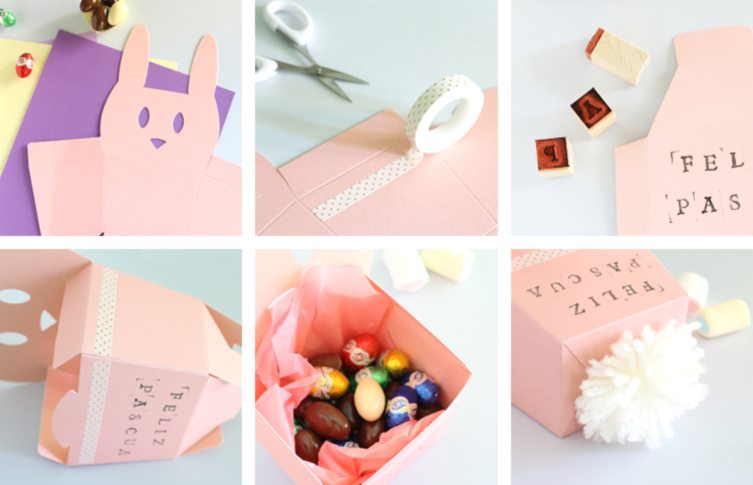
- Start by placing your choice of washi tape on the outside of the box, near where the bunny’s face will be.
- Stamp a nice little message on the top of the box. Do it before you start folding it, it will be a lot easier. If you don’t have a stamp kit you can write it yourself with a felt-tip pen, but make sure the ink is dry before starting on the next step.
- Fold the box. With a little double-sided adhesive tape it will take a second, although you can also use glue.
- Fill it up with chocolate eggs and close it. Try not to eat any!
- Make a white woolly pompon and place on your bunny at the back of the box with a little glue.
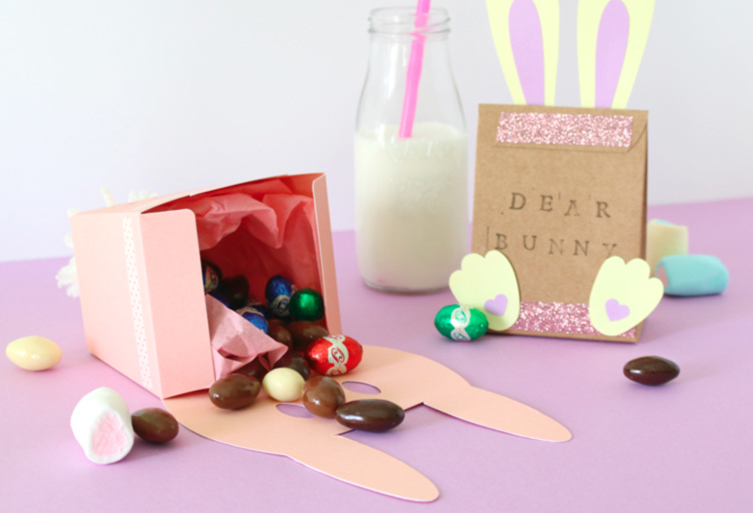
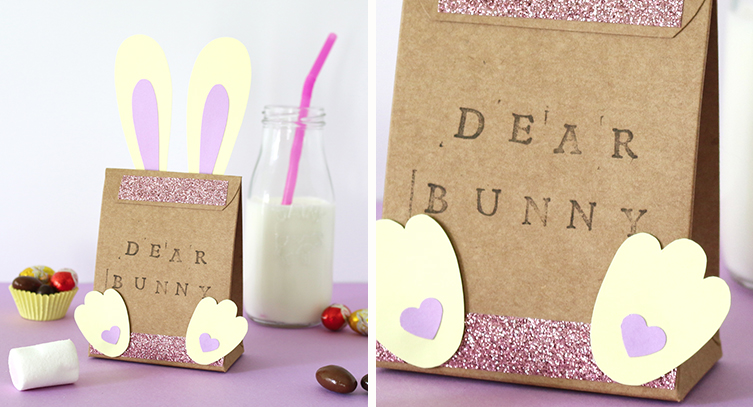
DEAR BUNNY
Chocolate for the person who stole your heart. A fair deal, don’t you think? To do this you’ll need to arm yourself with a pair of scissors and some skill, but the result is well worth it.
Materials:
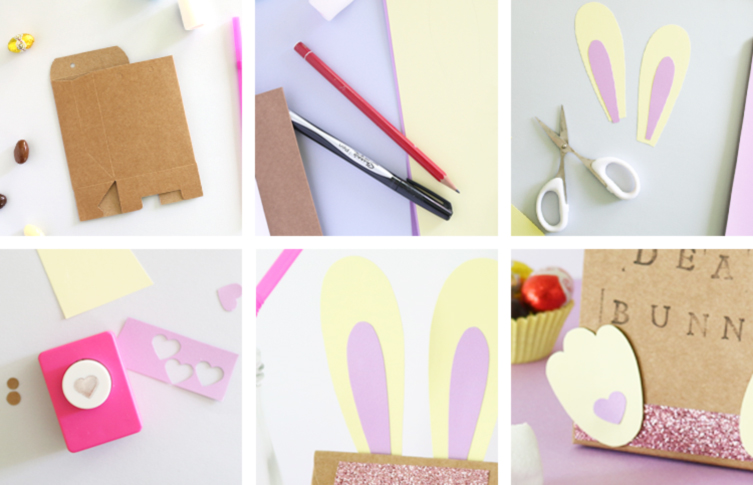
- 1 bag for small gifts, Kraft coloured (ref. 0436).
- Double-sided adhesive tape.
- Purple glitter washi tape.
- Yellow card.
- Purple card.
- Heart shaped punch.
- Alphabet stamp kit.
- Glue for school use.
Step by step:
- Start by placing the purple glitter washi tape at the base of the main side and on the flap, where the bow should go.
- Use stamps to leave a message. We have written Dear bunny, but you can let the chocolate guide you.
- Draw an ear and a paw on the yellow card and cut them out. Then use them as templates for a second ear and paw so they look the same.
- Draw and cut out the inside of the ears on the purple card, and stick the pieces on the yellow ears. It’s taking shape!
- Use the punch to make two hearts and stick them inside the paws, like in the photo. If you don’t have a heart-shaped punch, you can do it yourself.
- Fold the box . With a little double-sided adhesive tape it will take a second, although you can also use glue.
- Use some school glue where the ears and paws go. Press lightly when you put them on so the glue holds properly.
All ready! Everything is prepared for Easter. We are sure you’ll get many smiles out of these boxes. You might even earn a good kiss for being so sweet. Or an Easter cake!