Content
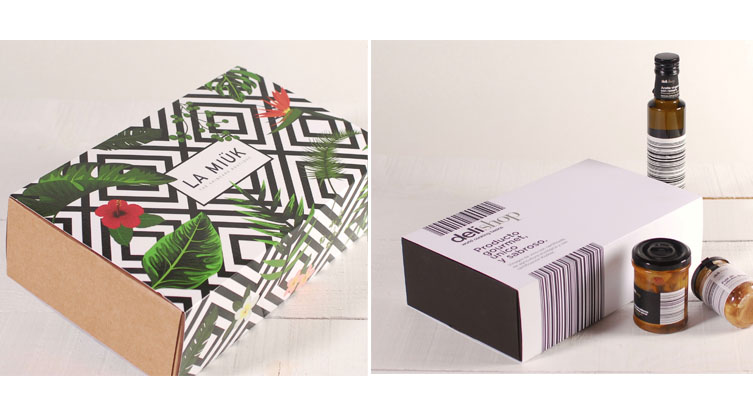
When you go shopping, you probably let packaging guide your choice to a great extent, it’s the first thing you see! When you make purchases or send products through the post, packaging should also be carefully thought of, so the shipping box stands out from the moment your receive it! This is why our self-assembling box for shipments (ref. 2213) now includes an option to add a printable sleeve with a design of your choice, to decorate your box and surprise anyone who receives your products or gifts: Furthermore, you can order your customised shipping boxes in no time at all through our website and with no minimum order required!
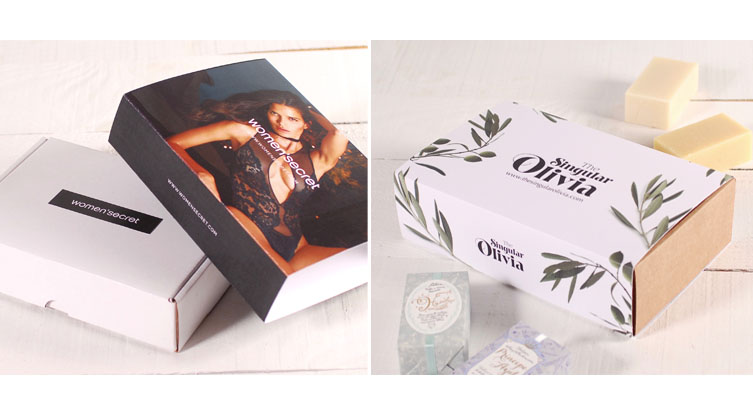
So as to make it even easier, we show you how to create your customised shipping boxes step by step on our website.
Customise your shipping boxes
Step 1: select the box and the printable sleeve

In this first step, you must select the size of the self-assembling box of your choice (S, M or L), and click on “Printable sash”. We have chosen an L-sized box.
Step 2: Download the instructions and open the files
Open the instructions by clicking on the link on the column on the right.
A folder will be downloaded on our computer and you must unzip the file.
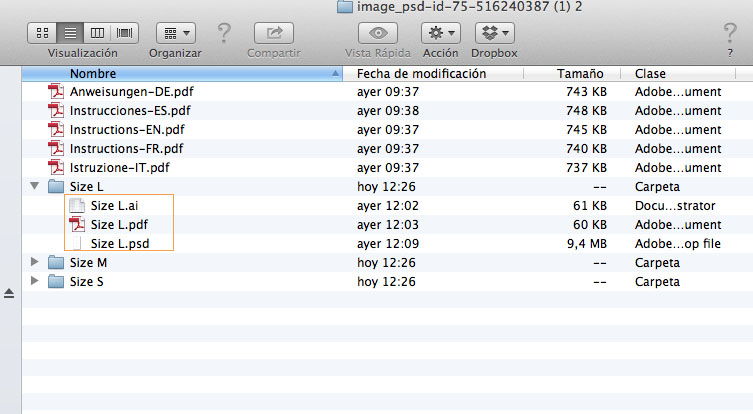
Along with the instructions, there are 3 folders corresponding to each of the possible sizes of the self-assembling rectangular box (ref. 2213).
In our case, we will just use the files in the size L folder, as this is the size we chose.
The files you’ll find in the folder are different formats of the sash template. You choose the one you want to work on (Photoshop, Illustrator…).
We will work with the Illustrator file (ai).
Step 3: Prepare your design
Now, follow the instructions in the PDF very carefully!
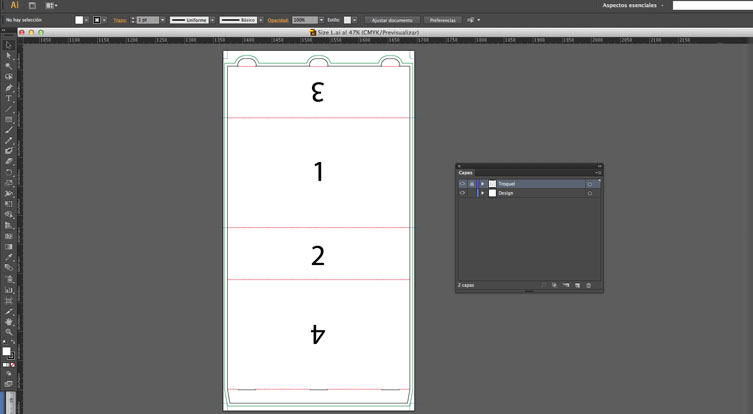
When you open the file, you’ll find the following template. The numbers indicate the position of the design:
- Front
- Front flap
- Back flap
- Back
There are two layers: the “Cut-out” layer and the “Design” layer.
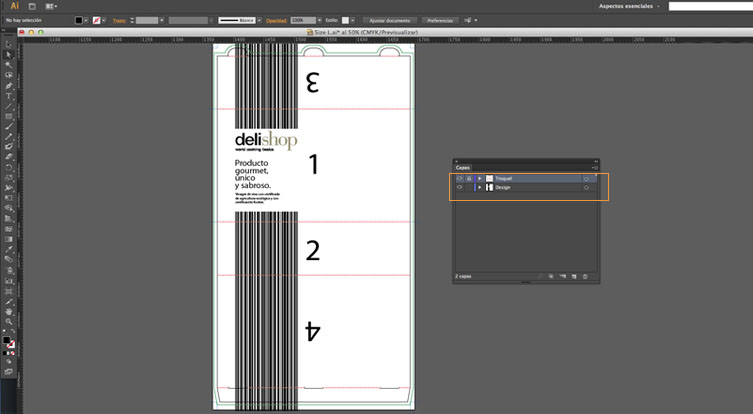
We’ll place our design in the “Design” layer. Watch out! Don’t erase the continuous blue lines, they are the cut-out guidelines.
Step 4: Save the design
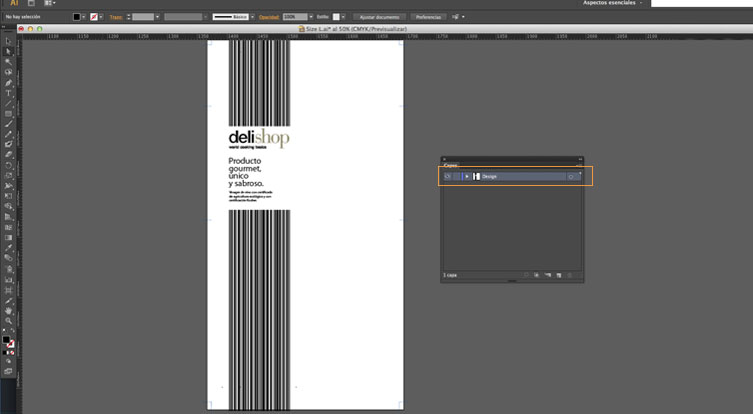
In order to save the design, eliminate the “cut-out” layer (only your design and the blue cut-out guidelines should remain). We save the file as a PDF.
Step 5: Upload the file to the website
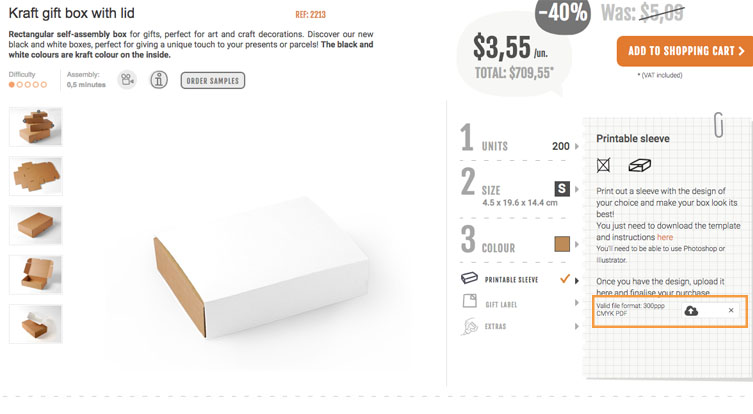
Once the file is ready, we just need to upload it into the website by clicking on the cloud on the right-hand side column, and add the number of boxes we want to purchase.
Finish your order… and in a few days you’ll have your customised shipping boxes!


All details you describe in your blog post about box sleeve printing is very informative for me. Pencils Boxes provides with suitable price.