Content
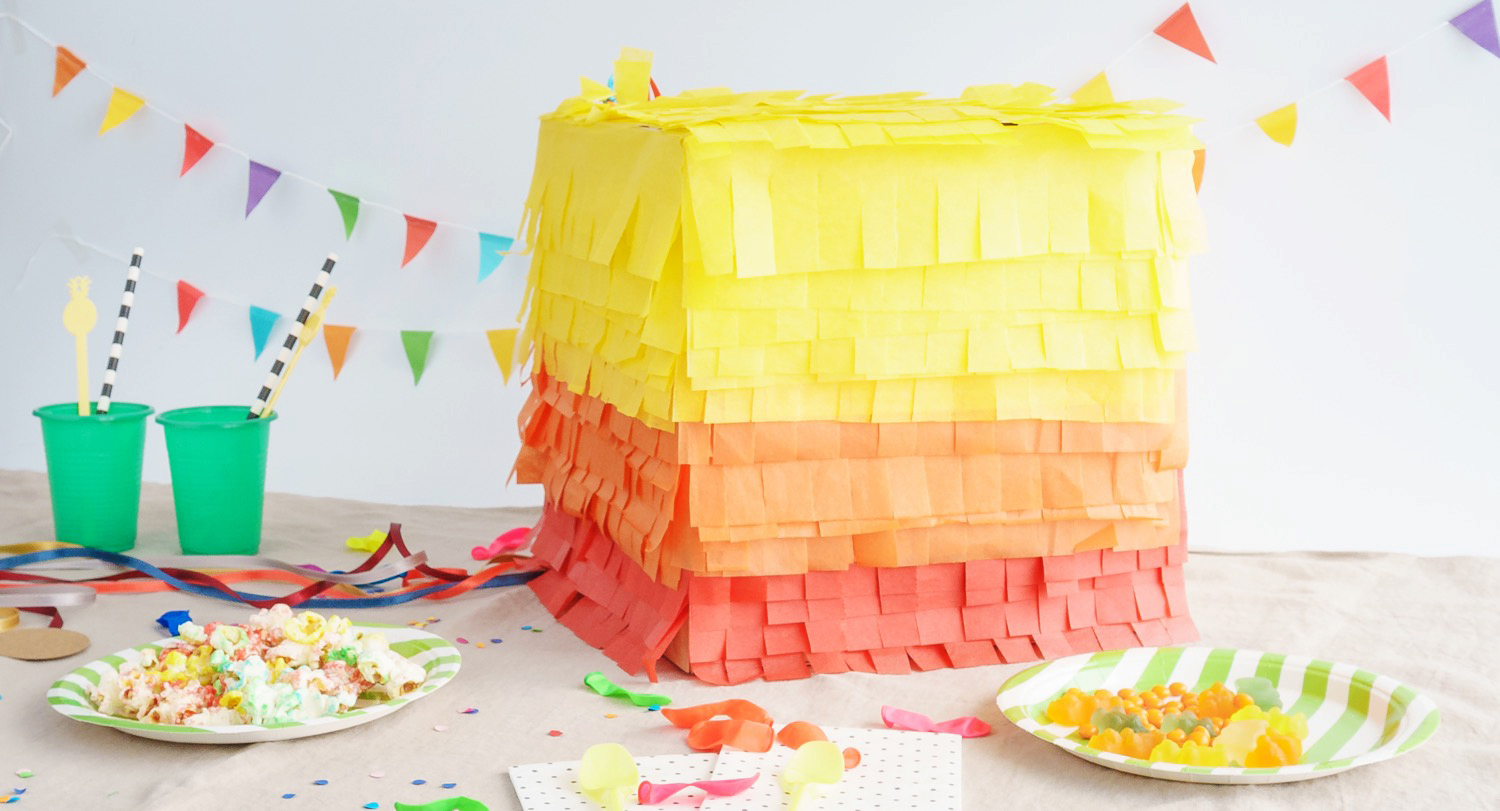
Some of best moments in children’s parties involve piñatas. The kids are happy and excited to find out which ribbon will be the one that opens the piñata up, and what surprises they will find inside.
Piñatas have become a tradition that not only the little ones enjoy. Us adults have also brought this fun game back to our parties, to add a touch of humour to the celebration. Piñatas can also be a key element of our party decoration and a different and fun way to give out little gifts.
So, making and decorating your birthday piñata can be a fun and decorative idea for your next party. To begin with, you only need to think of one thing: the kind of surprises you want to put inside. And of getting hold of our new super box to make your own piñata.
Fun, huh? Let’s go!
A super post made in collaboration of Esencia Gráfica.
Materials:
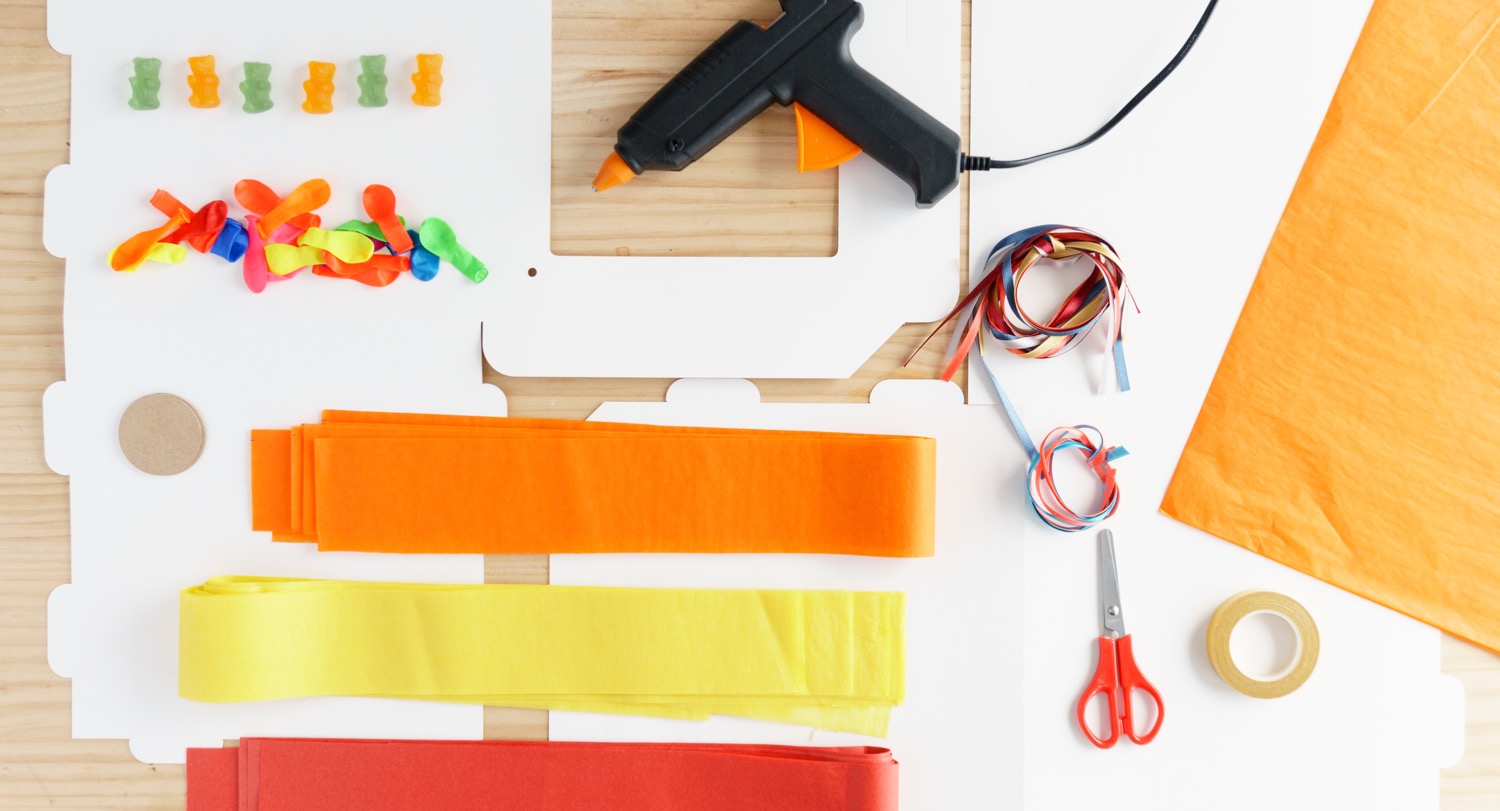
- Selfpackaging’s Piñata
- Coloured tissue paper
- Coloured ribbons
- Double sided tape
- Hot glue
- Scissors
- Little gifts
Step by Step:
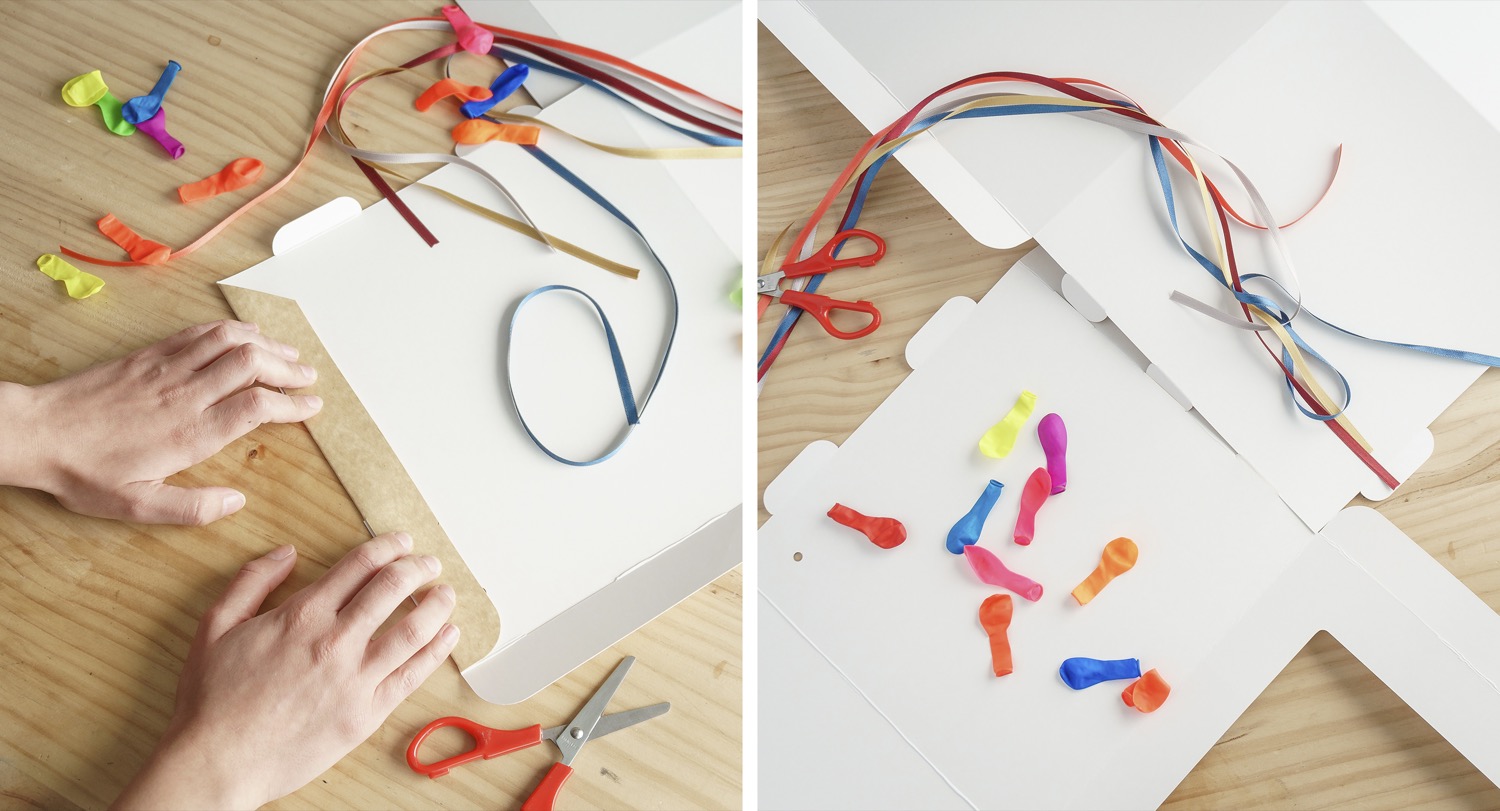
1 – Make each fold as indicated on the box.
2 – On a flat surface, put the three tabs on one of the halves of the box together with the other half.
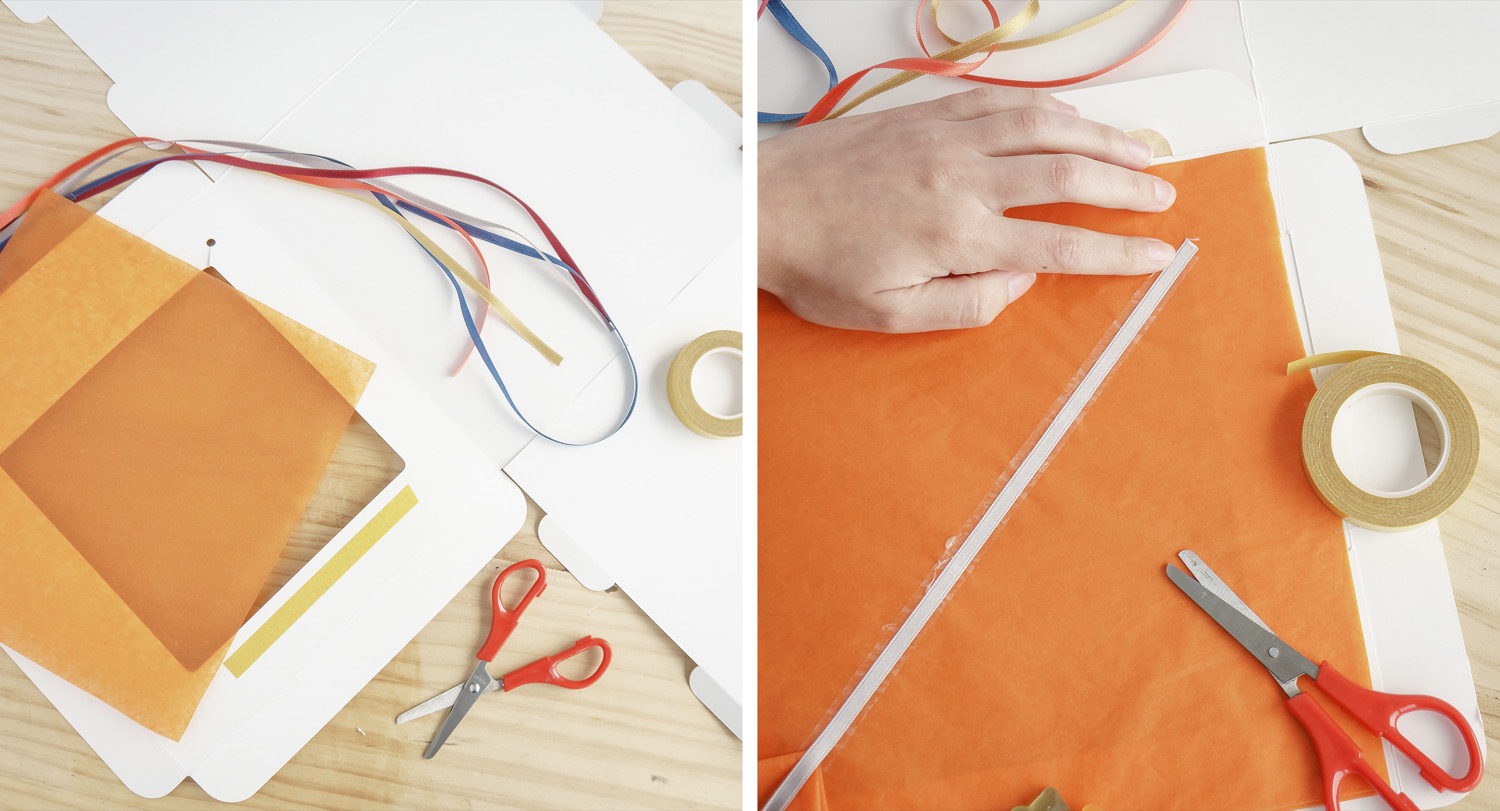
3 – Stick the square piece of orange tissue paper with double sided tape to the side that has the opening. This will be the base of the piñata, where the presents will come out.
4 – The longest ribbon in the kit will be the one to break the paper at the base of the piñata. Stick it on the paper in the inside of the box with double sided tape. Then put the ribbon through a hole in the box that you will find in that area.
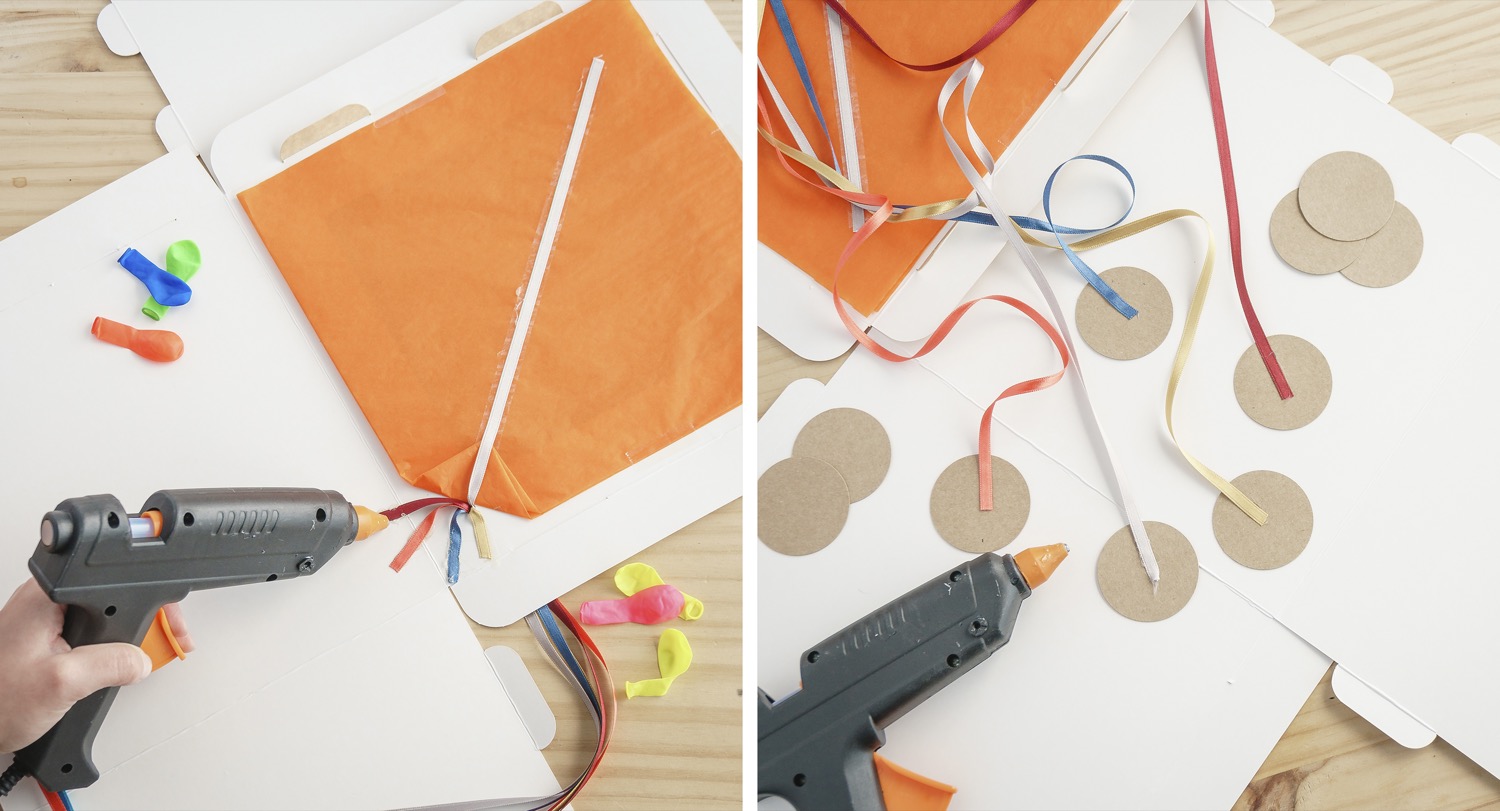
5 – Put the rest of the ribbons through the same hole and stick them on with hot glue so they won’t touch the tissue paper on the base.
6 – Next, stick a circle of cardboard on the end of every ribbon.
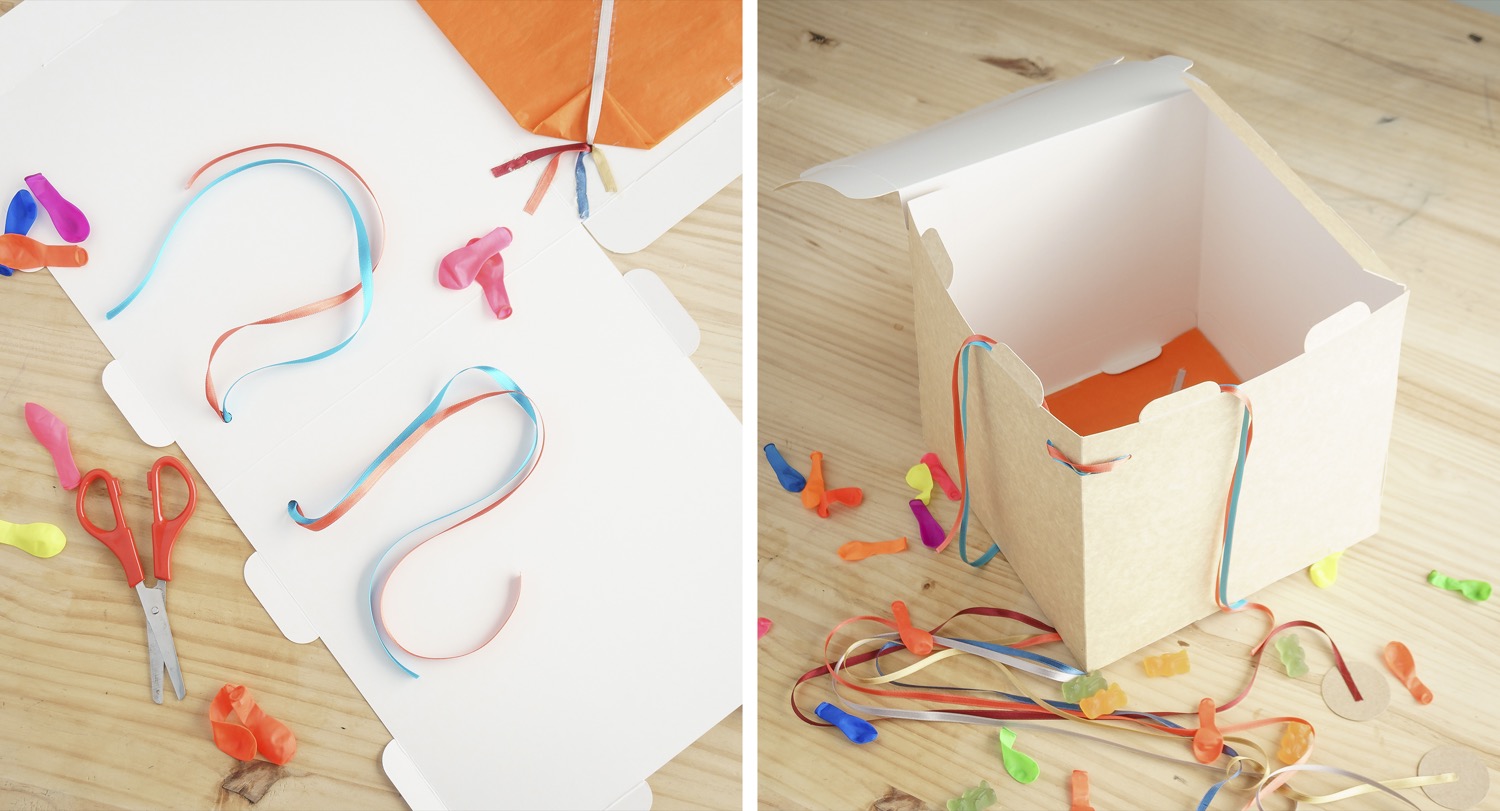
7 – To hang the piñata from the ceiling, thread the other ribbons through the holes on the top part of the box and make a knot so they don’t come out.
8 – Now place all the little gifts inside of the box. Then, put the remaining tabs together to completely close the box.
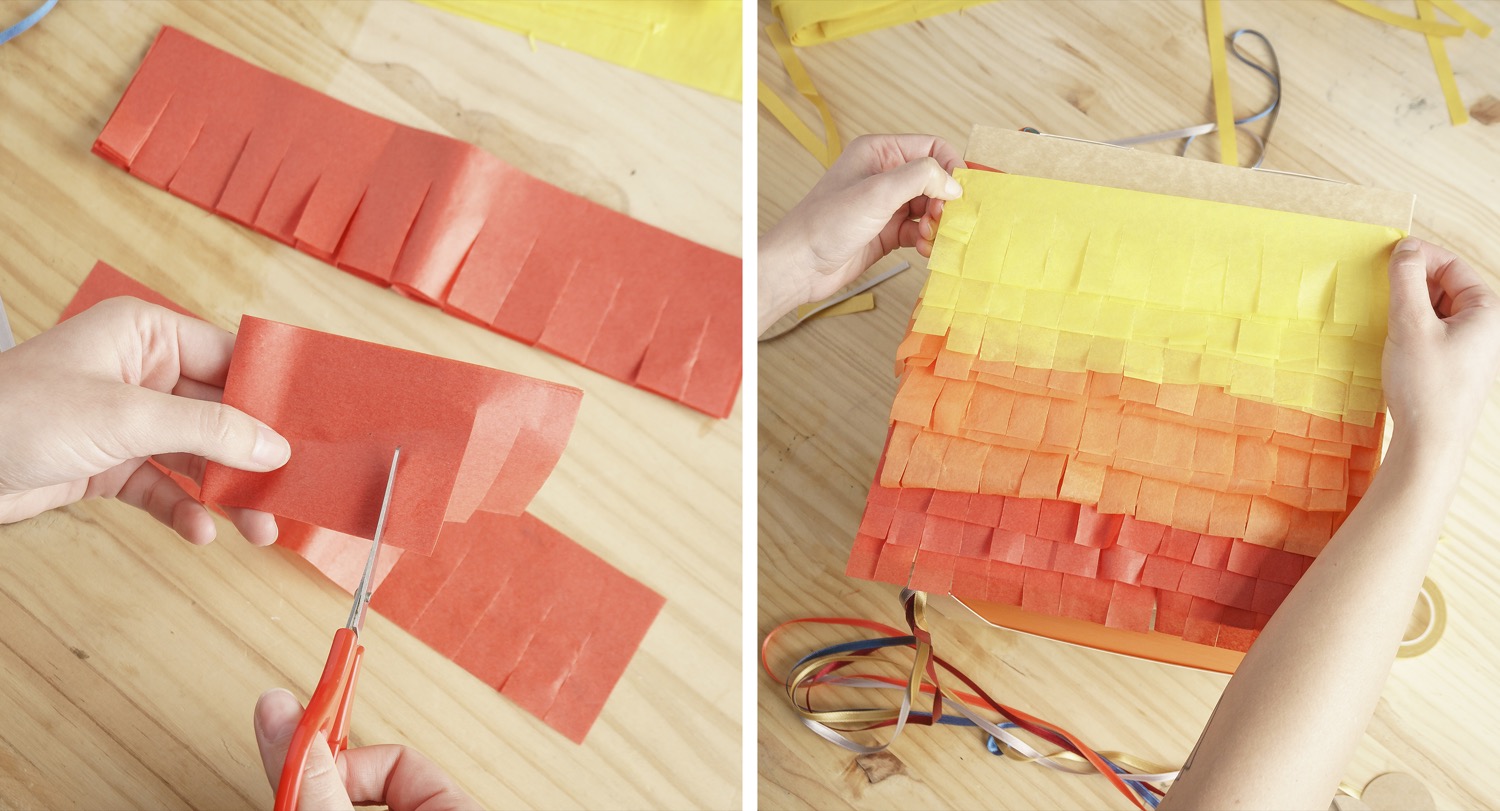
9 – With the help of a pair of scissors, make vertical cuts up the middle of the coloured tissue paper. Then, place the double-sided tape on the part with no cuts.
10 – Now it’s time to cover the box in colourful tissue paper. Stick every strip you have prepared with the double-sided tape on the surface. Try to hide the double-sided tape under the strip of paper so as to create a cascading effect.
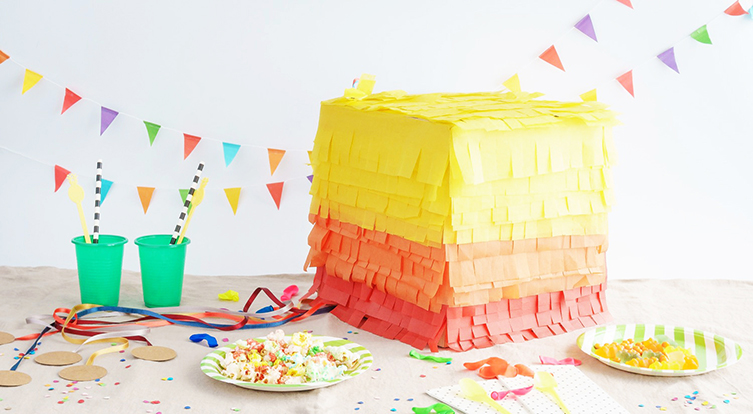
When all the decoration is complete, hang the piñata from the ceiling and it’s ready to play with!