
Content
The moment has arrived: You’re getting married! Now you have an endless list of choices to make and things to arrange: the date, the place, the meal, the dress, etc. But let’s start with the most important part: sharing the news with your loved ones. Both family and friends will be thrilled to hear. Of course, no one should miss it, so you need to make a full list of guests. Once you have it, you need to make sure everyone saves the date so they can make it. You could do it with a phone call or an e-mail, but isn’t the occasion with something nicer? How about letting people know the date with a “Save the date” box?
Among our boxes, you will find many ideas to put together something original and pretty. And in line with the look of your wedding.
Ready to make the “Save the date” box!
A super post in collaboration with Esencia Gráfica.
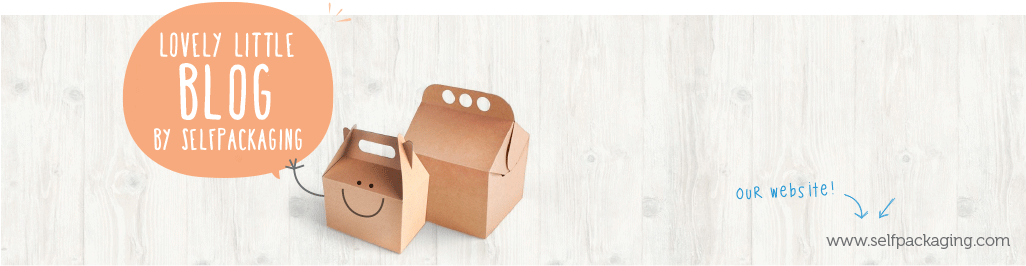
Materials:
- 1 navy blue and 1 white photographer’s boxes (ref: 1901)
- Ready for the wedding! letters
- Large “Save the date” card
- White flag-shaped label (ref: I-ES8_10)
- Silver cardboard sheet (ref: I-CC7)
- Hot glue gun (ref: E.HE1)
- Silver and pink washi tape (ref: E-WT4)
- White permanent markers: one fine and one thick
- Scented dried flowers
- Cloth ribbons
- Scissors
STEP BY STEP:
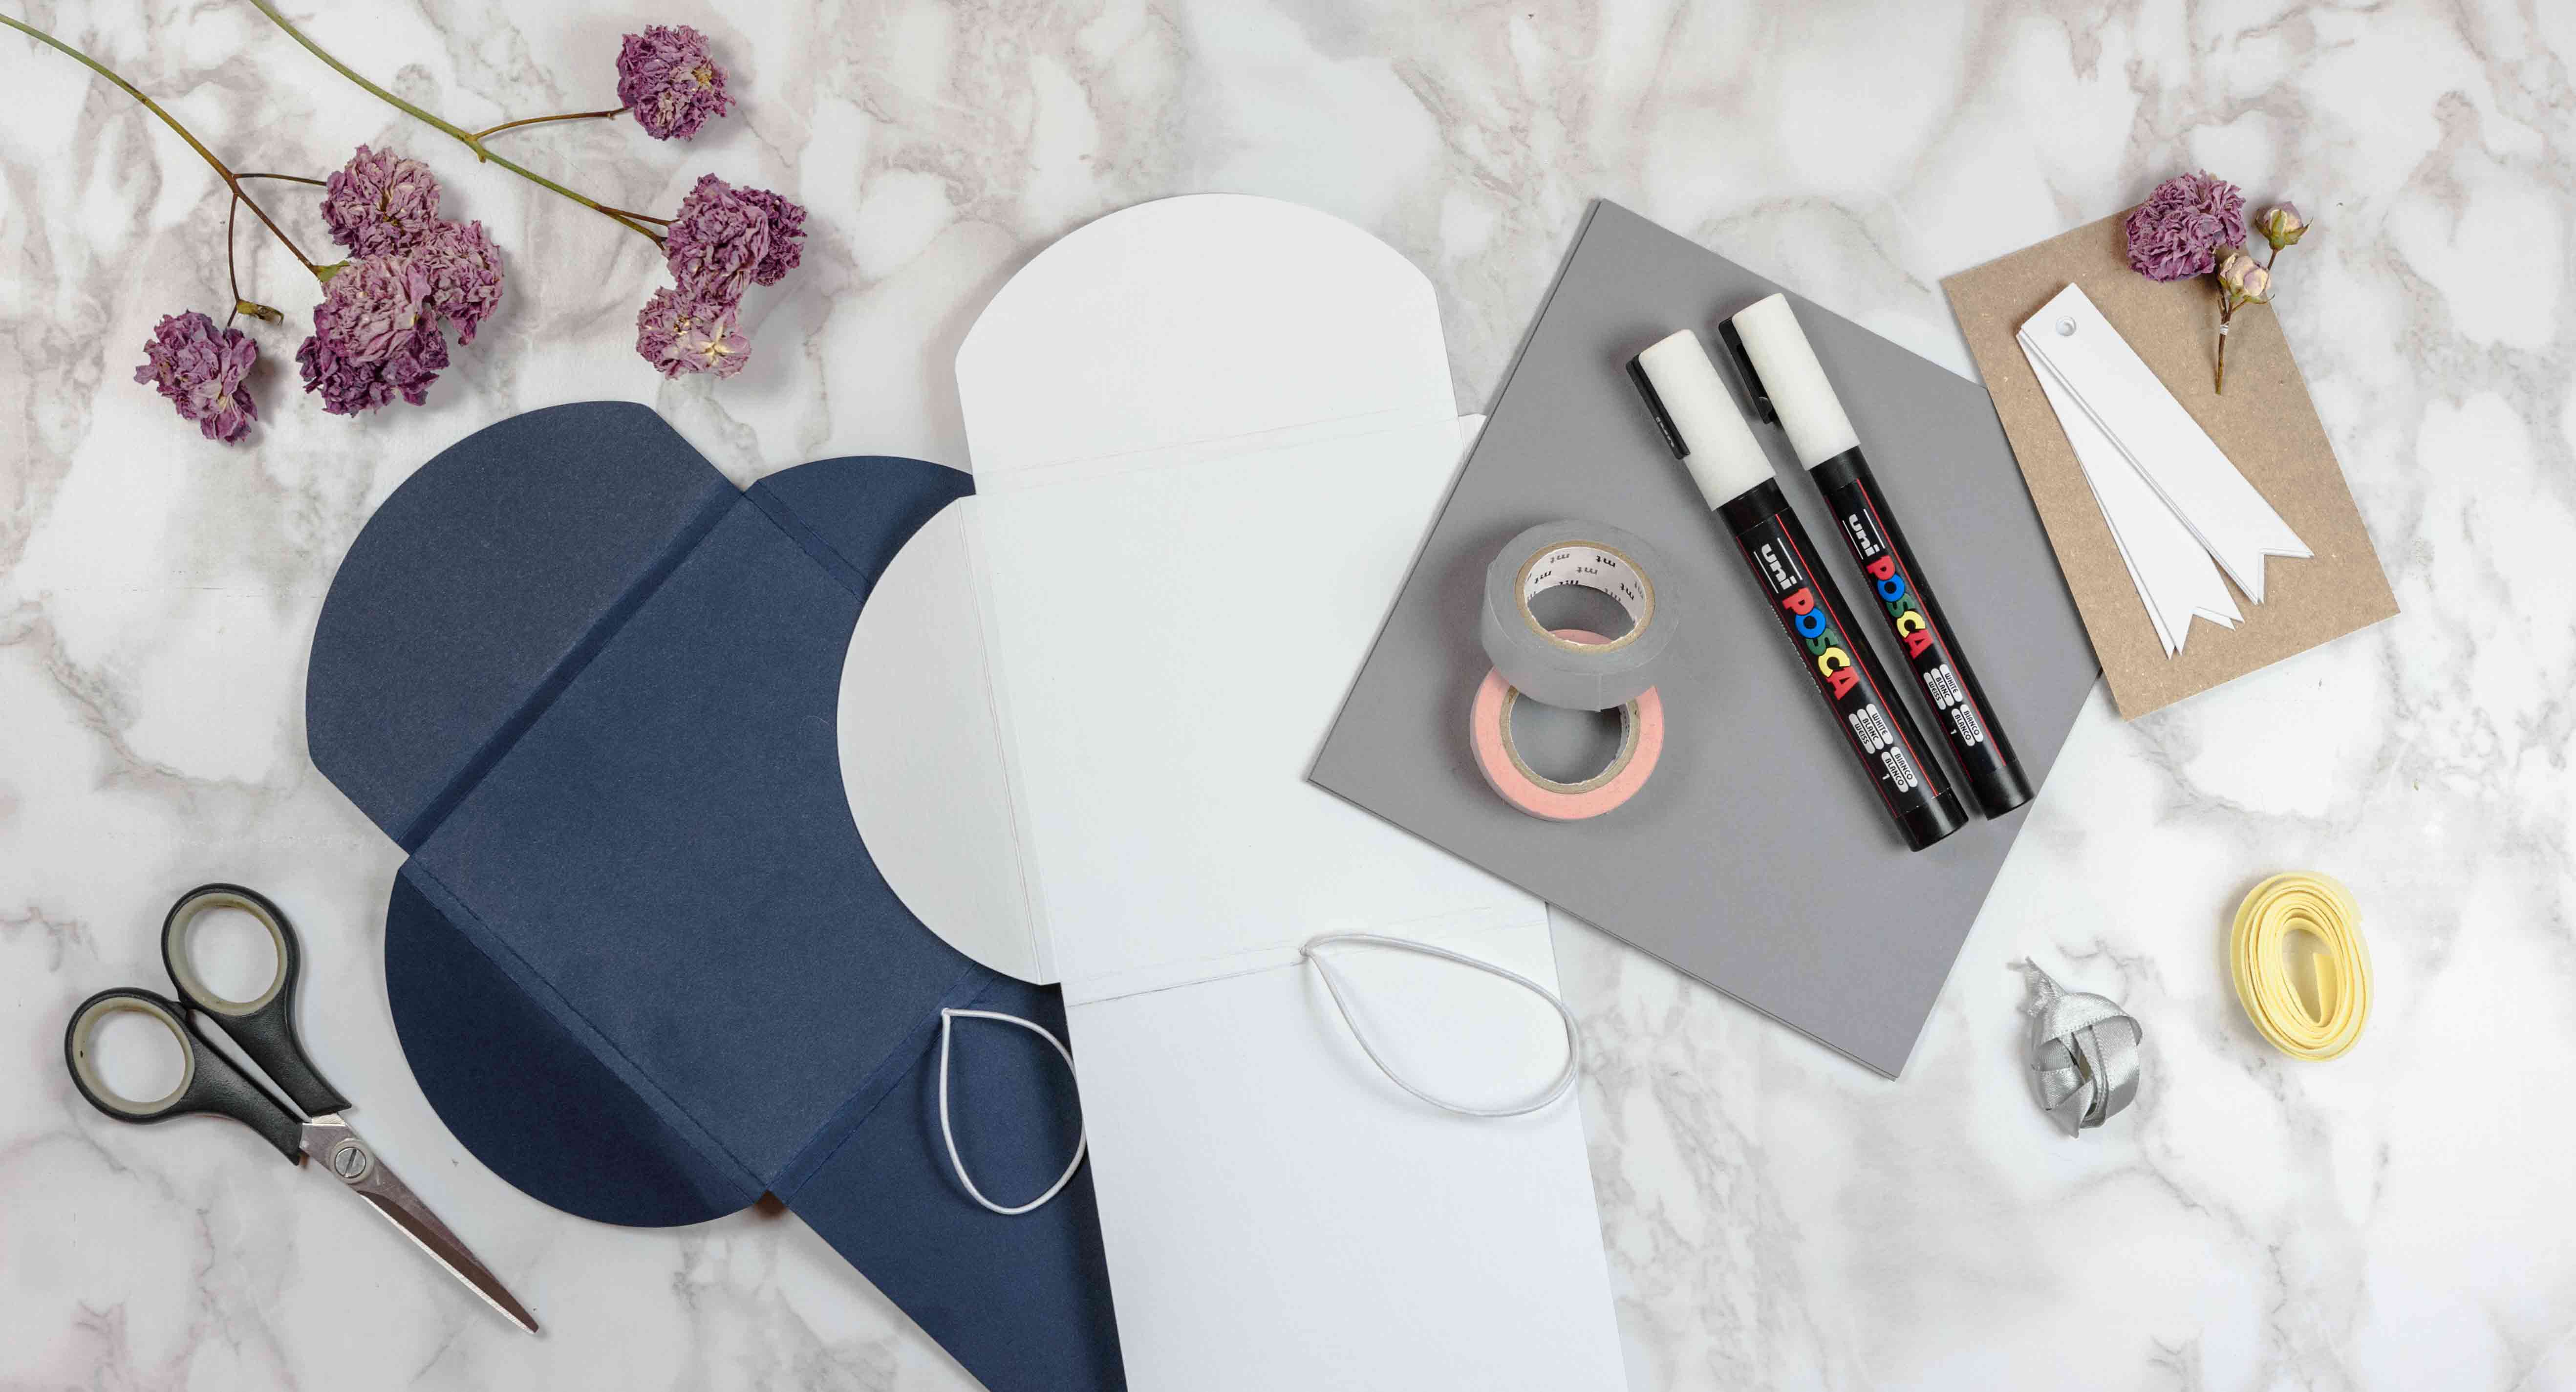
- We cut out the silver cardboard sheet in a 12 x 12cm square. Next, we write the message we have chosen for our Save the date box with a white permanent marker. In the “materials” section you can download our proposal in PDF.
- On the cover of our box, we write down the title with the fine white marker. In the “materials” section you can download our proposal in PDF.
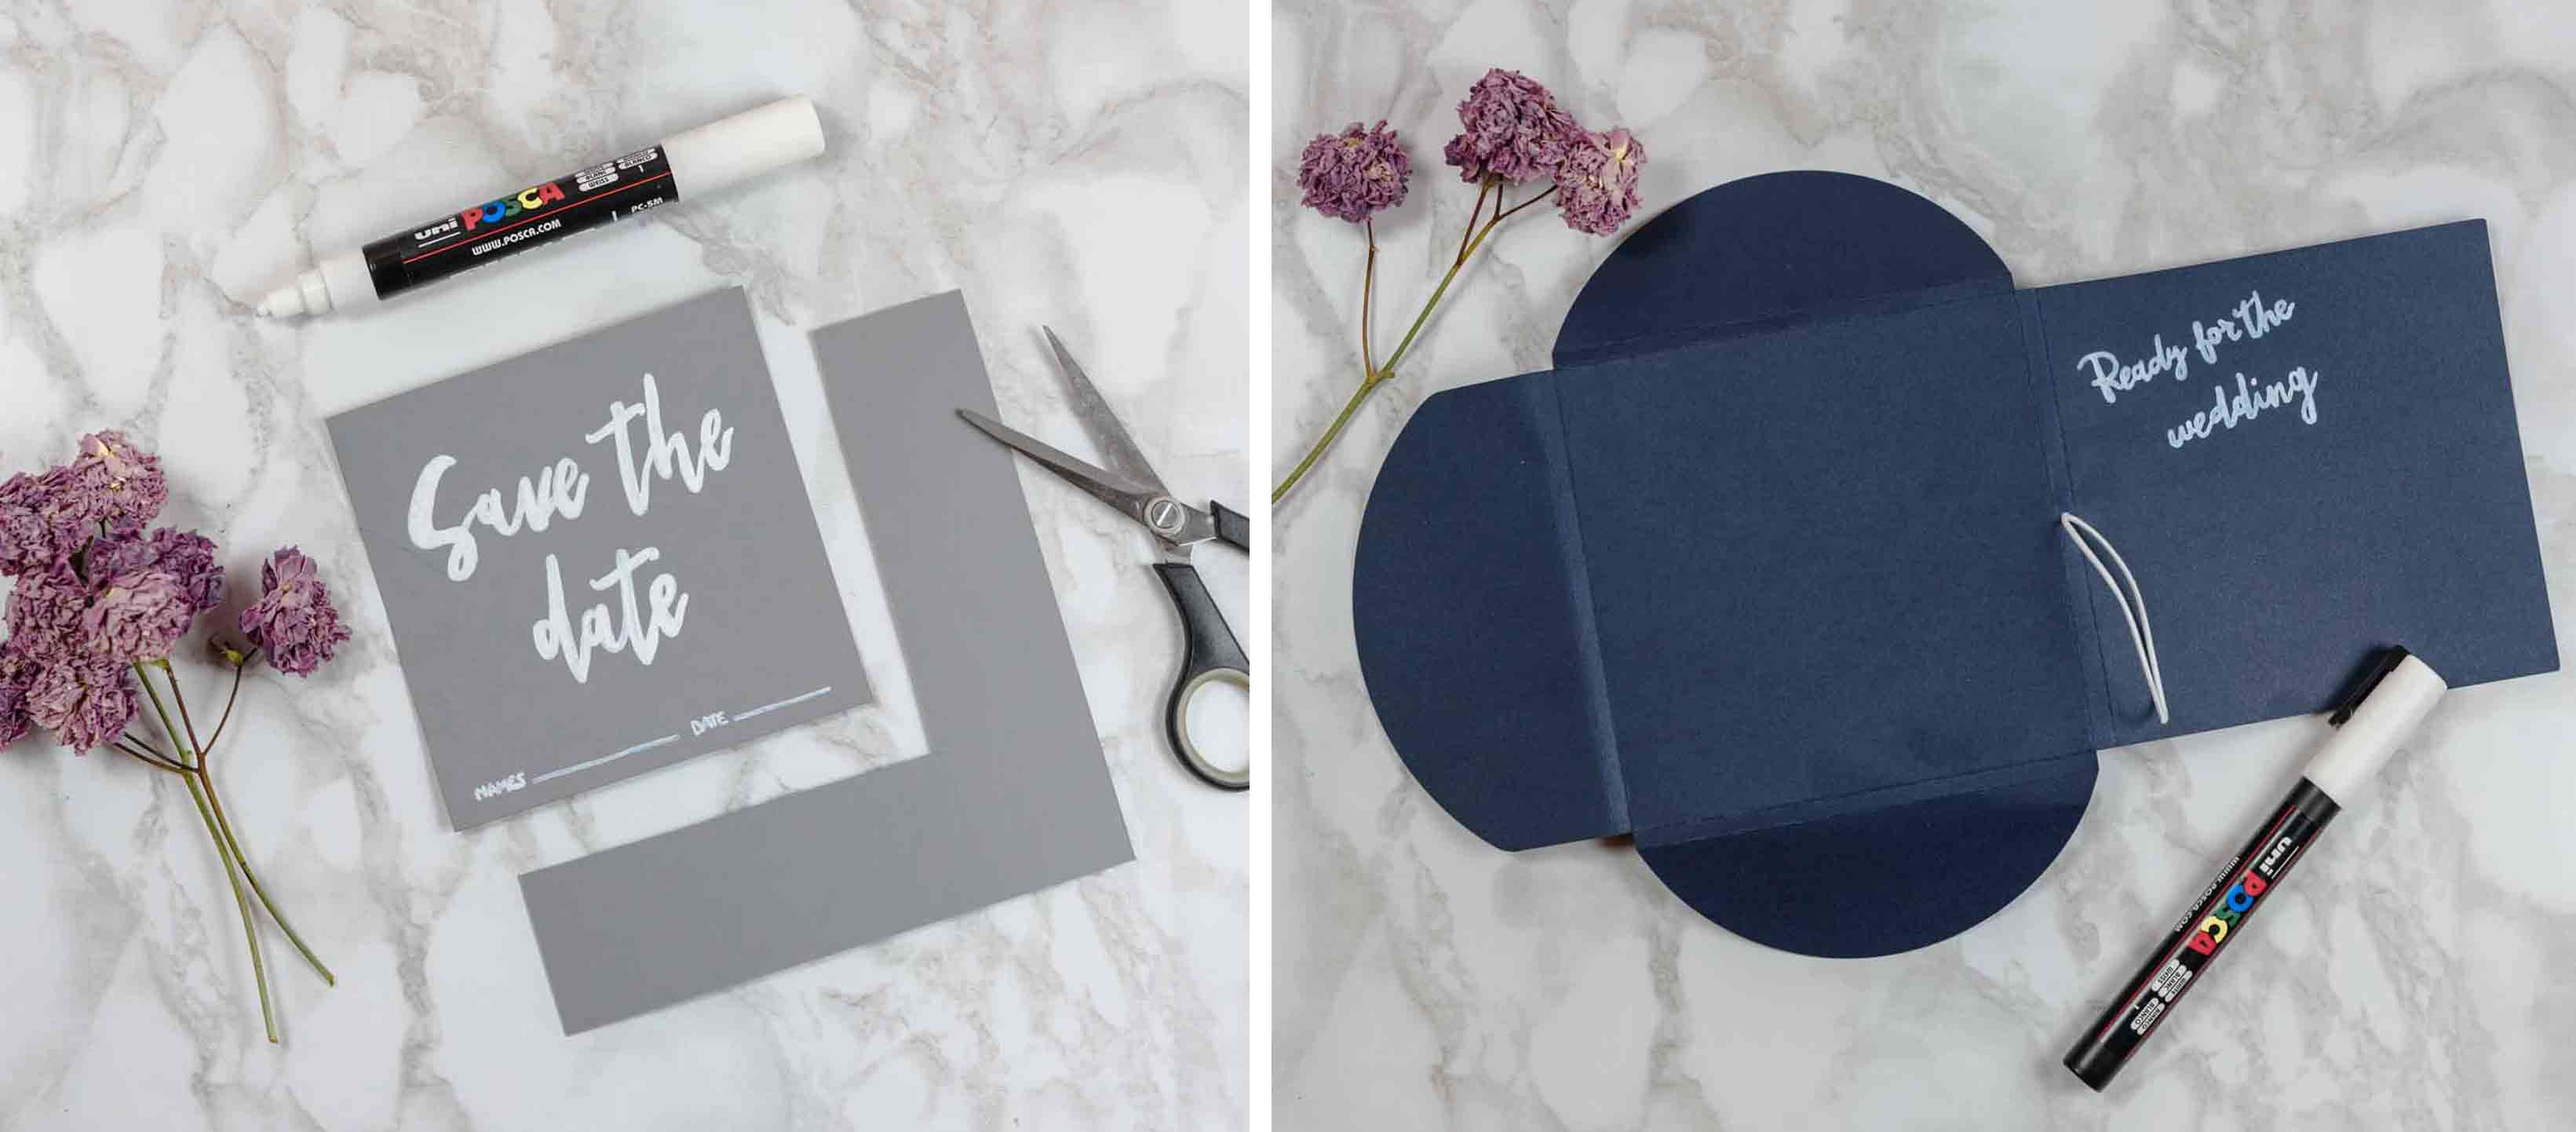
- When the marker is dry, we place the large card inside the box and place the scented rose petals on it.
We then close the box. If you need help assembling it, have a look at this video.
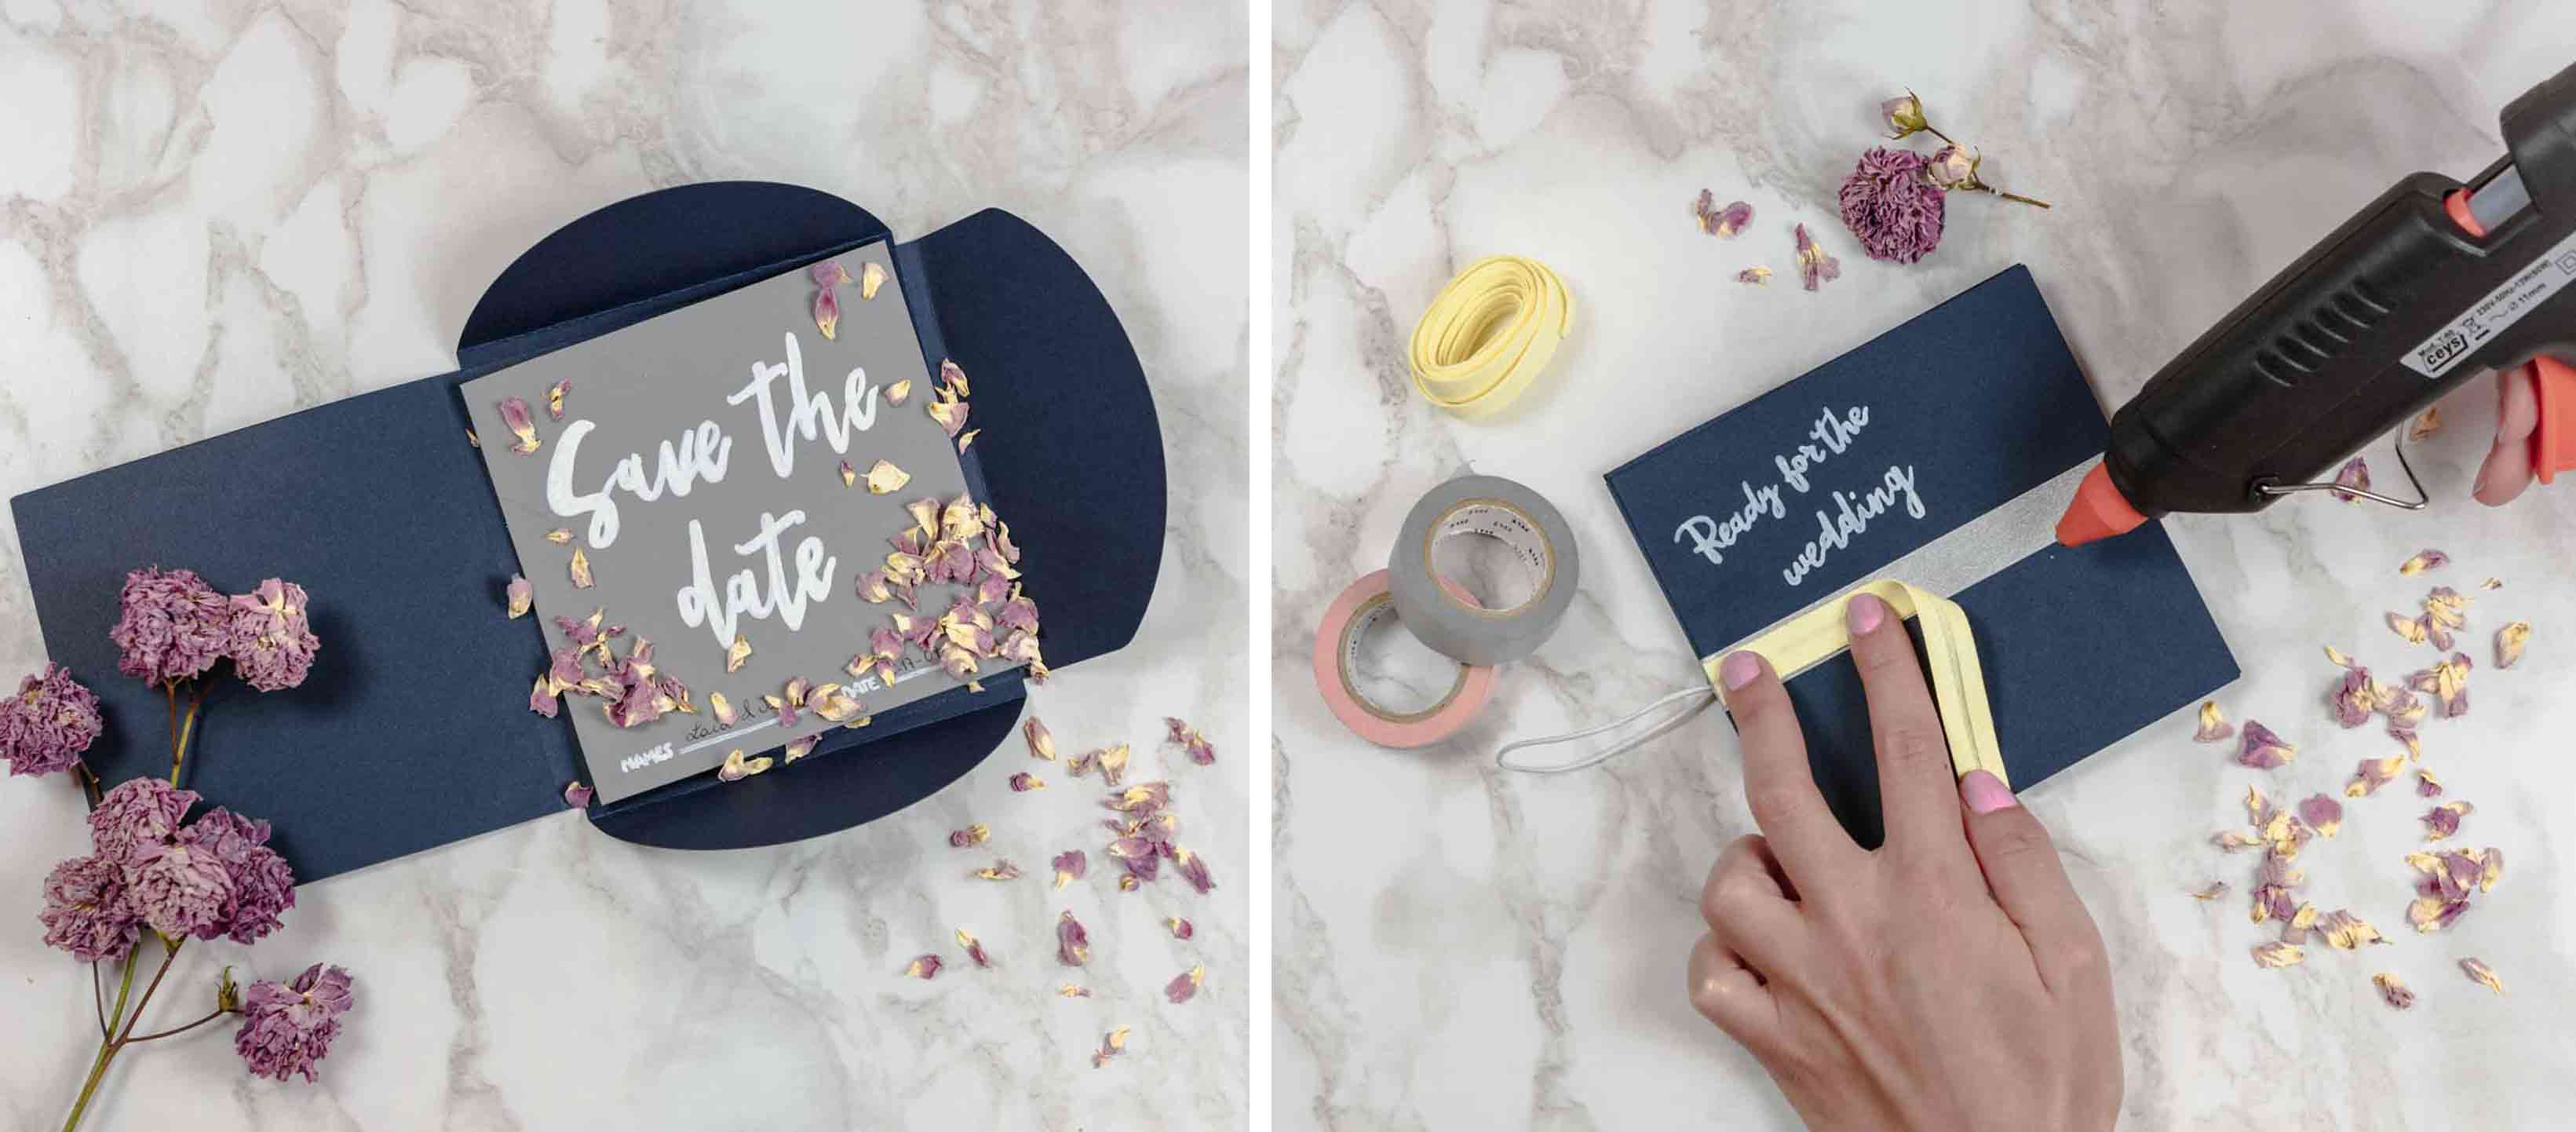
- On the cover of the box we add some silver washi tape. And we stick a piece of ribbon on with the hot glue. You can customise this step to fit the colour palette of your choice.
Once it’s all properly stuck, we close the box with the elastic band on the side.
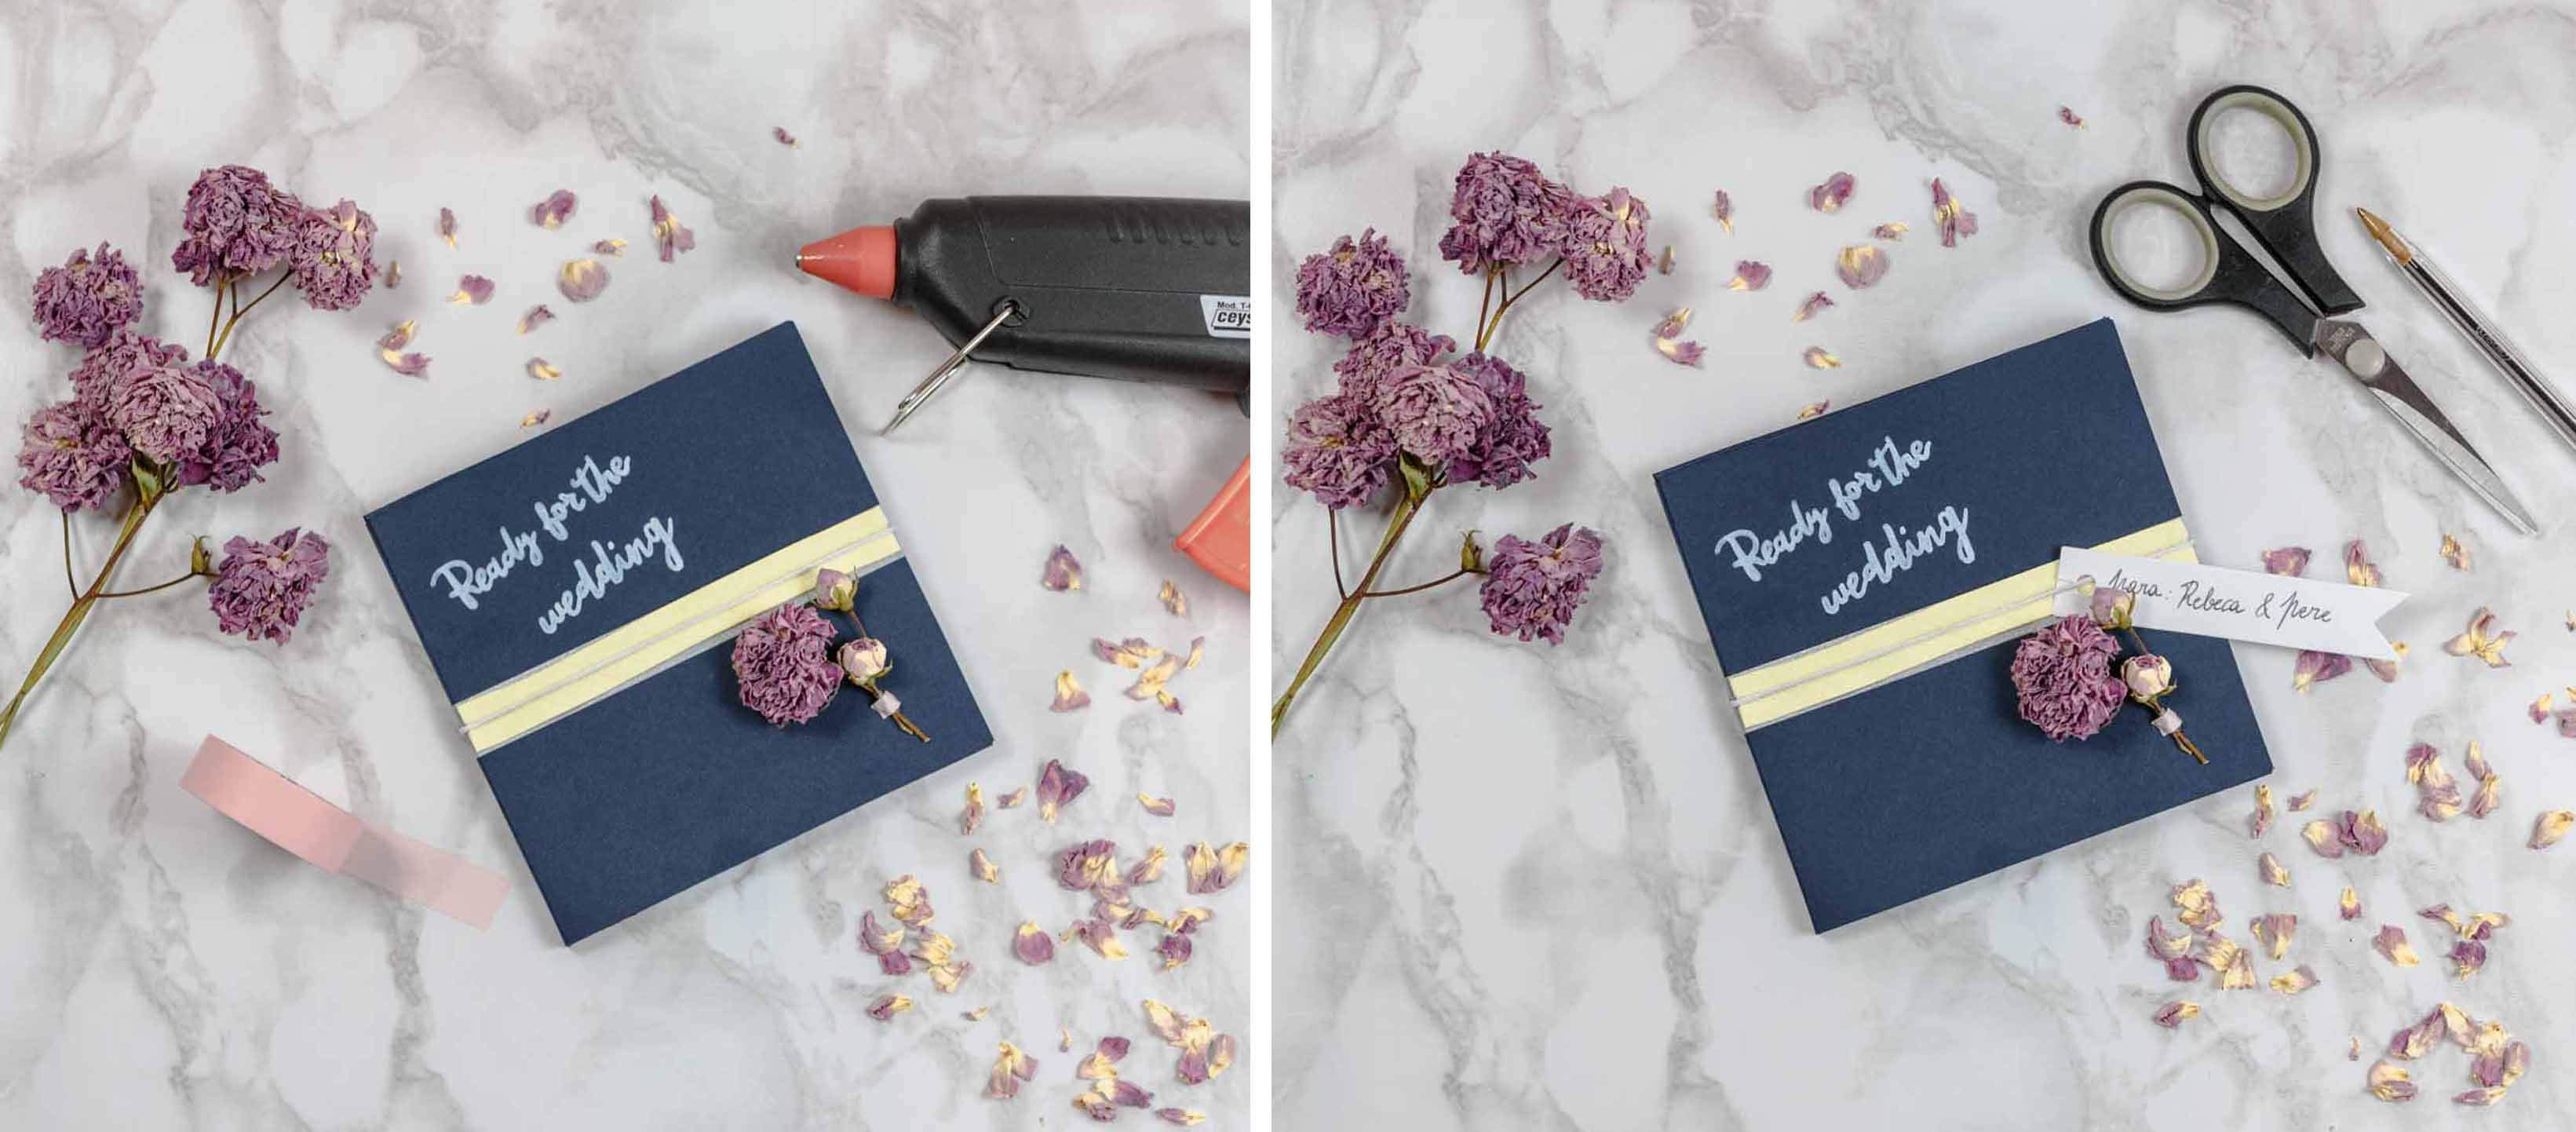
- We choose the prettiest dried flowers and stick them on the cover forming a delicate bunch. To hide the glue, we stick a small piece of pink washi tape on top.
- The names of the recipients of our Save the Date box will be written on the white flag-shaped labels. So this label can move and is attached to the box’s elastic band we make a horizontal cut where the hole is. Like this, we can thread the elastic through the hole in the label.
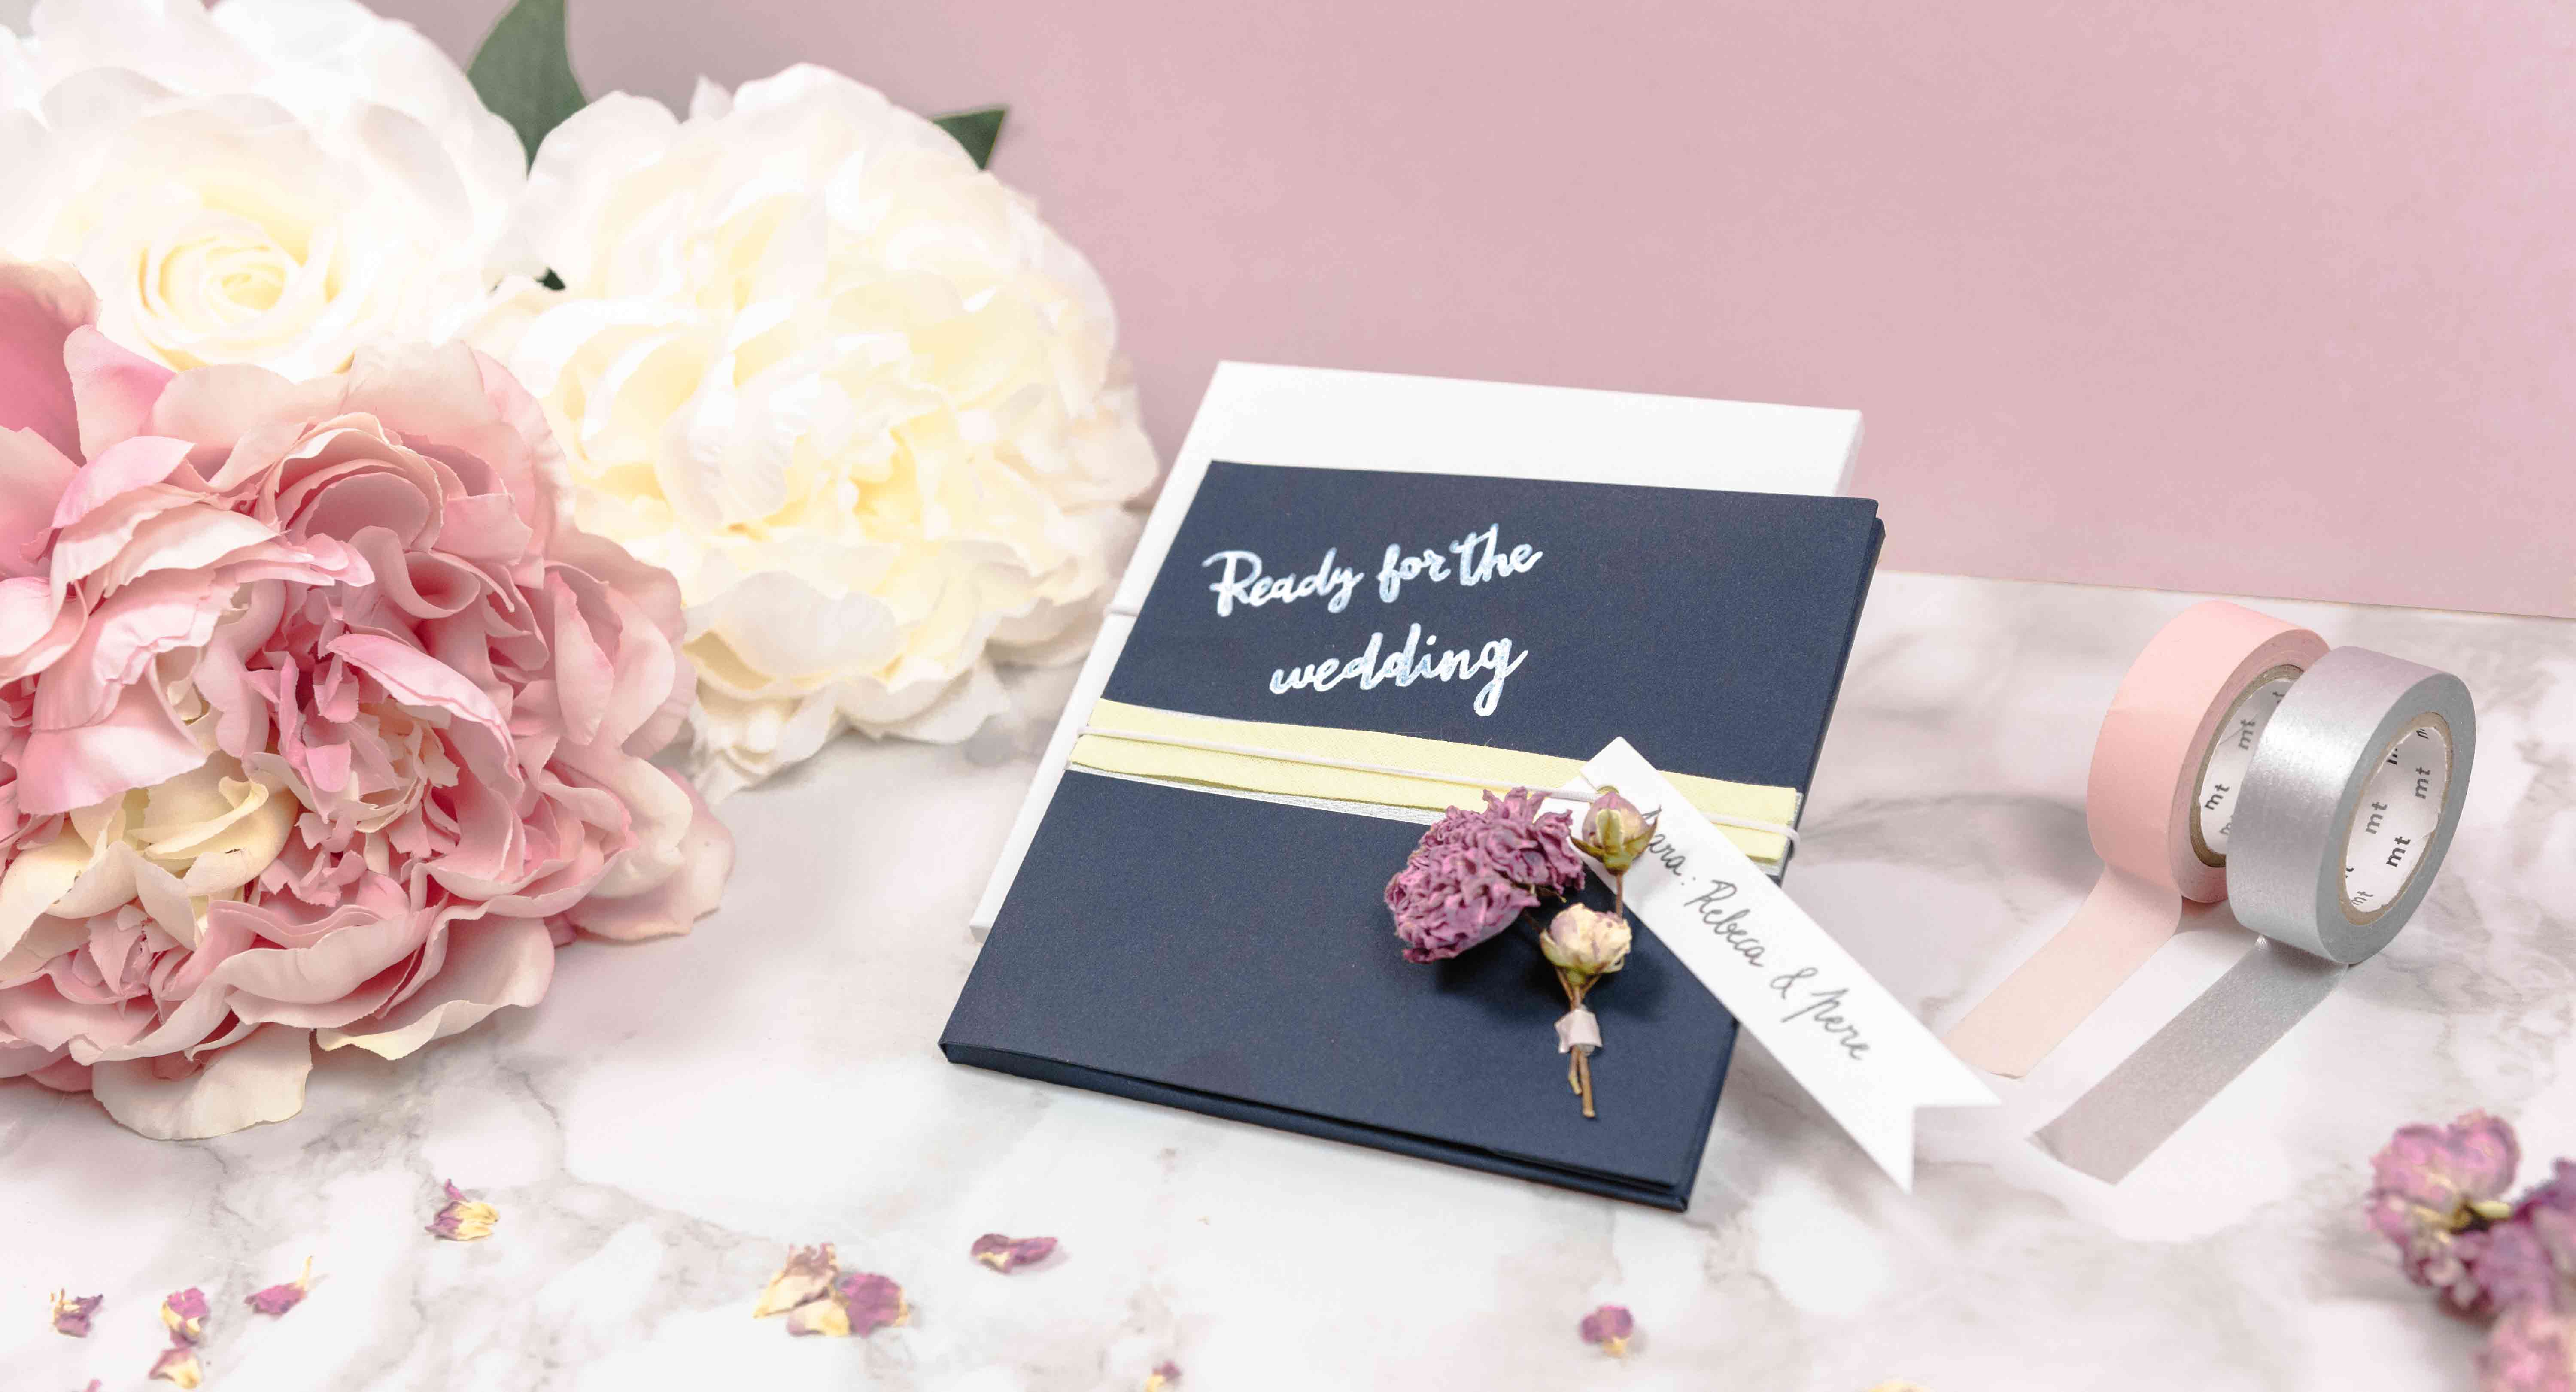

Now it’s ready you can announce the news and, at the same time, make sure all your guests will make it to the wedding.
A pretty and simple wat to share the news made with your own two hands!