Content
Three dimensional letters make very unique and striking home decorations and can also be used for celebrations. Single capital letters made of cardboard that offer endless decorative possibilities. You can use them to decorate parties and celebrations or for any pretty spot in your house.
Because they are made out of cardboard, they are very easy to customise: you can paint them, stick different types of materials on and take them wherever your creative self leads you.
Today we bring you two easy and very striking ideas on how to customise your initials or a word you like, using our cardboard letters.
The idea is to get hold of your favourite letters and add an additional cardboard outline following our step by step guide. Also, you’ll see two different ideas on how to fill in the inside of the letter: the first using flower-shaped squares of coloured tissue and the second with pompoms. Both create a three-dimensional effect that will give more volume and texture to each letter.
Grab paper and pencil and let’s get started!
A super post in collaboration with Esencia Gráfica.
Materials:
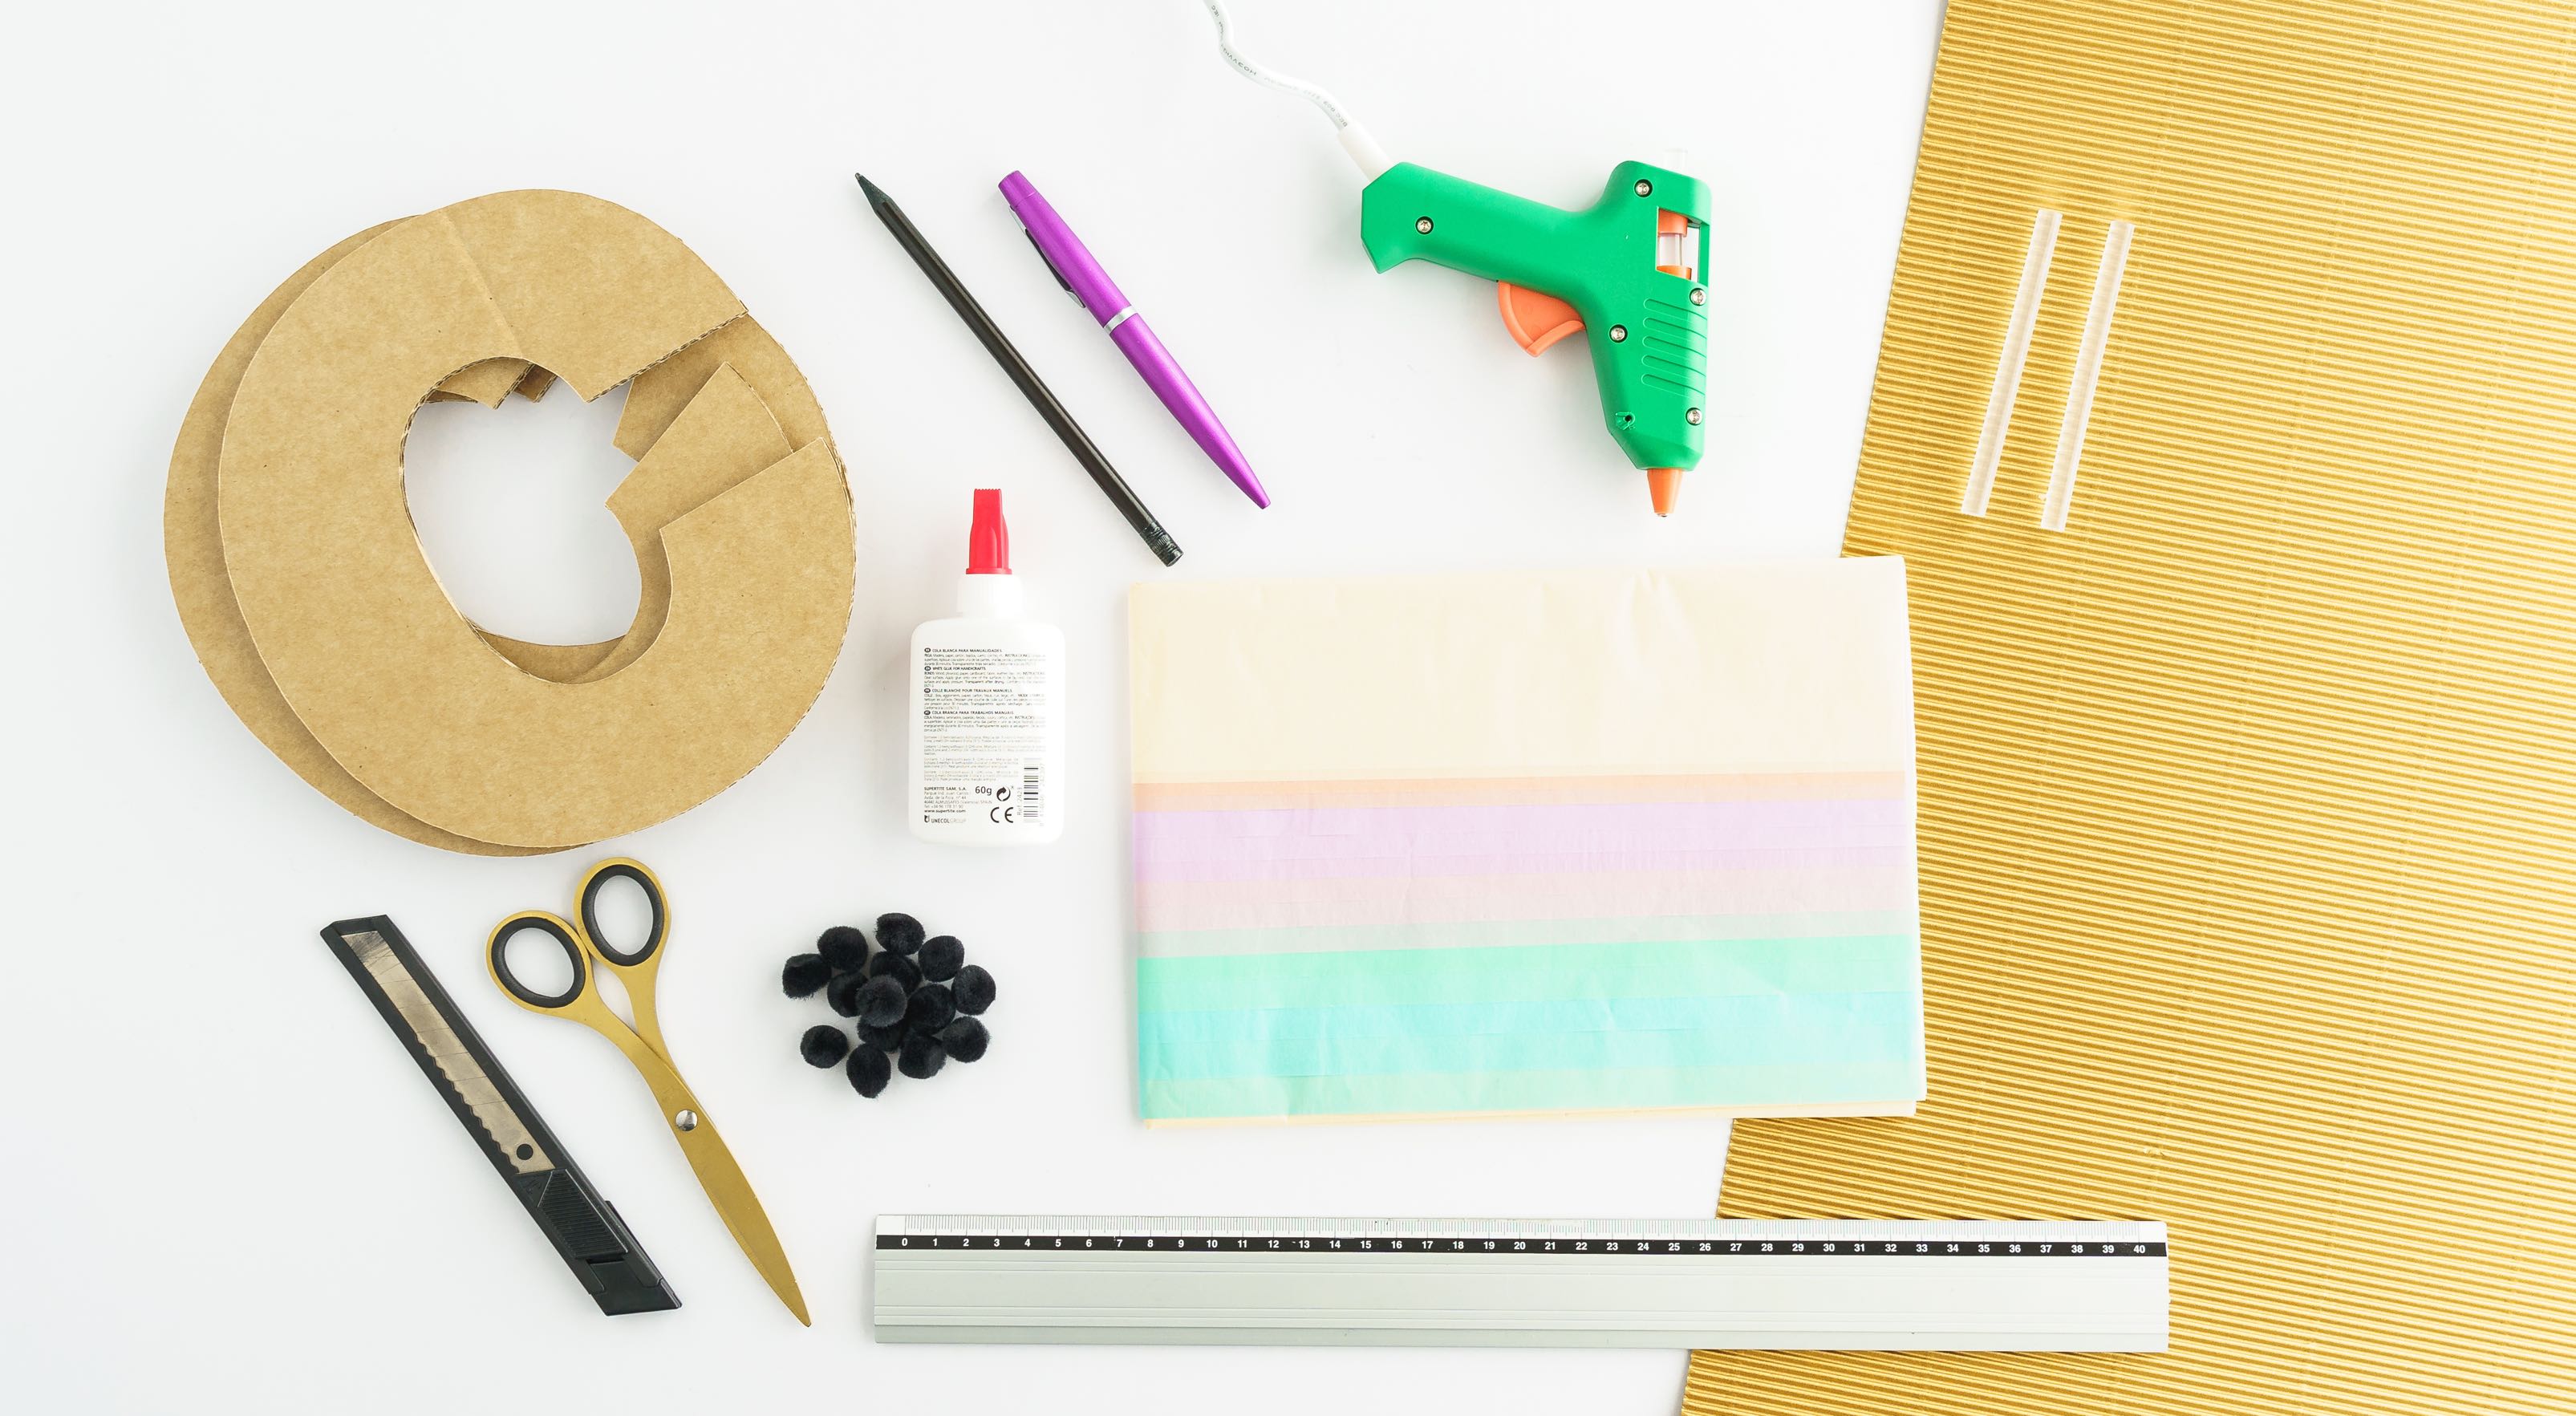
– Sheets of wavy cardboard
– Pompoms
– Scissors
– Box cutter or scalpel
– Hot glue
– White glue
– Pencil
– Pen or felt-tip pen with a round, flat tip.
– Ruler
STEP BY STEP:
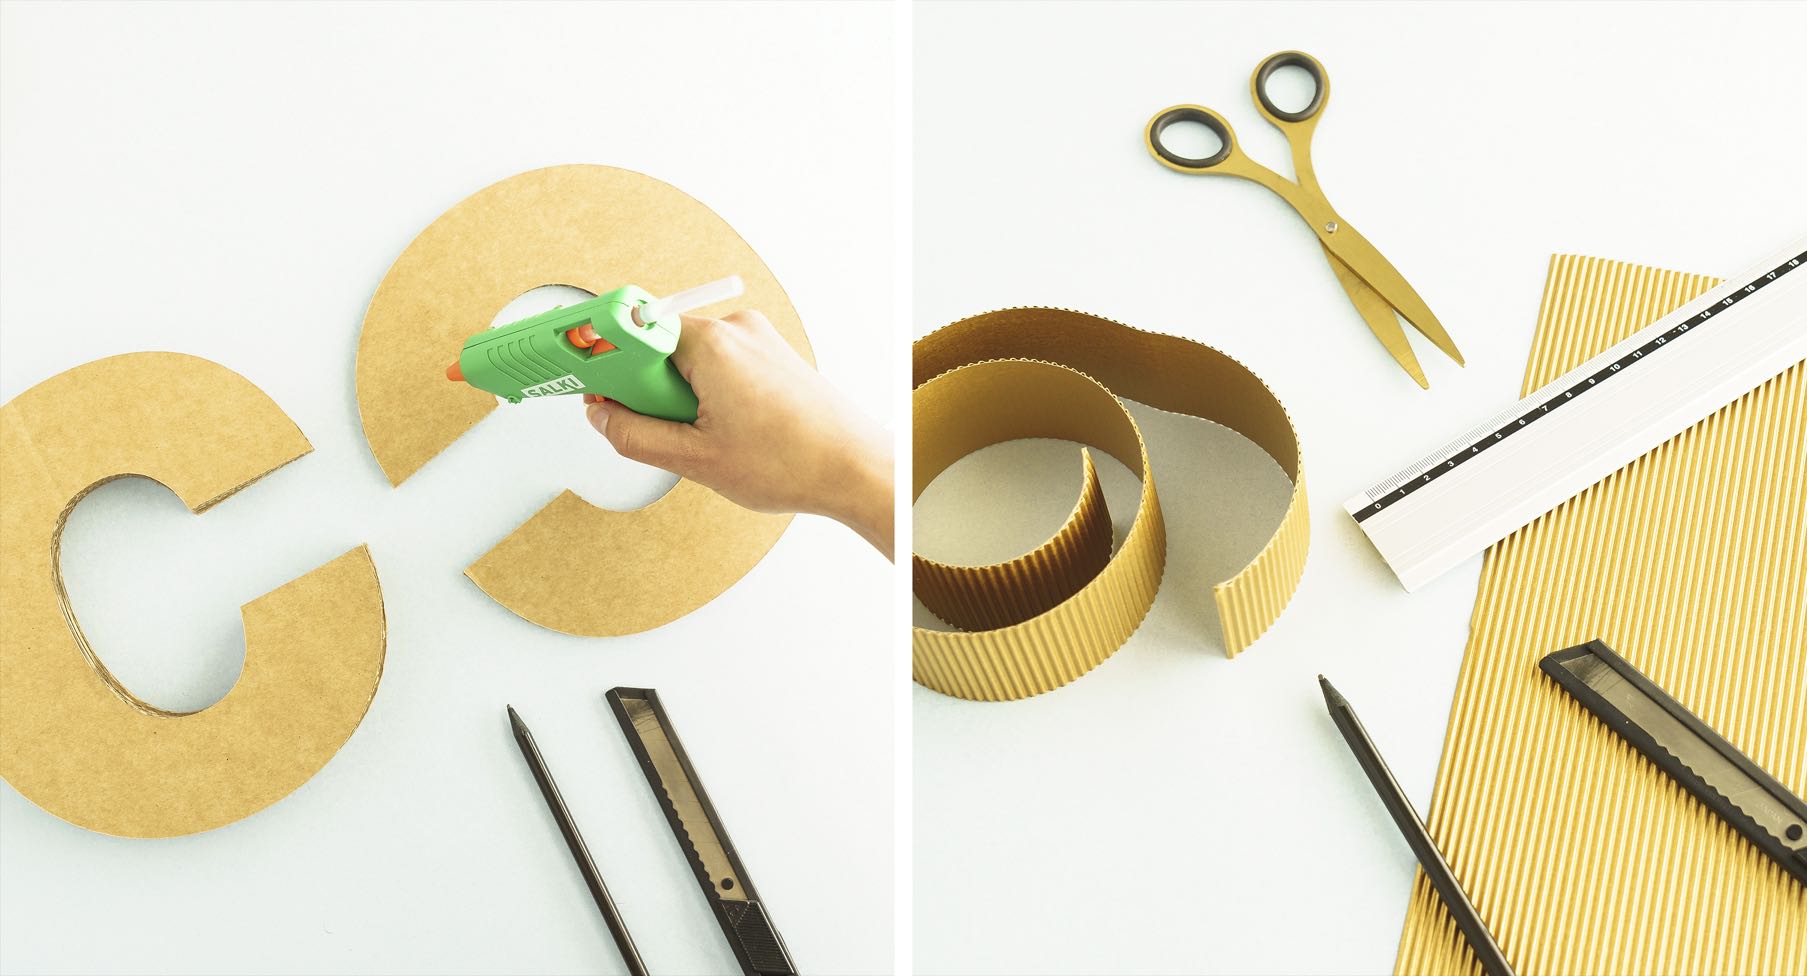
- You will receive each letter separately and you must assemble them in layers, one on top of the other. Use white or hot glue and make sure they stand as straight as possible.
- Now, cut out 5 cm wide strips of wavy cardboard.
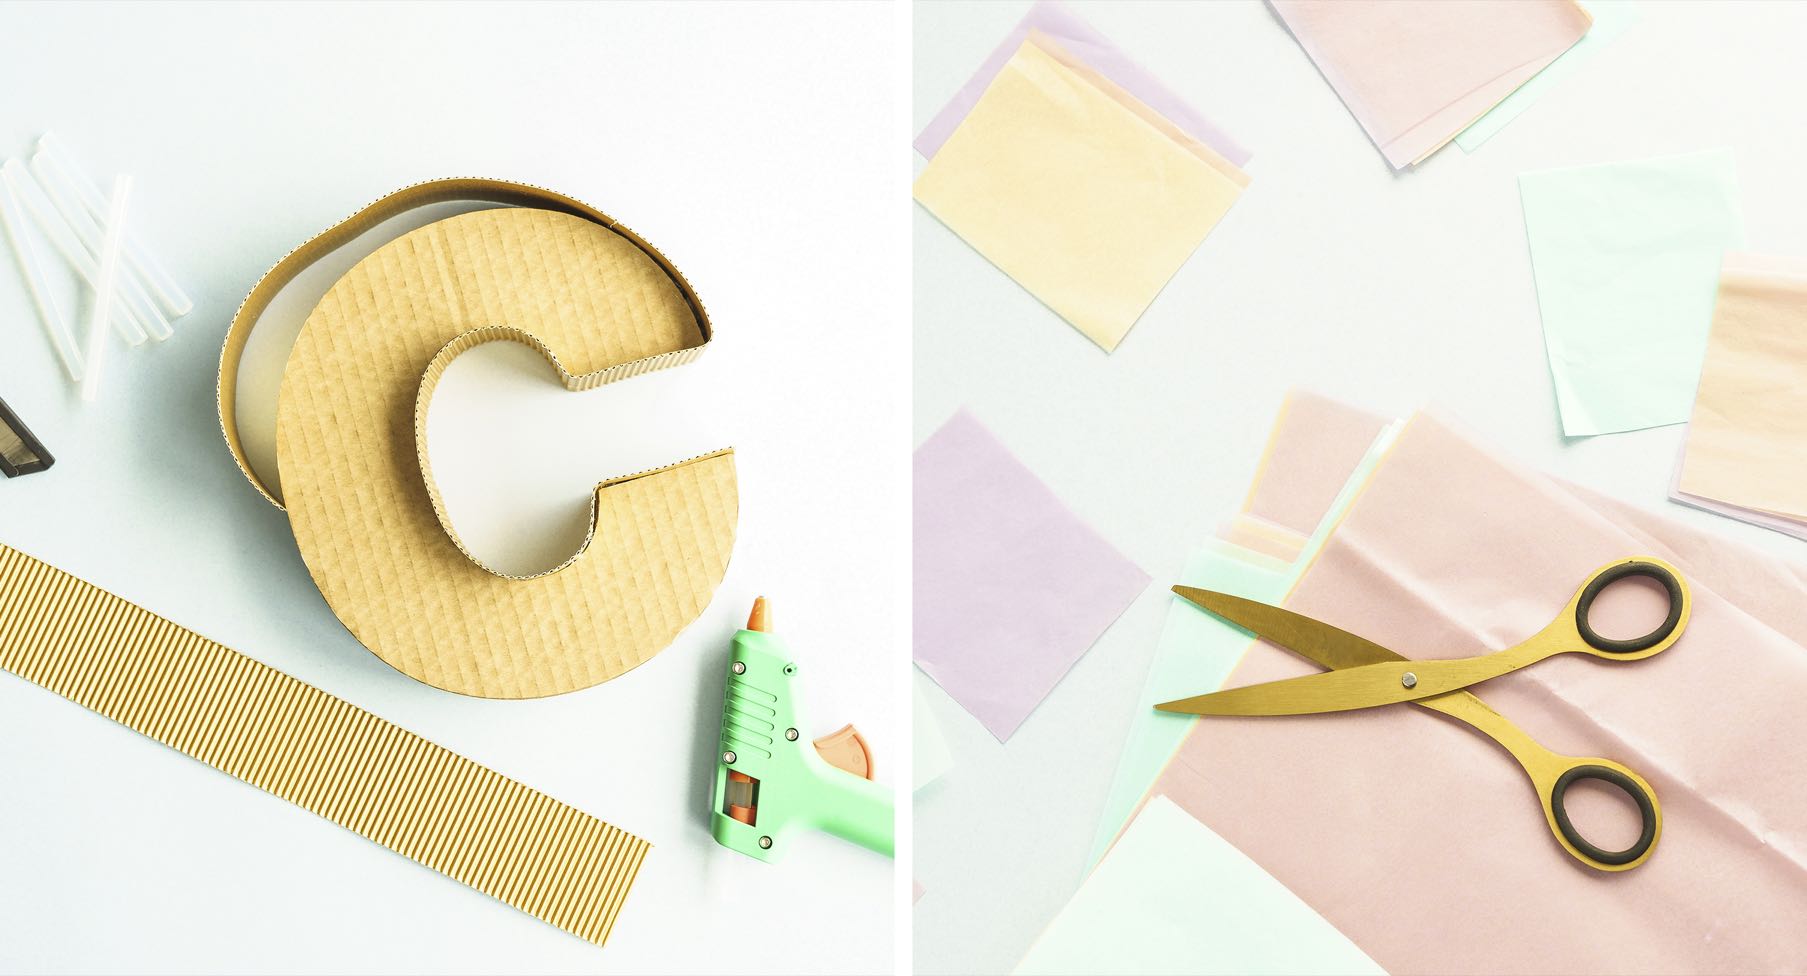
- Use hot glue to stick the strip of wavy cardboard on the outline of the entire letter. You must put different strips of cardboard together until you’ve gone all the way around.
- Next, you’ll see the first suggestion for filling in the letter with tissue paper. Cut out 5.5×5.5 cm squares of coloured tissue paper.
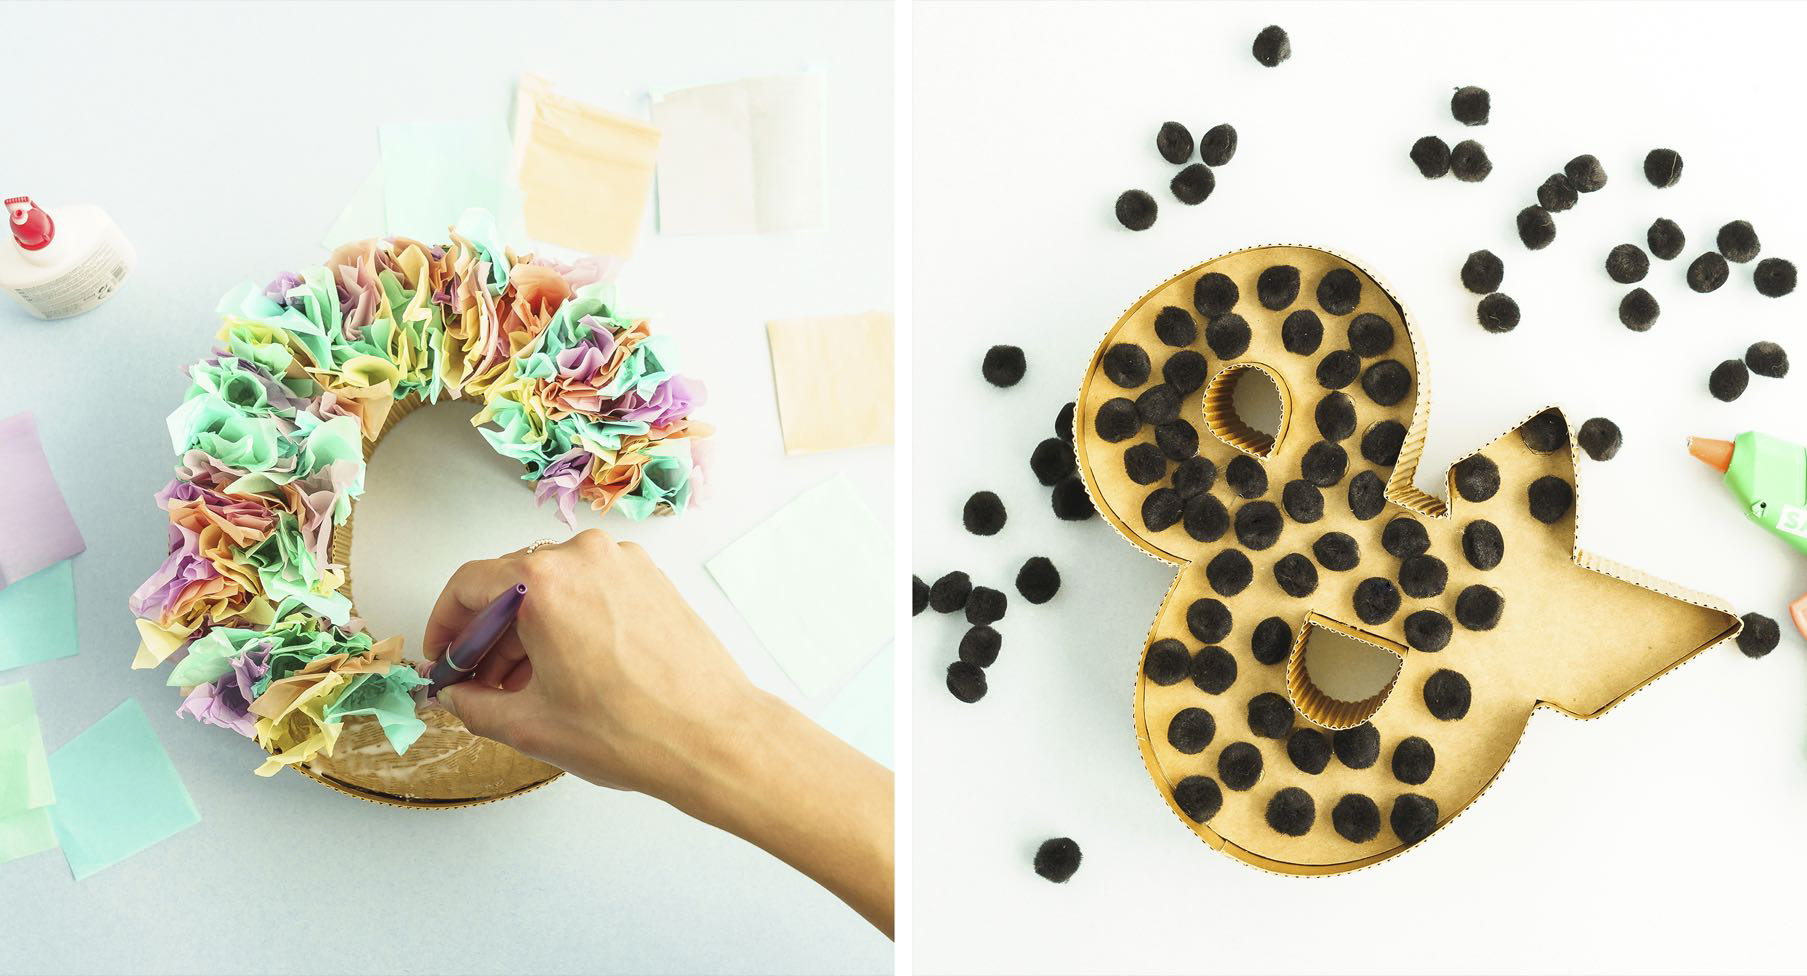
- Now spread some white glue over the inside surface of the cardboard letter. Then, take a pen or felt-tip pen with a round and completely flat tip and place it at the centre of one of the tissue paper squares, then wrap the paper around the pen in the shape of a flower. Next, stick the flat part on the white glue and remove the pen. Repeat this step until you’ve covered the entire surface.
- The second idea to fill in the inside of the letters is as easy as it is striking. Stick pompoms randomly on with hot glue. You can cover the entire surface or allow some of the cardboard to be visible. If you use coloured pompoms you can create really amusing effects.
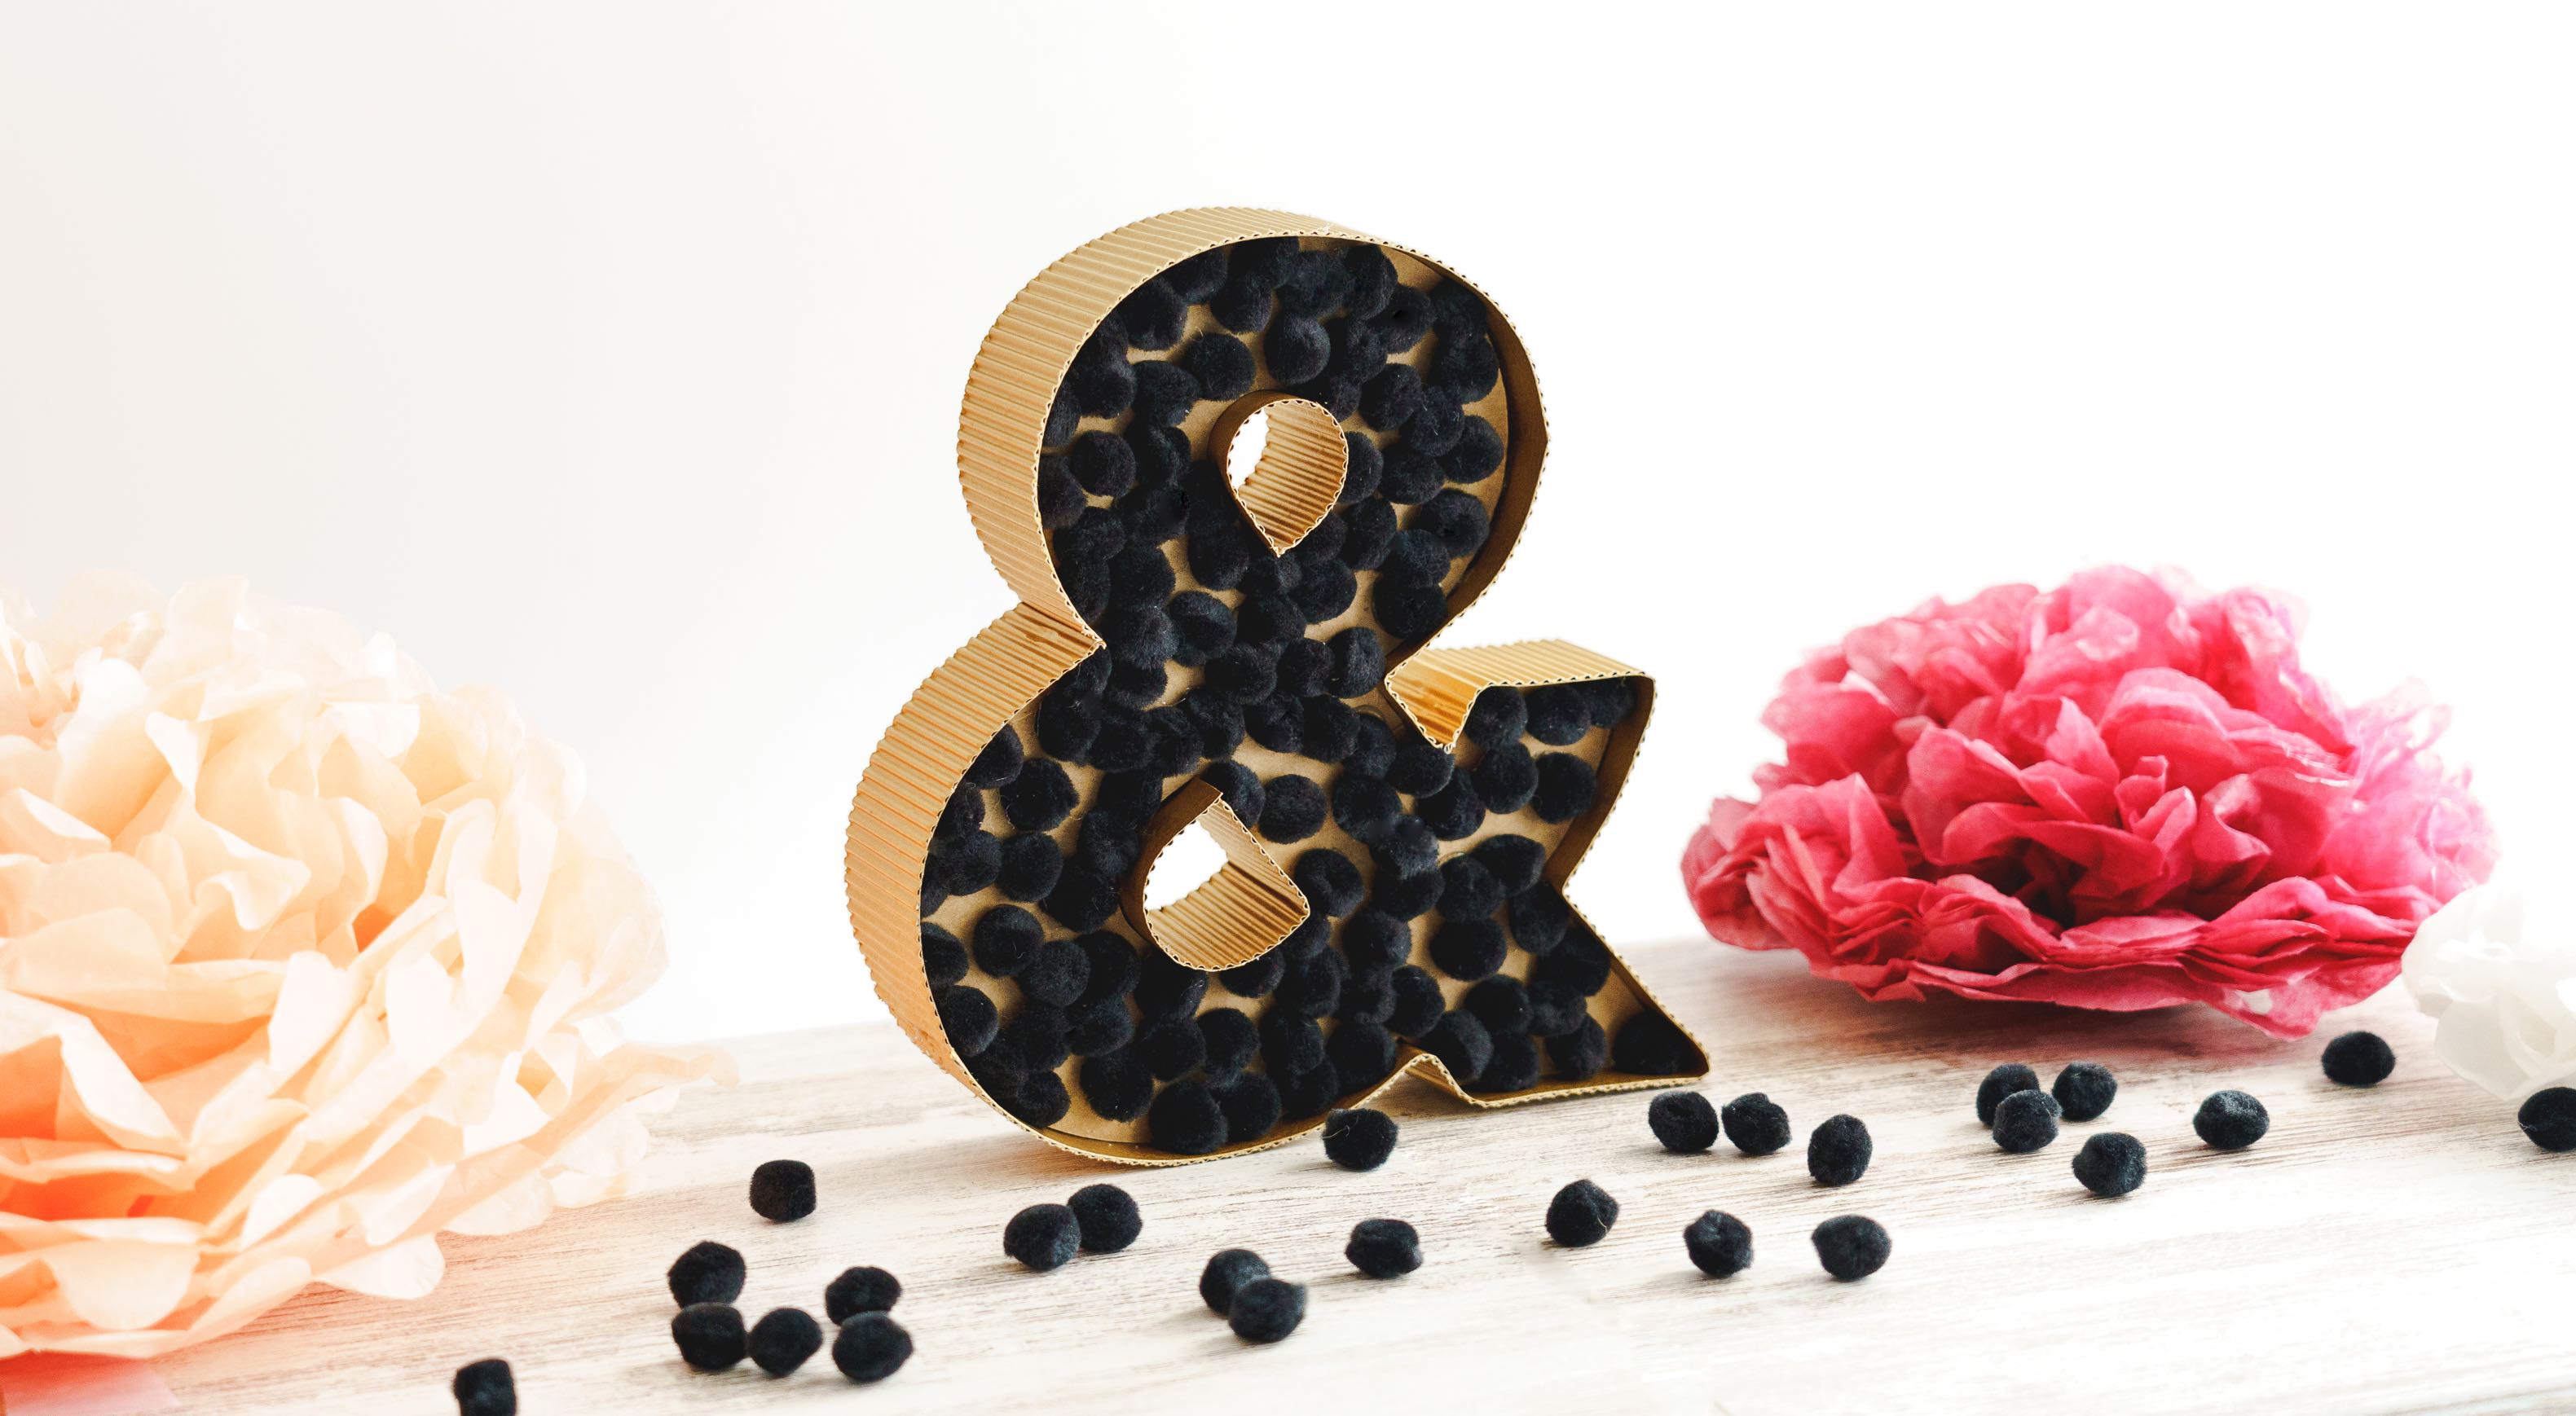
Now let your imagination fly and customise our letter with the materials of your choice!

