Content
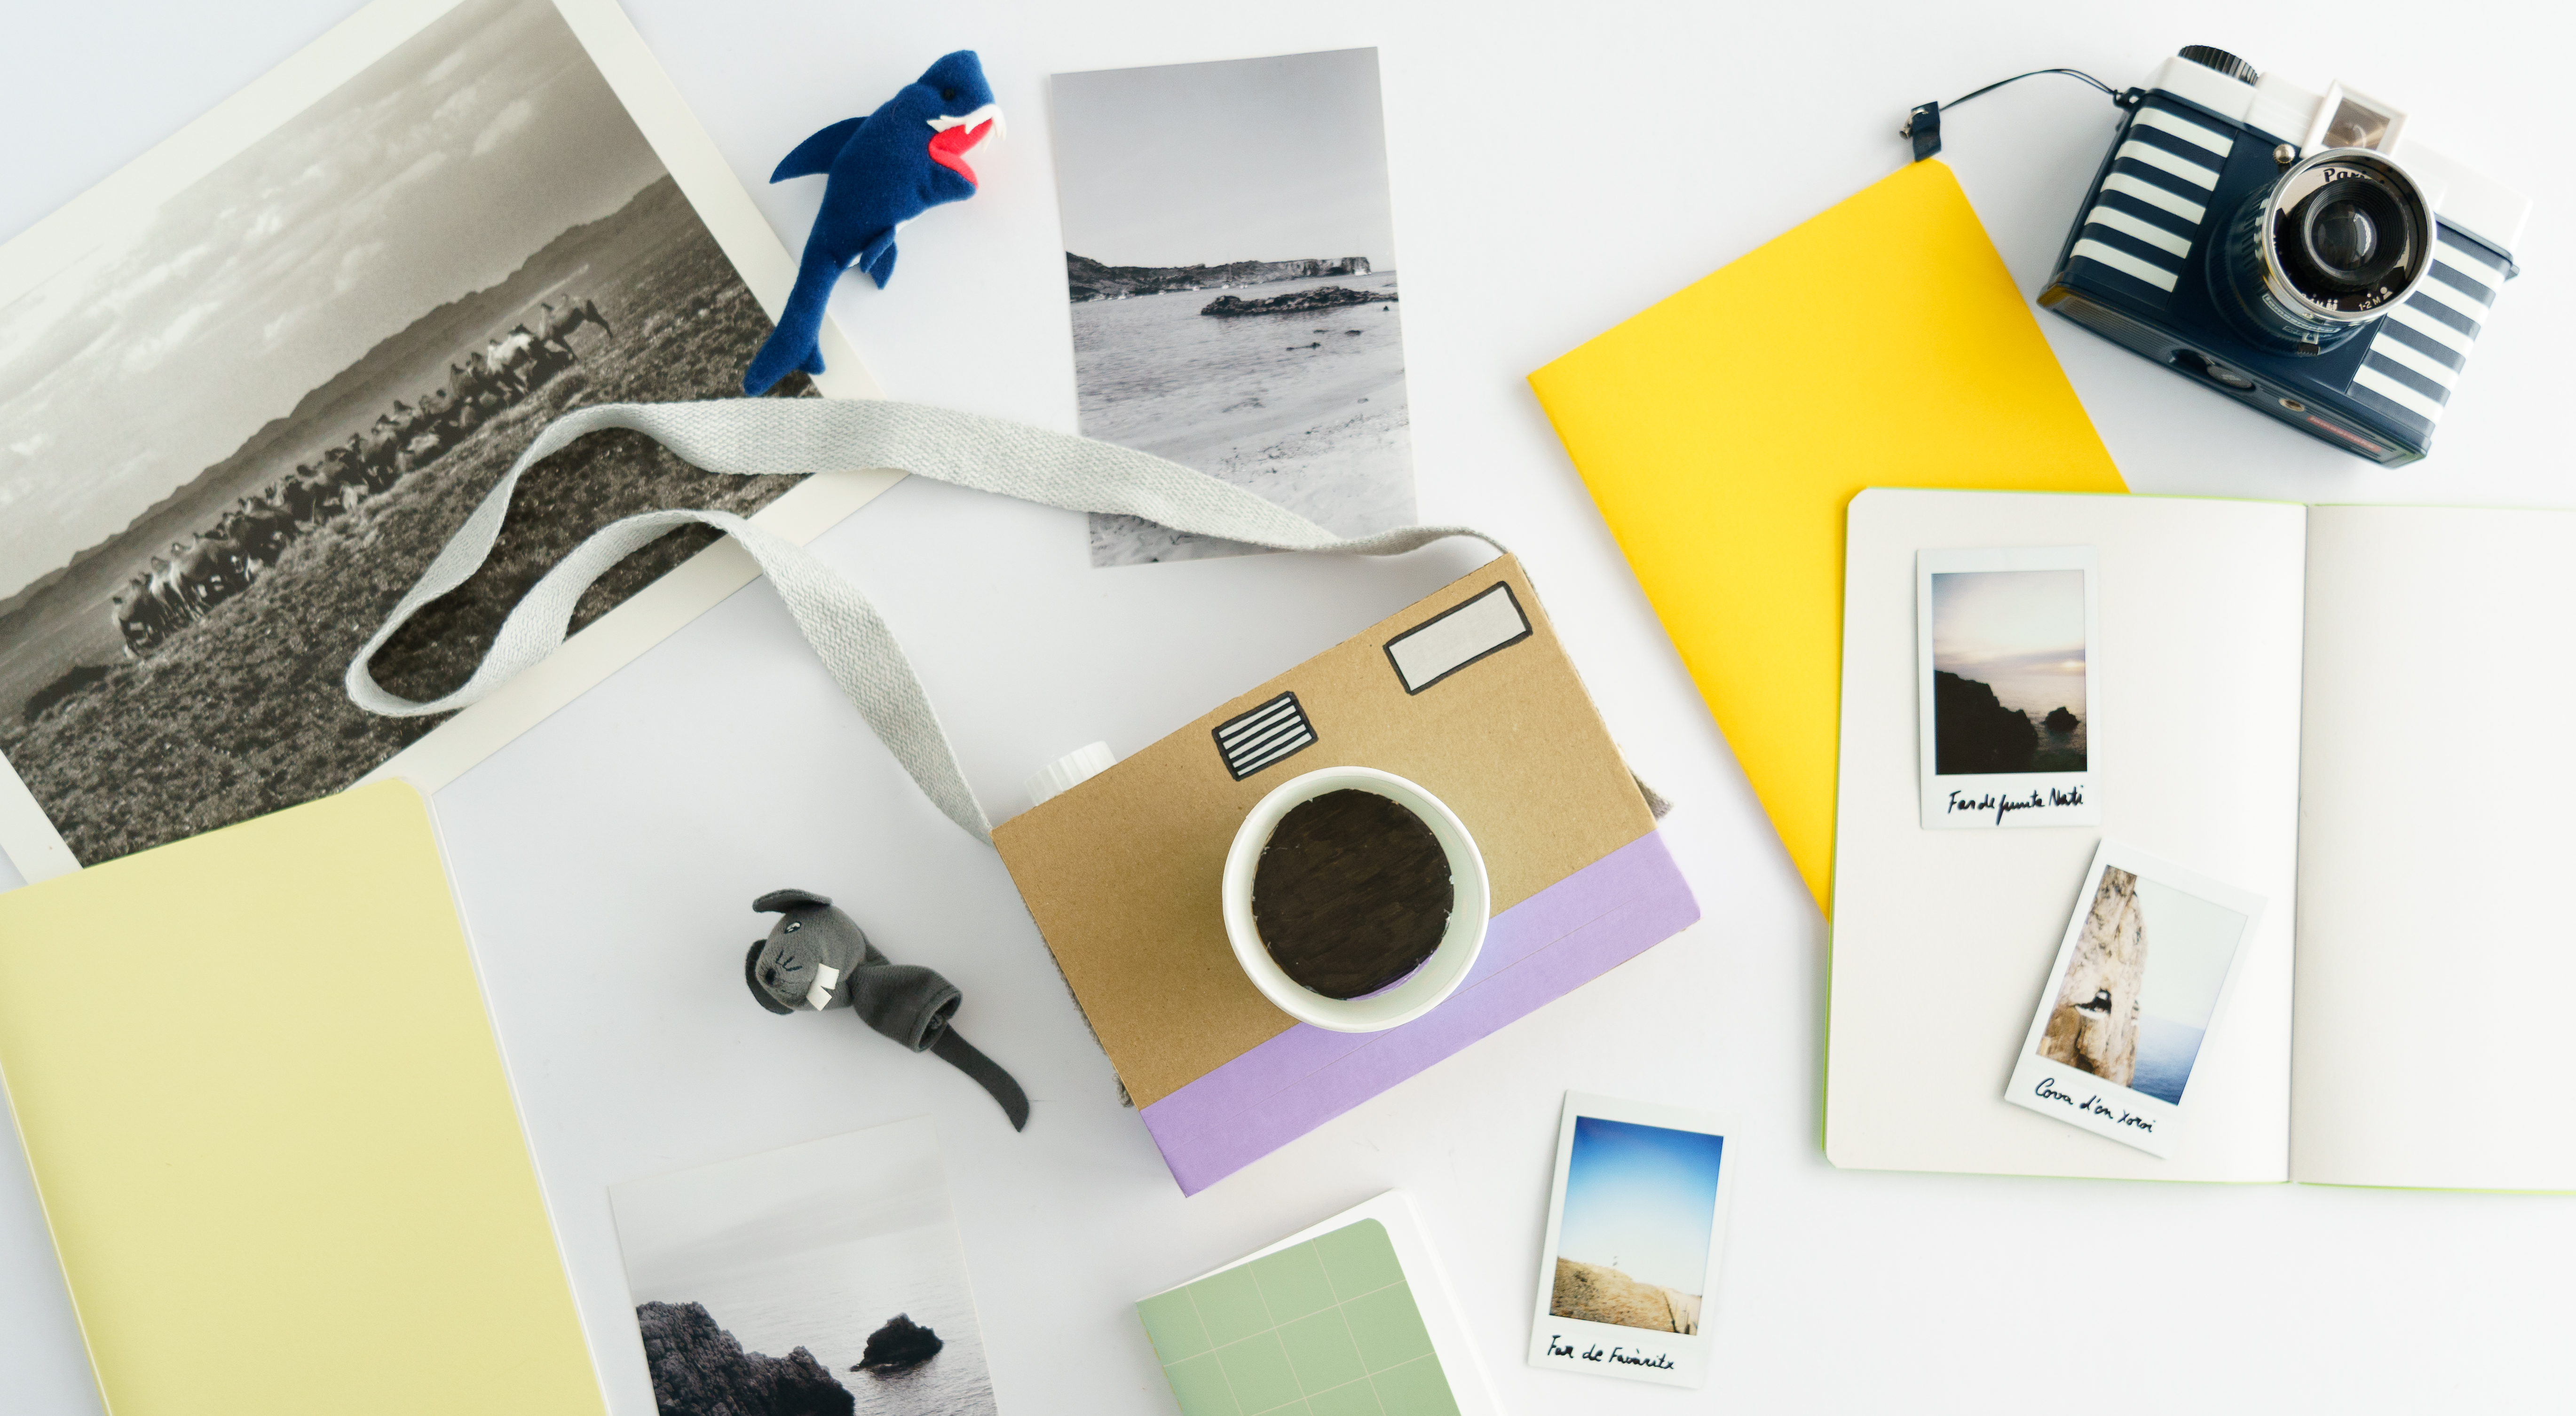
Summer is finally here! The little ones have finished school and we get to plan family trips, holidays or solidarity trips. Adults immortalize memories with cameras and mobile phones. And of course, kids want to be photographers themselves and enjoy taking photographs.
This week we suggest a fun and creative craft, so the little ones can play at being photographers. As well as enjoying making their own camera, they will find out that by recycling materials they give waste a second chance by reusing the containers we no longer use at home. And they will discover how they can create many toys and unique objects with these materials.
Let’s begin!
A super post in collaboration with Esencia Gráfica.
Materials:
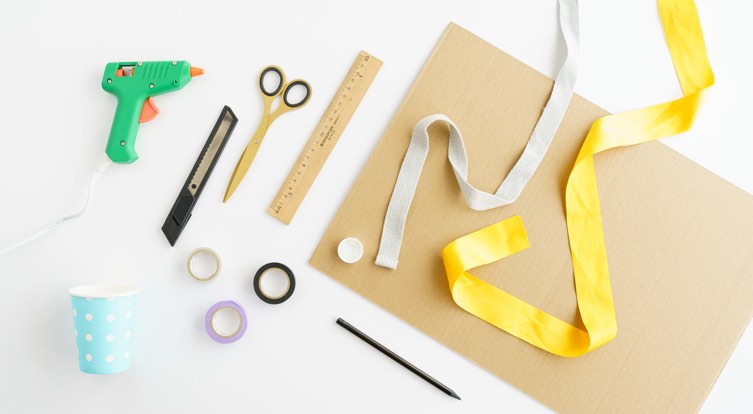
- Used cardboard
- Recycled cloth tape
- Plastic cap from a used container
- Paper cup
- Colourful washi tape
- Hot glue
- Pencil
- Ruler
- Scissors
- Box cutter
- Metal binders
- Black felt-tip pen
STEP BY STEP:
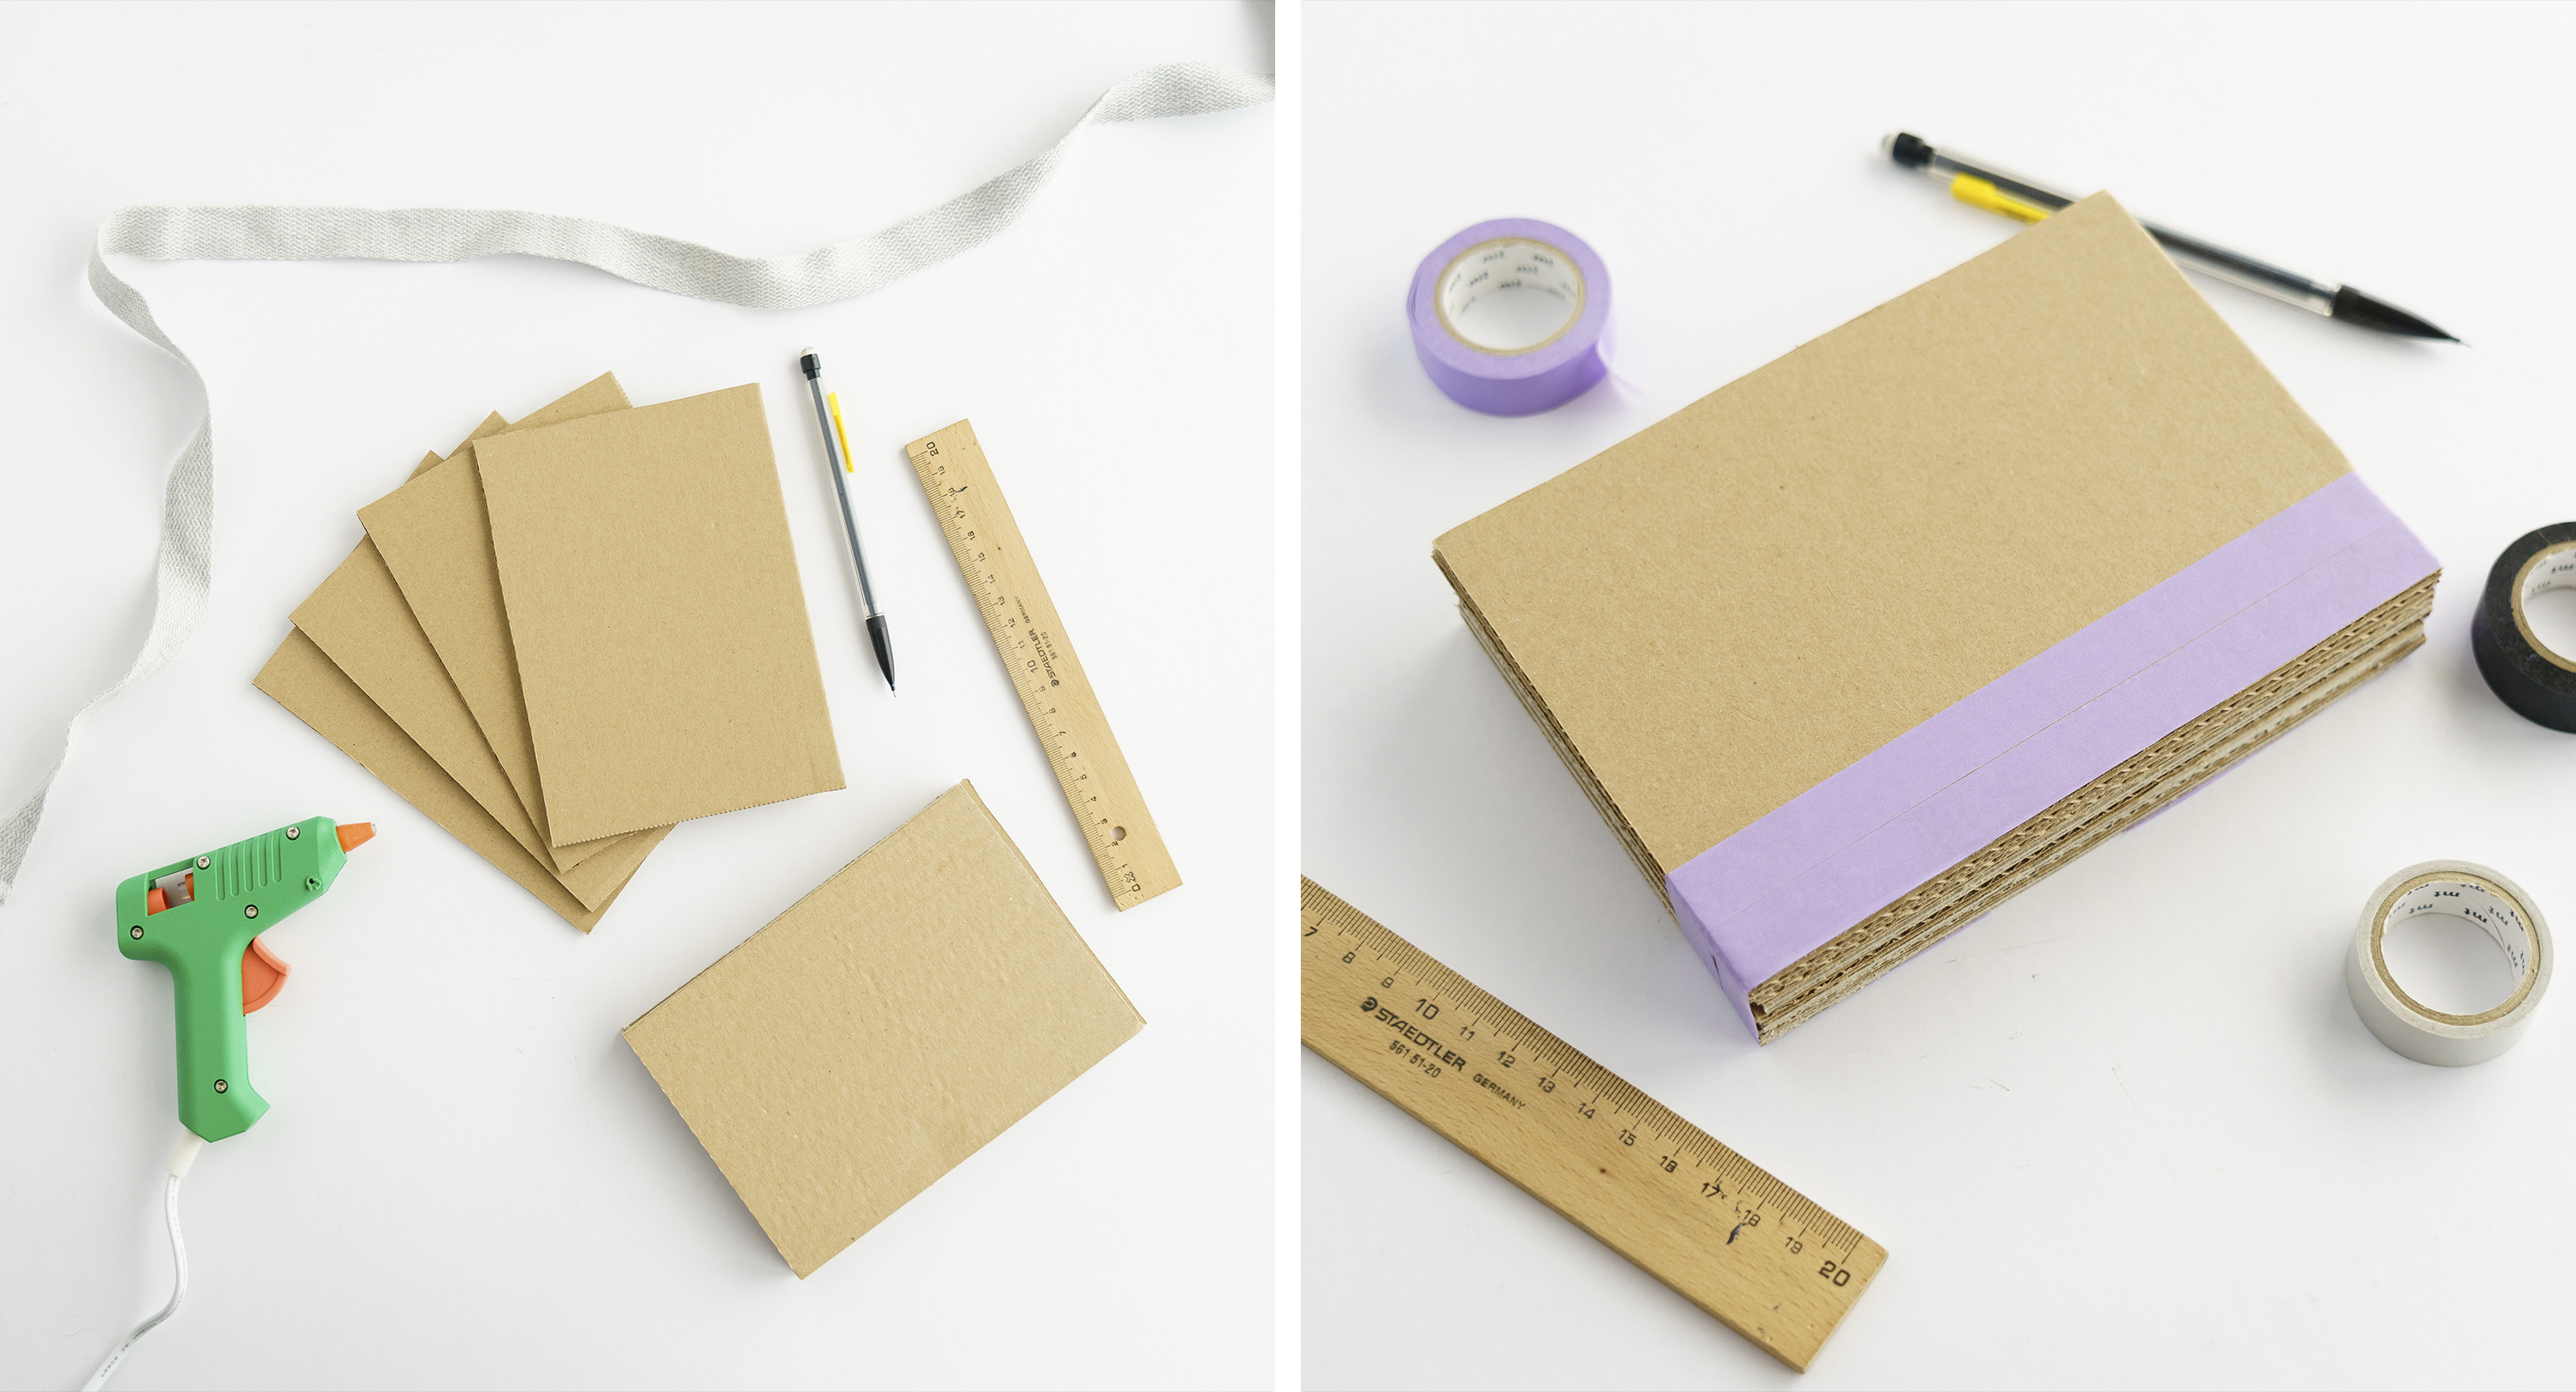
- To make the camera, cut out eight to ten 12 x 17 cm pieces of the cardboard with the box cutter or scissors with an adult’s assistance. Glue each layer of cardboard together with hot glue or white glue.
- Decorate the base of the camera with ribbons of washi tape to add a touch of colour. If you prefer, you can paint it with tempera paint.
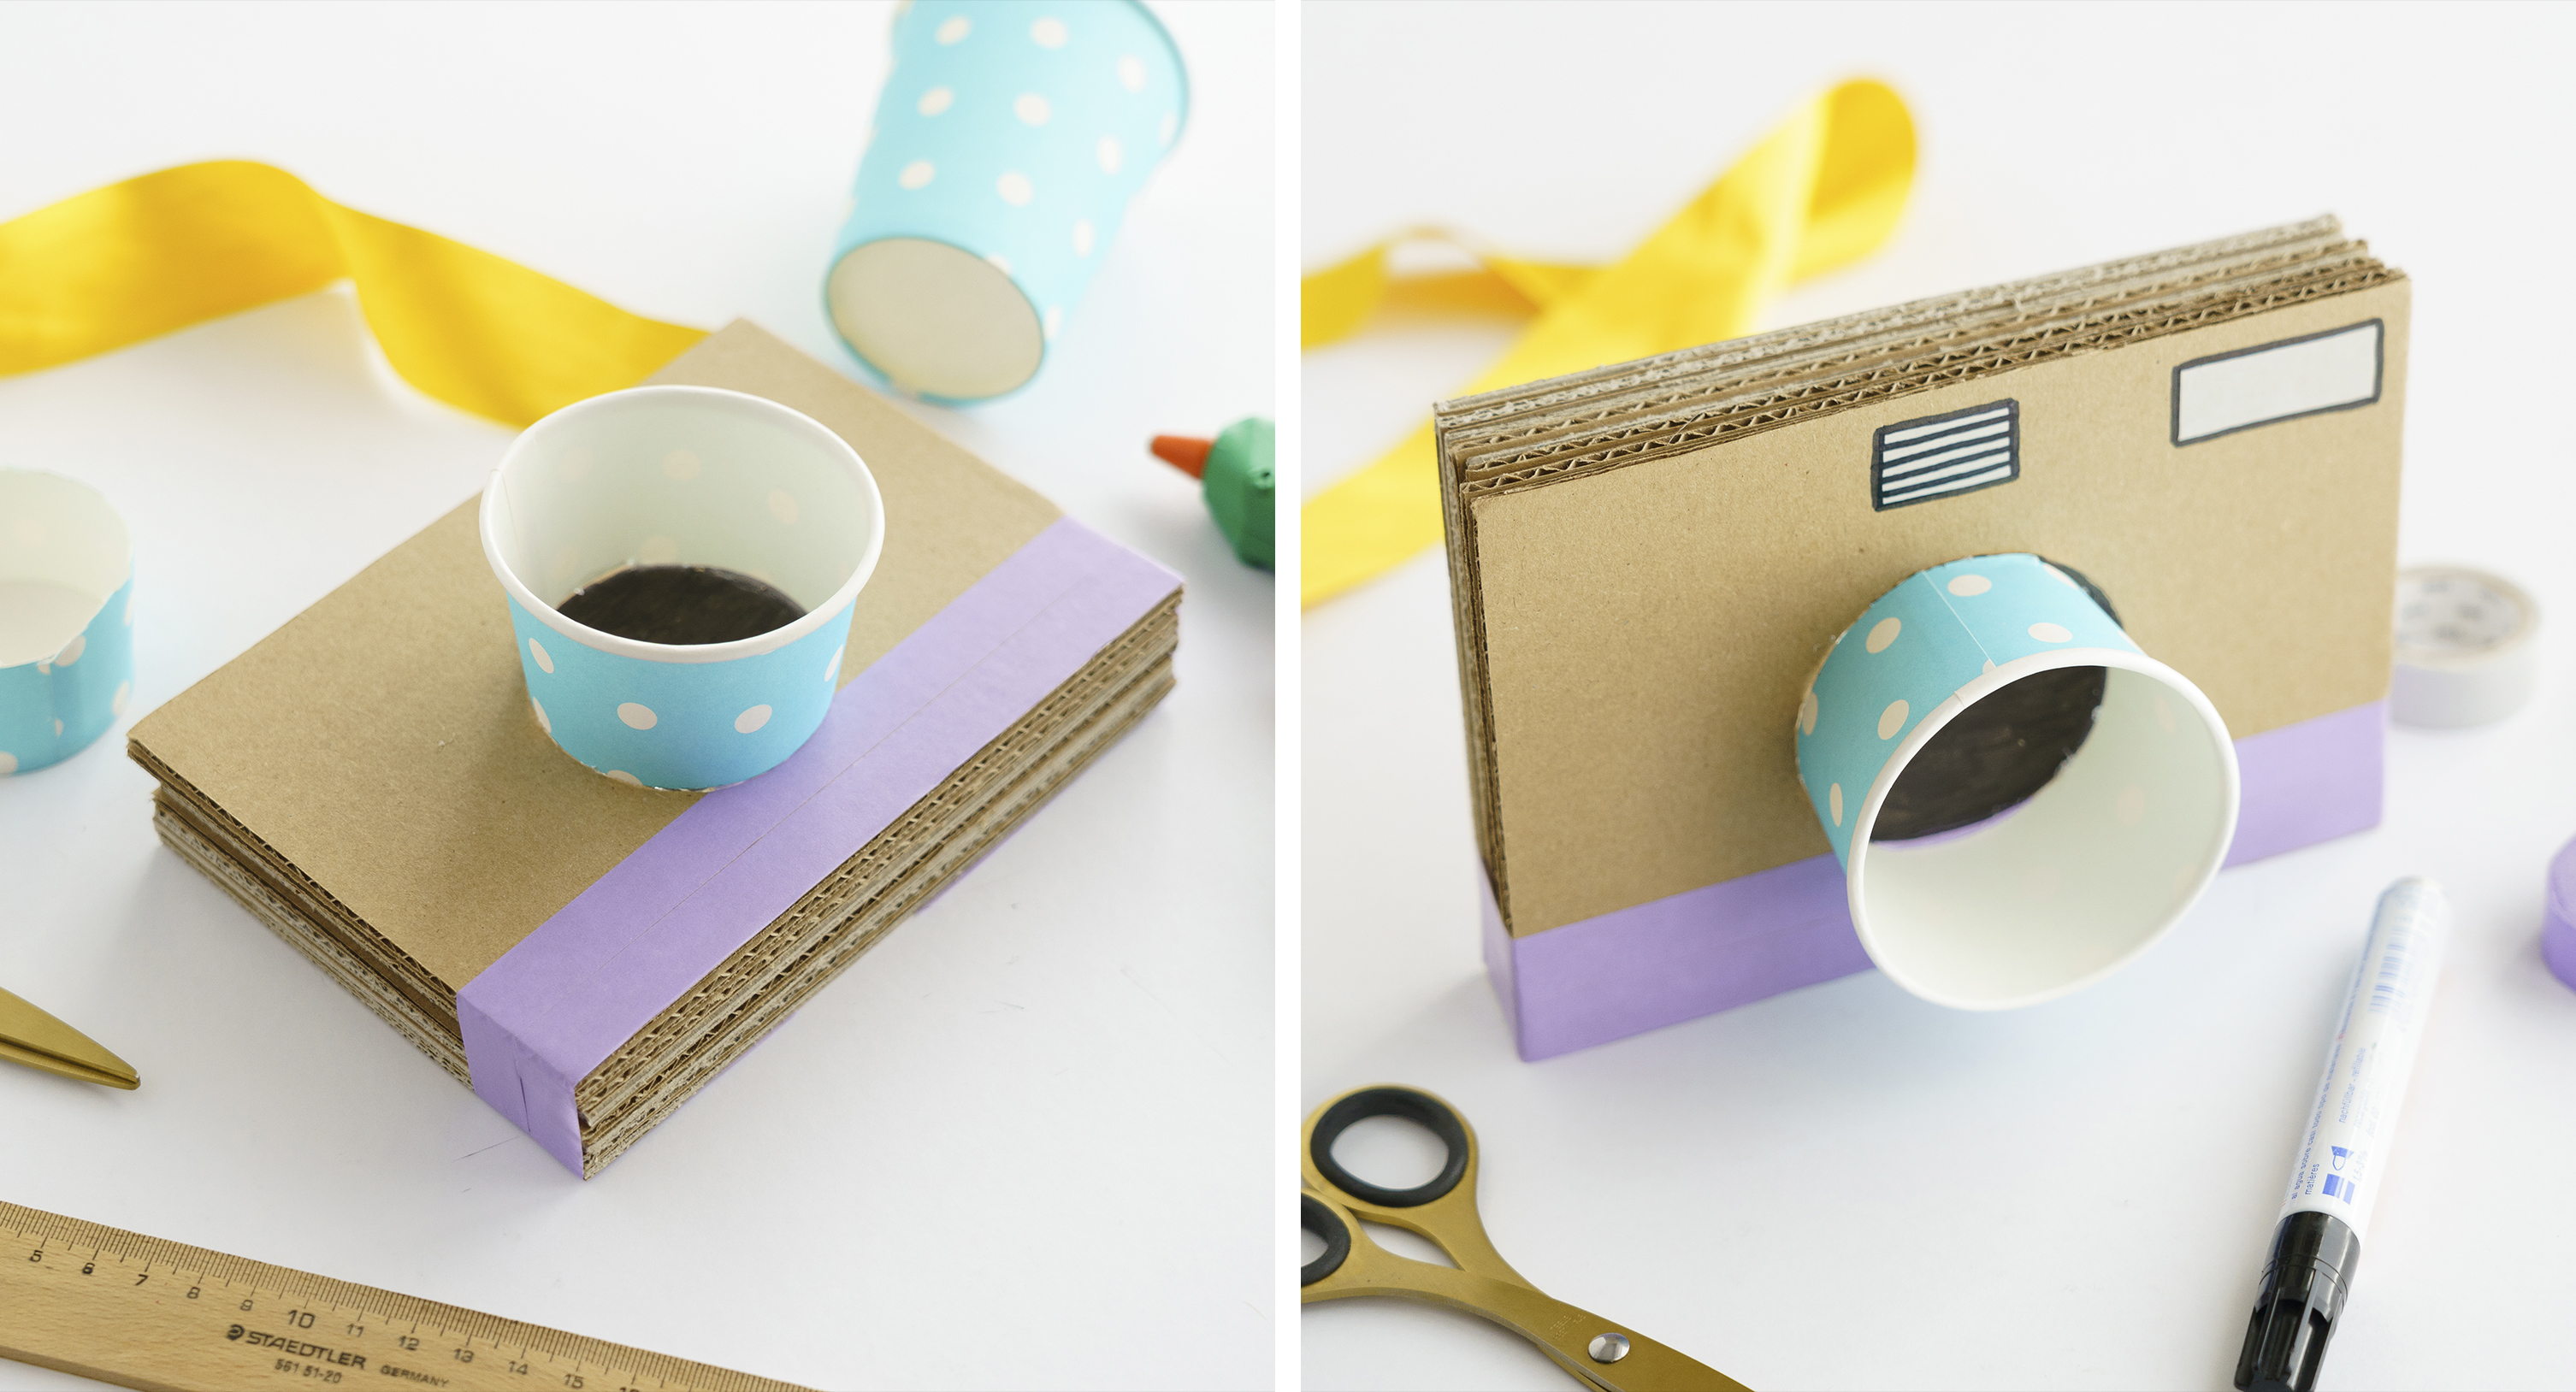
- Again with the help of an adult, cut the paper cut in half with scissors or a box cutter. Glue the top of the cup to the front of the cardboard with hot glue. Paint the inside of the cup with a black felt-tip pen.
- Now stick pieces of white washi tape on it to add other details such as the flash and the viewer. With the black felt-tip pen you can outline the camera to give it greater depth.
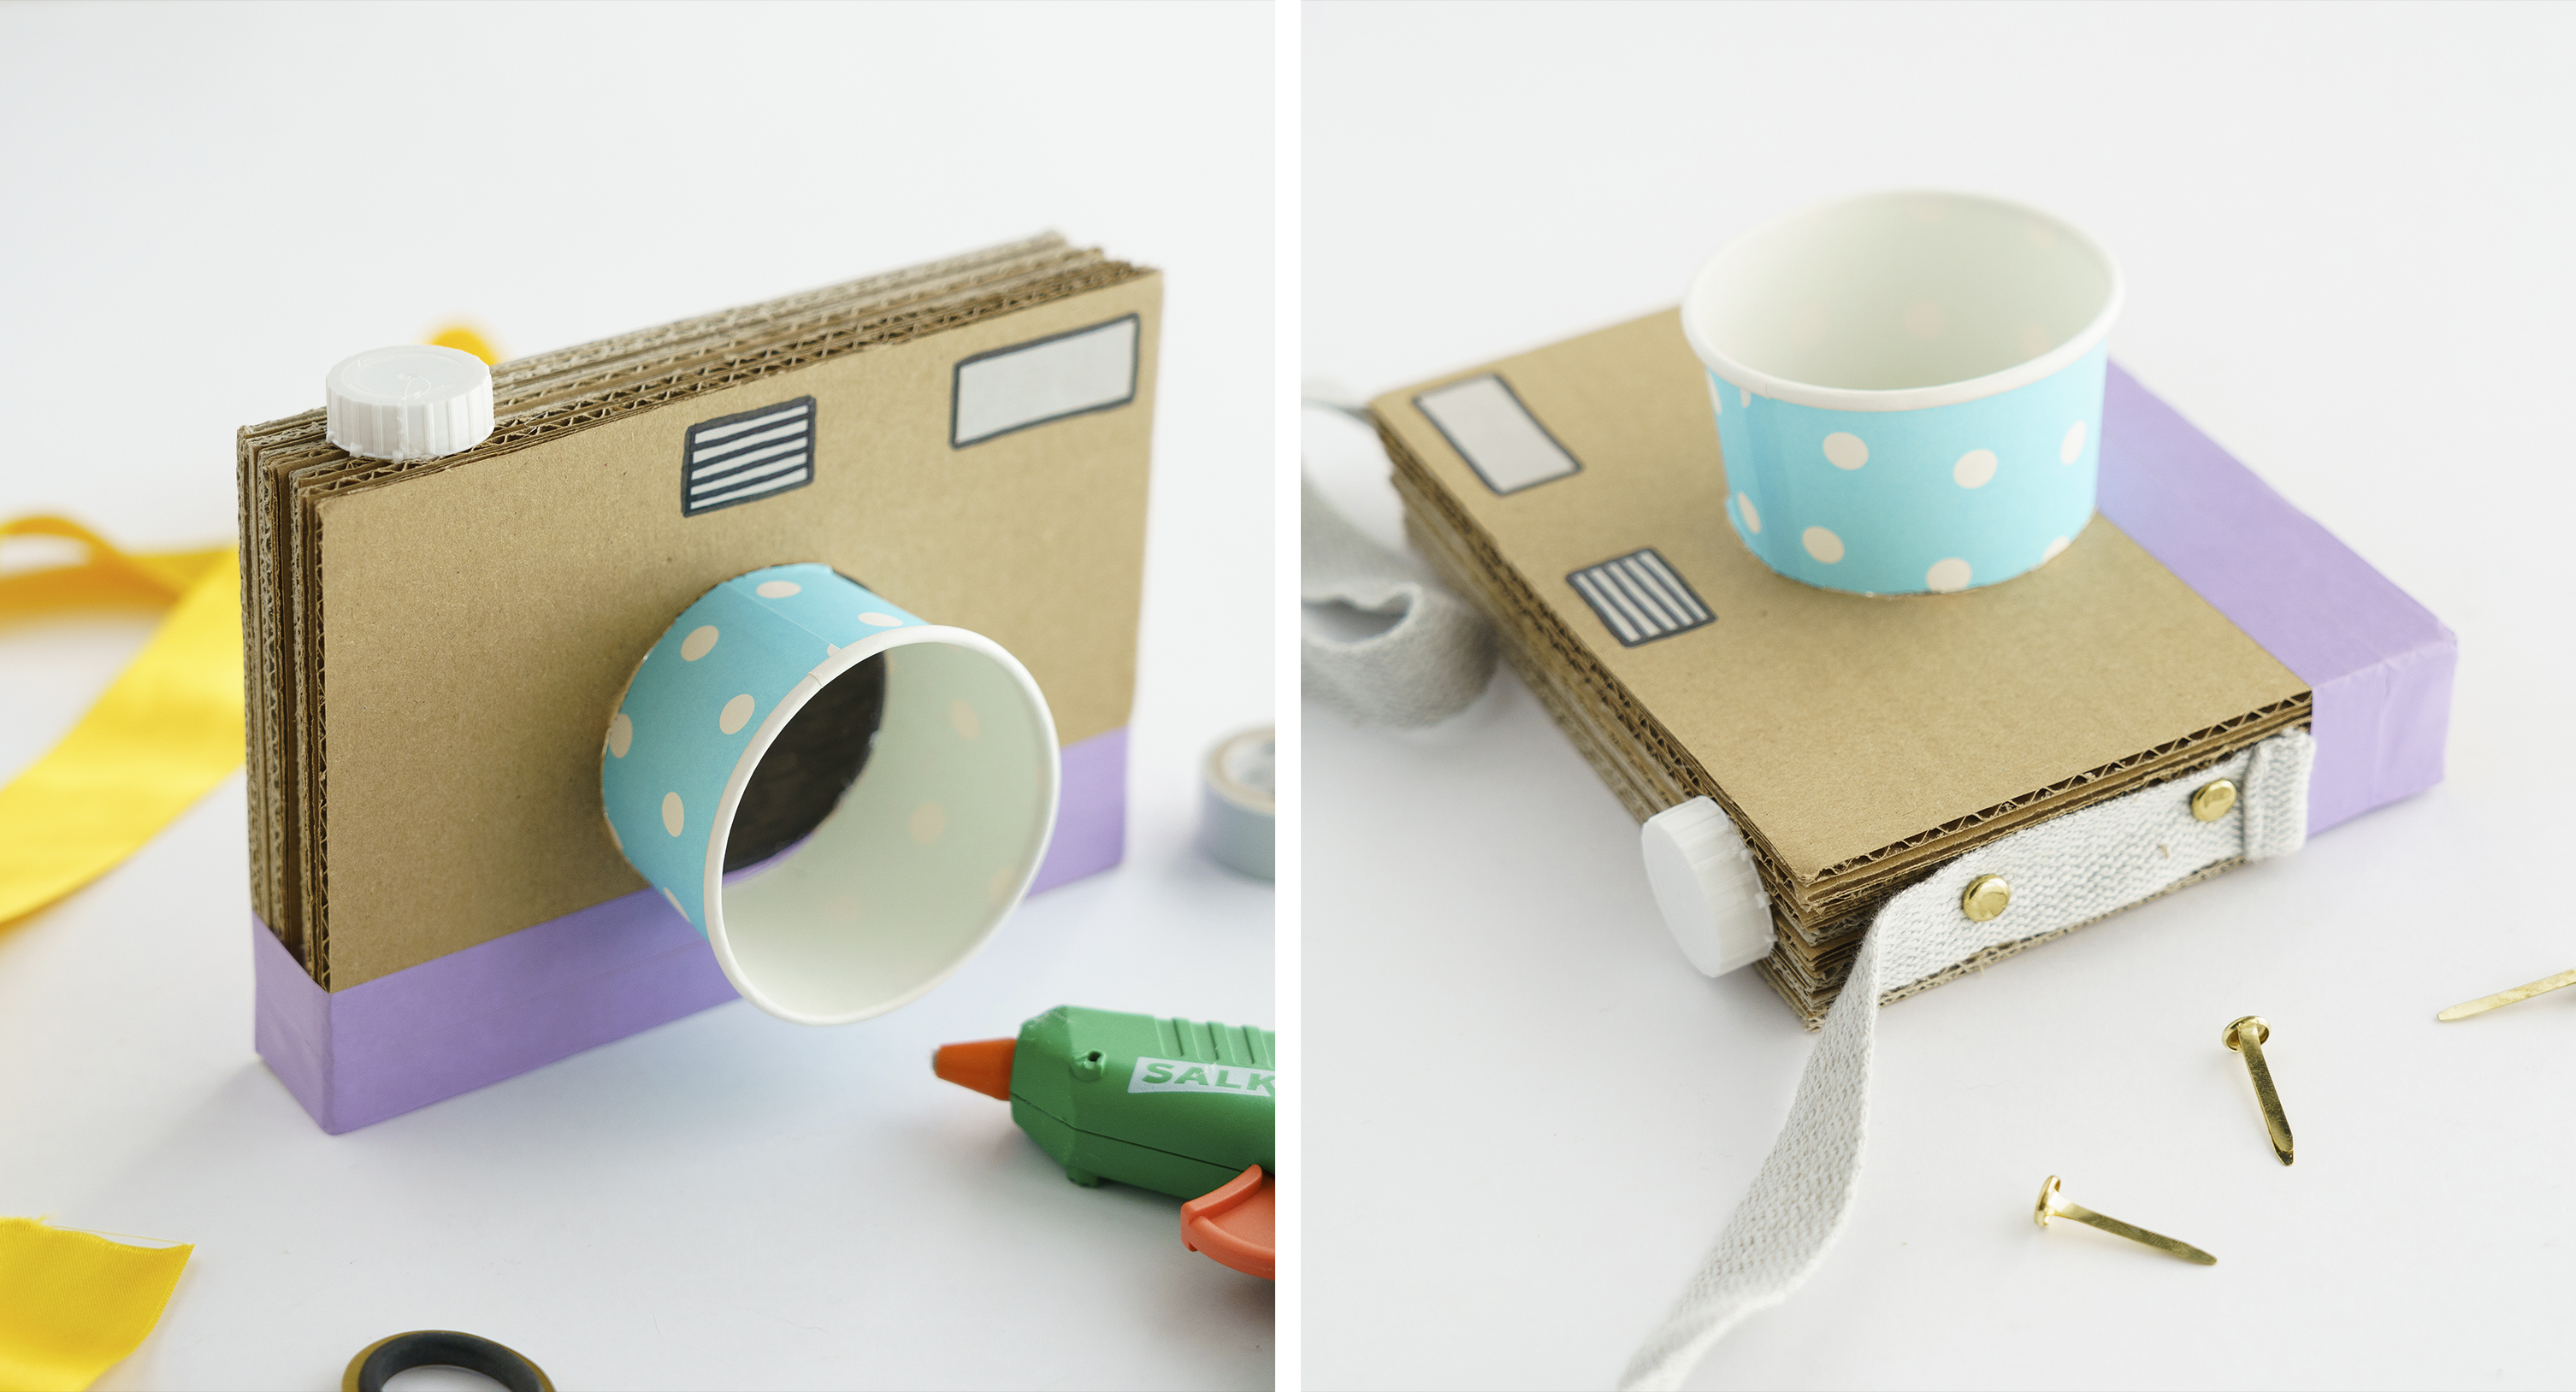
- The plastic cap will make the shutter button. Carefully stick it onto one end of the cardboard camera.
- Fasten the ribbon to the sides of the camera with the binders. Just thread the ribbon through the end of the binder by pressing on it a little.
Ready! Now you have a camera to take photographs of all your adventures.