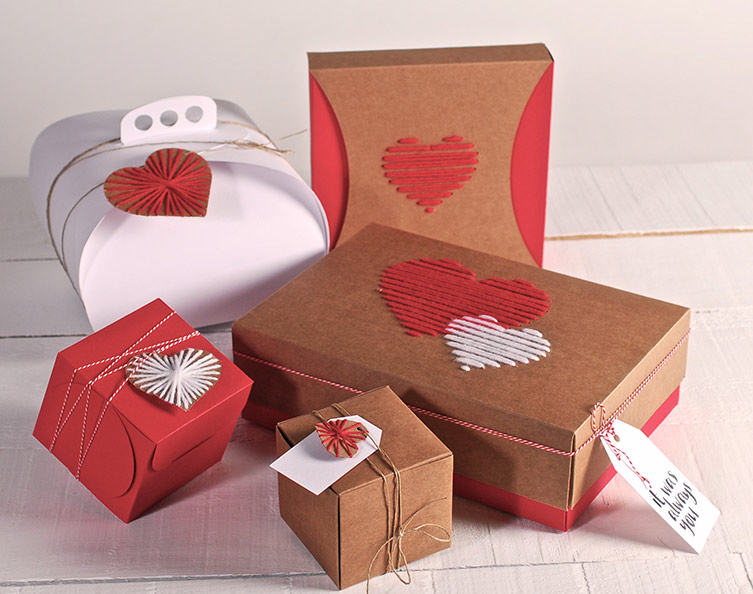
Here we are once again with a tutorial for Saint Valentine’s day. Because yes, it can be a bit cheesy, maybe you don’t think its very you and maybe even that it’s a bit (or mostly) commercial, existing only to make us buy and buy… However, a bit of chocolate never hurt anyone, we all need a bit of love and attention and at the end of the day, whatever the reason behind it it’s good to tell someone one way or another that you love them to bits. Sometimes with all the hustle and bustle off modern day life we forget to say it, and this shouldn’t be the case.
So, whatever the gift, how about we give the wrapping a romantic touch? What do you think of spicing it up to gain some brownie points? To get to the point, what do you think of doing this Saint Valentine’s decoration?
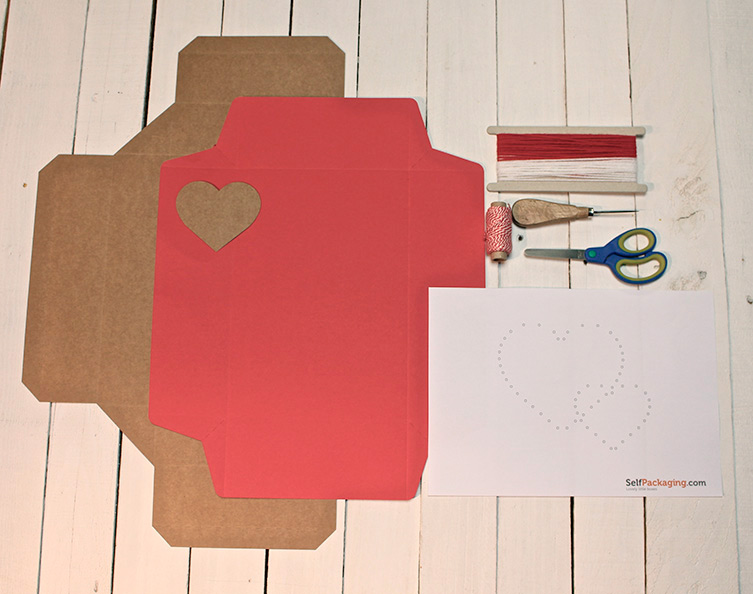
So what’s your answer? Do you like it? Shall we go for it? Well, firstly and as always, here are the necessary materials:
We will need:
- One of our gift boxes, in this case we have chosen the rectangular gift box with a lid, ref. 2266
- A card heart to match the gift box. We have chosen the kraft card, which we love as you know
- Scissors
- A couple of meters of white and red wool (or whichever colour you like)
- A punch to pierce the card. A needle or something with a sharp tip will also work
- Red and white Baker’s twine, or whatever the colours of the chosen wool
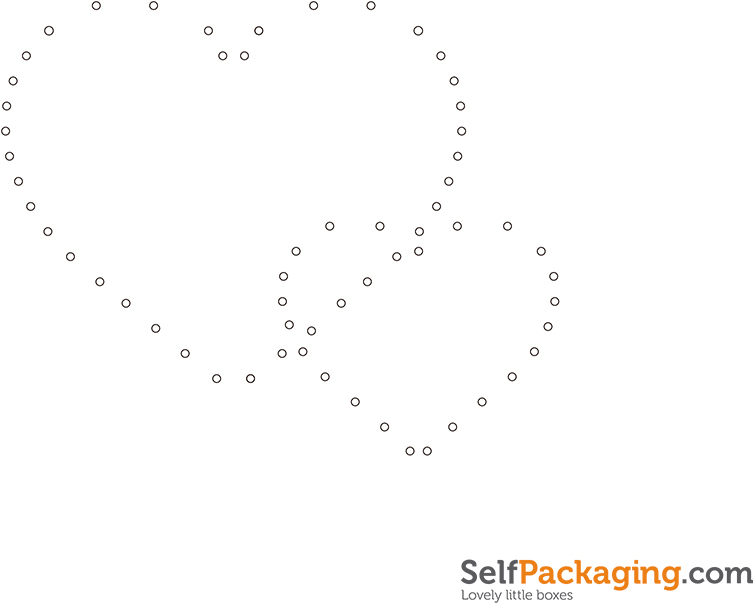
- Our pattern to puncture the cardboars, which you can download shortly
Firstly, download the template for making holes in the lid, which you will add to the box later on:
The free download is available in the following link
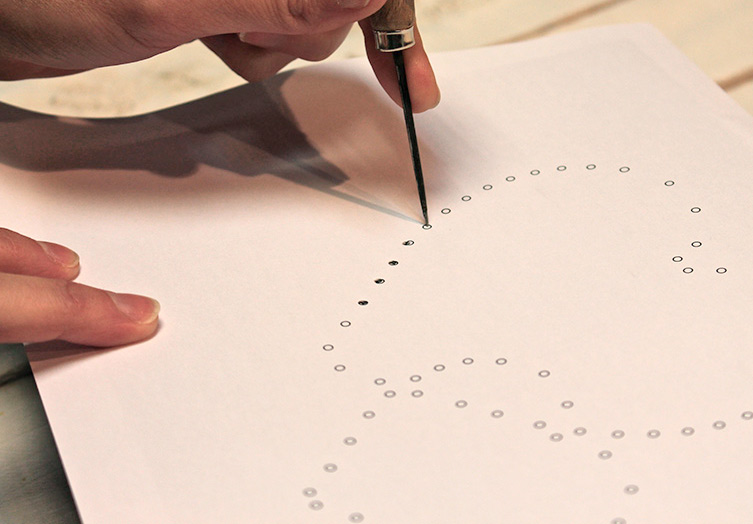
Once you have printed it, place it firmly on top of the lid of the box, and using the needle or sharp point make the appropriate holes:
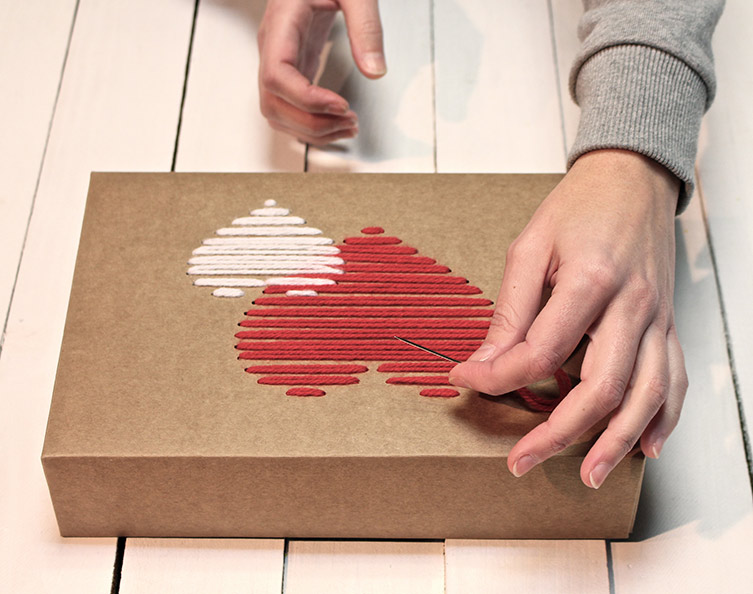
Then you thread the needle (big enough for the wool that we will use) and begin to ‘sew’ hearts, threading the wool from side to side to gradually achieve this effect:
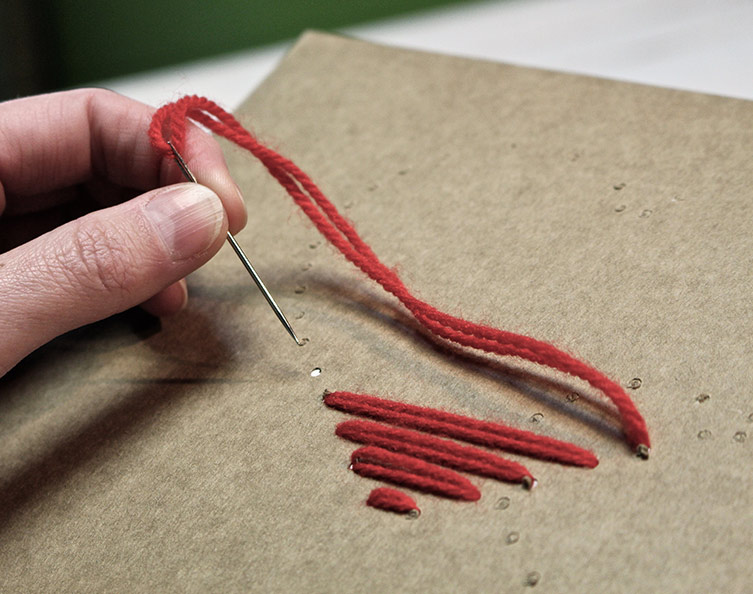
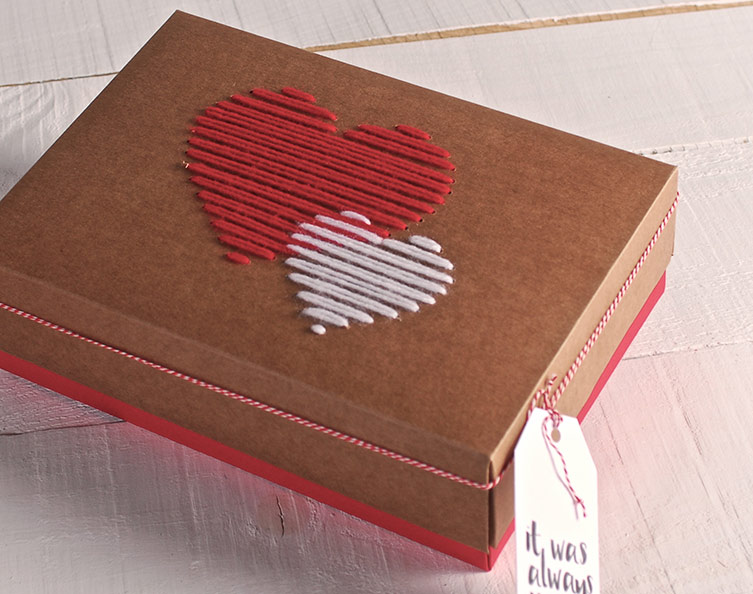
This is where the game of combining the colours of wool starts, as we will do one of the hearts with one colour, and the other with the remaining colour. In this case, it works perfectly:
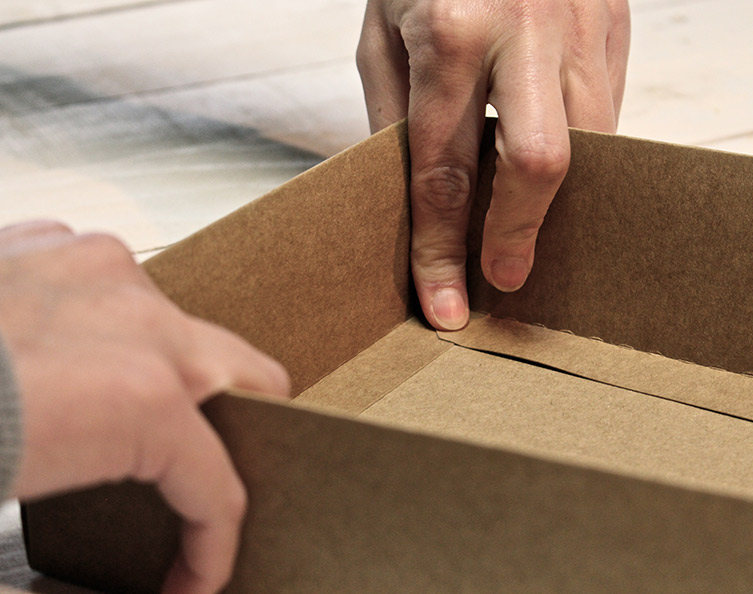
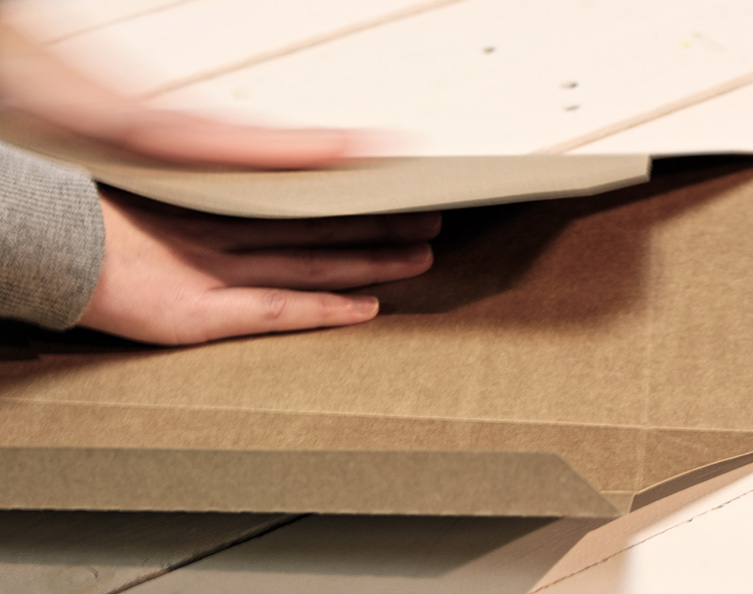
Now, we assemble the rectangular boxes. This particular model, like most in our range, is really easy to assemble and doesn’t even need an adhesive. But don’t panic if you find yourself in a pickle, here is an instruction video which makes it impossible to go wrong: http://bit.ly/1KQ8PRE
We leave this box to the side, as it’s already perfectly dressed up, right?
Then move on to the second decoration, which is simpler and will take less time. It consists in decorating the cardboard heart we cut out at the start, making some slots perfect to put the wool into, giving volume and warmth. We start by making small cuts with scissors around the heart, trying to make them an equal distance apart as possible.
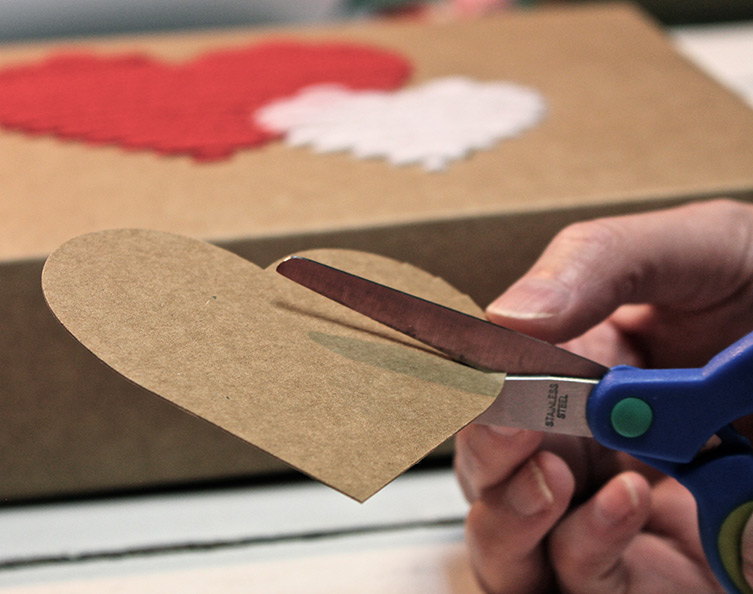
Now we have this broken heart (excuse the pun) we sew the wool from side to side, diametrically, gaining more volume every time we thread it through.
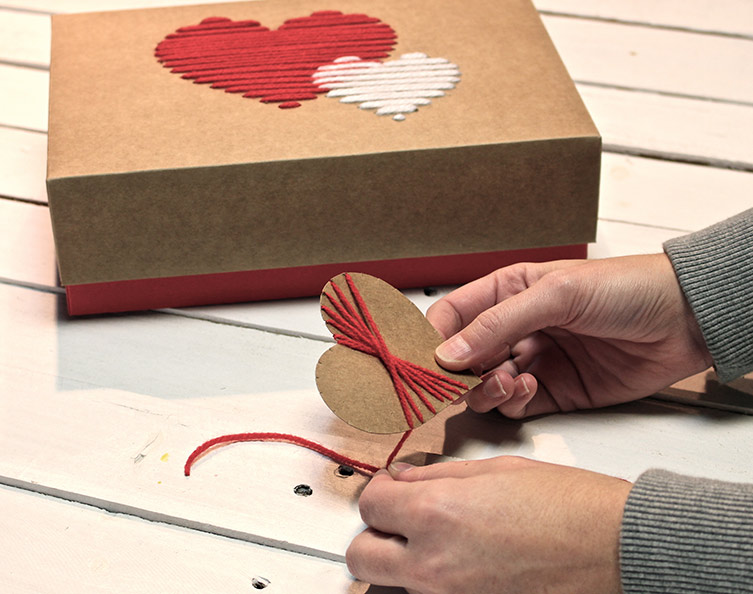
And there we are, as promised this second step was quicker and easier. To finish it off, you just have to make a knot at the back, and the heart is now ready to decorate gifts wherever you go :
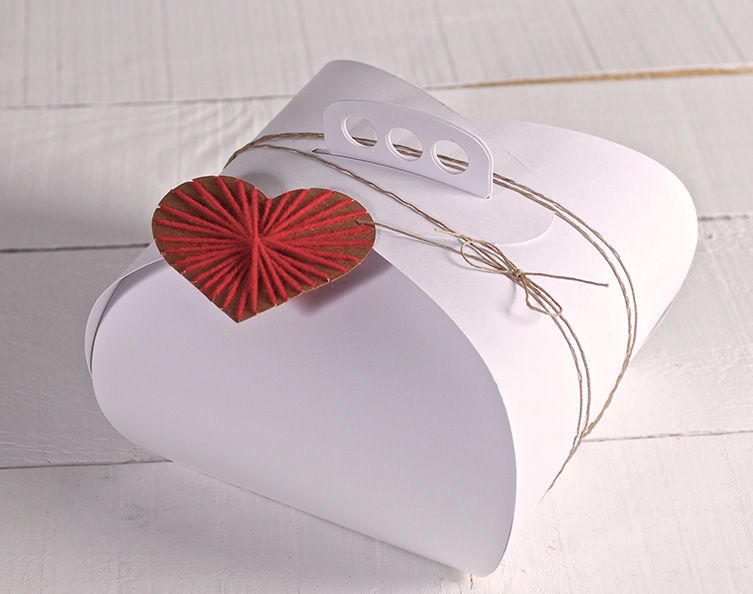
Well, now we’ve done our part. The rest (candles, mood, hugs … or whatever goes inside the wrapping), is in your hands. Long live love!


Hi Elisabeth! Great set wonderful tutorial. This is amazing! Makes a very beautiful personal gift! This post is new to me and I am speechless, everything is awesome and elegant. Your ideas are wonderful and I feel that your designs come from the core of heart! I saved your post and on this Valentine’s Day I surely try to decorate some of my boxes like yours.
Hi Zak,
Thank you for your nice words!! We post DIY tutorials from time to time 😉 If you subscribe to our blog, you’ll receive them in your inbox 😀
Have a nice day,
Kind Regards,