Today we are going to surprise you with the amazing shapes you can see inside a kaleidoscope. It’s an optical illusion instrument that uses bright colours, reflections and lights to create mesmerising shapes.
So, today we are going to transform a box for macarons into a kaleidoscope so little ones and adults alike can observe the colourful reflections.
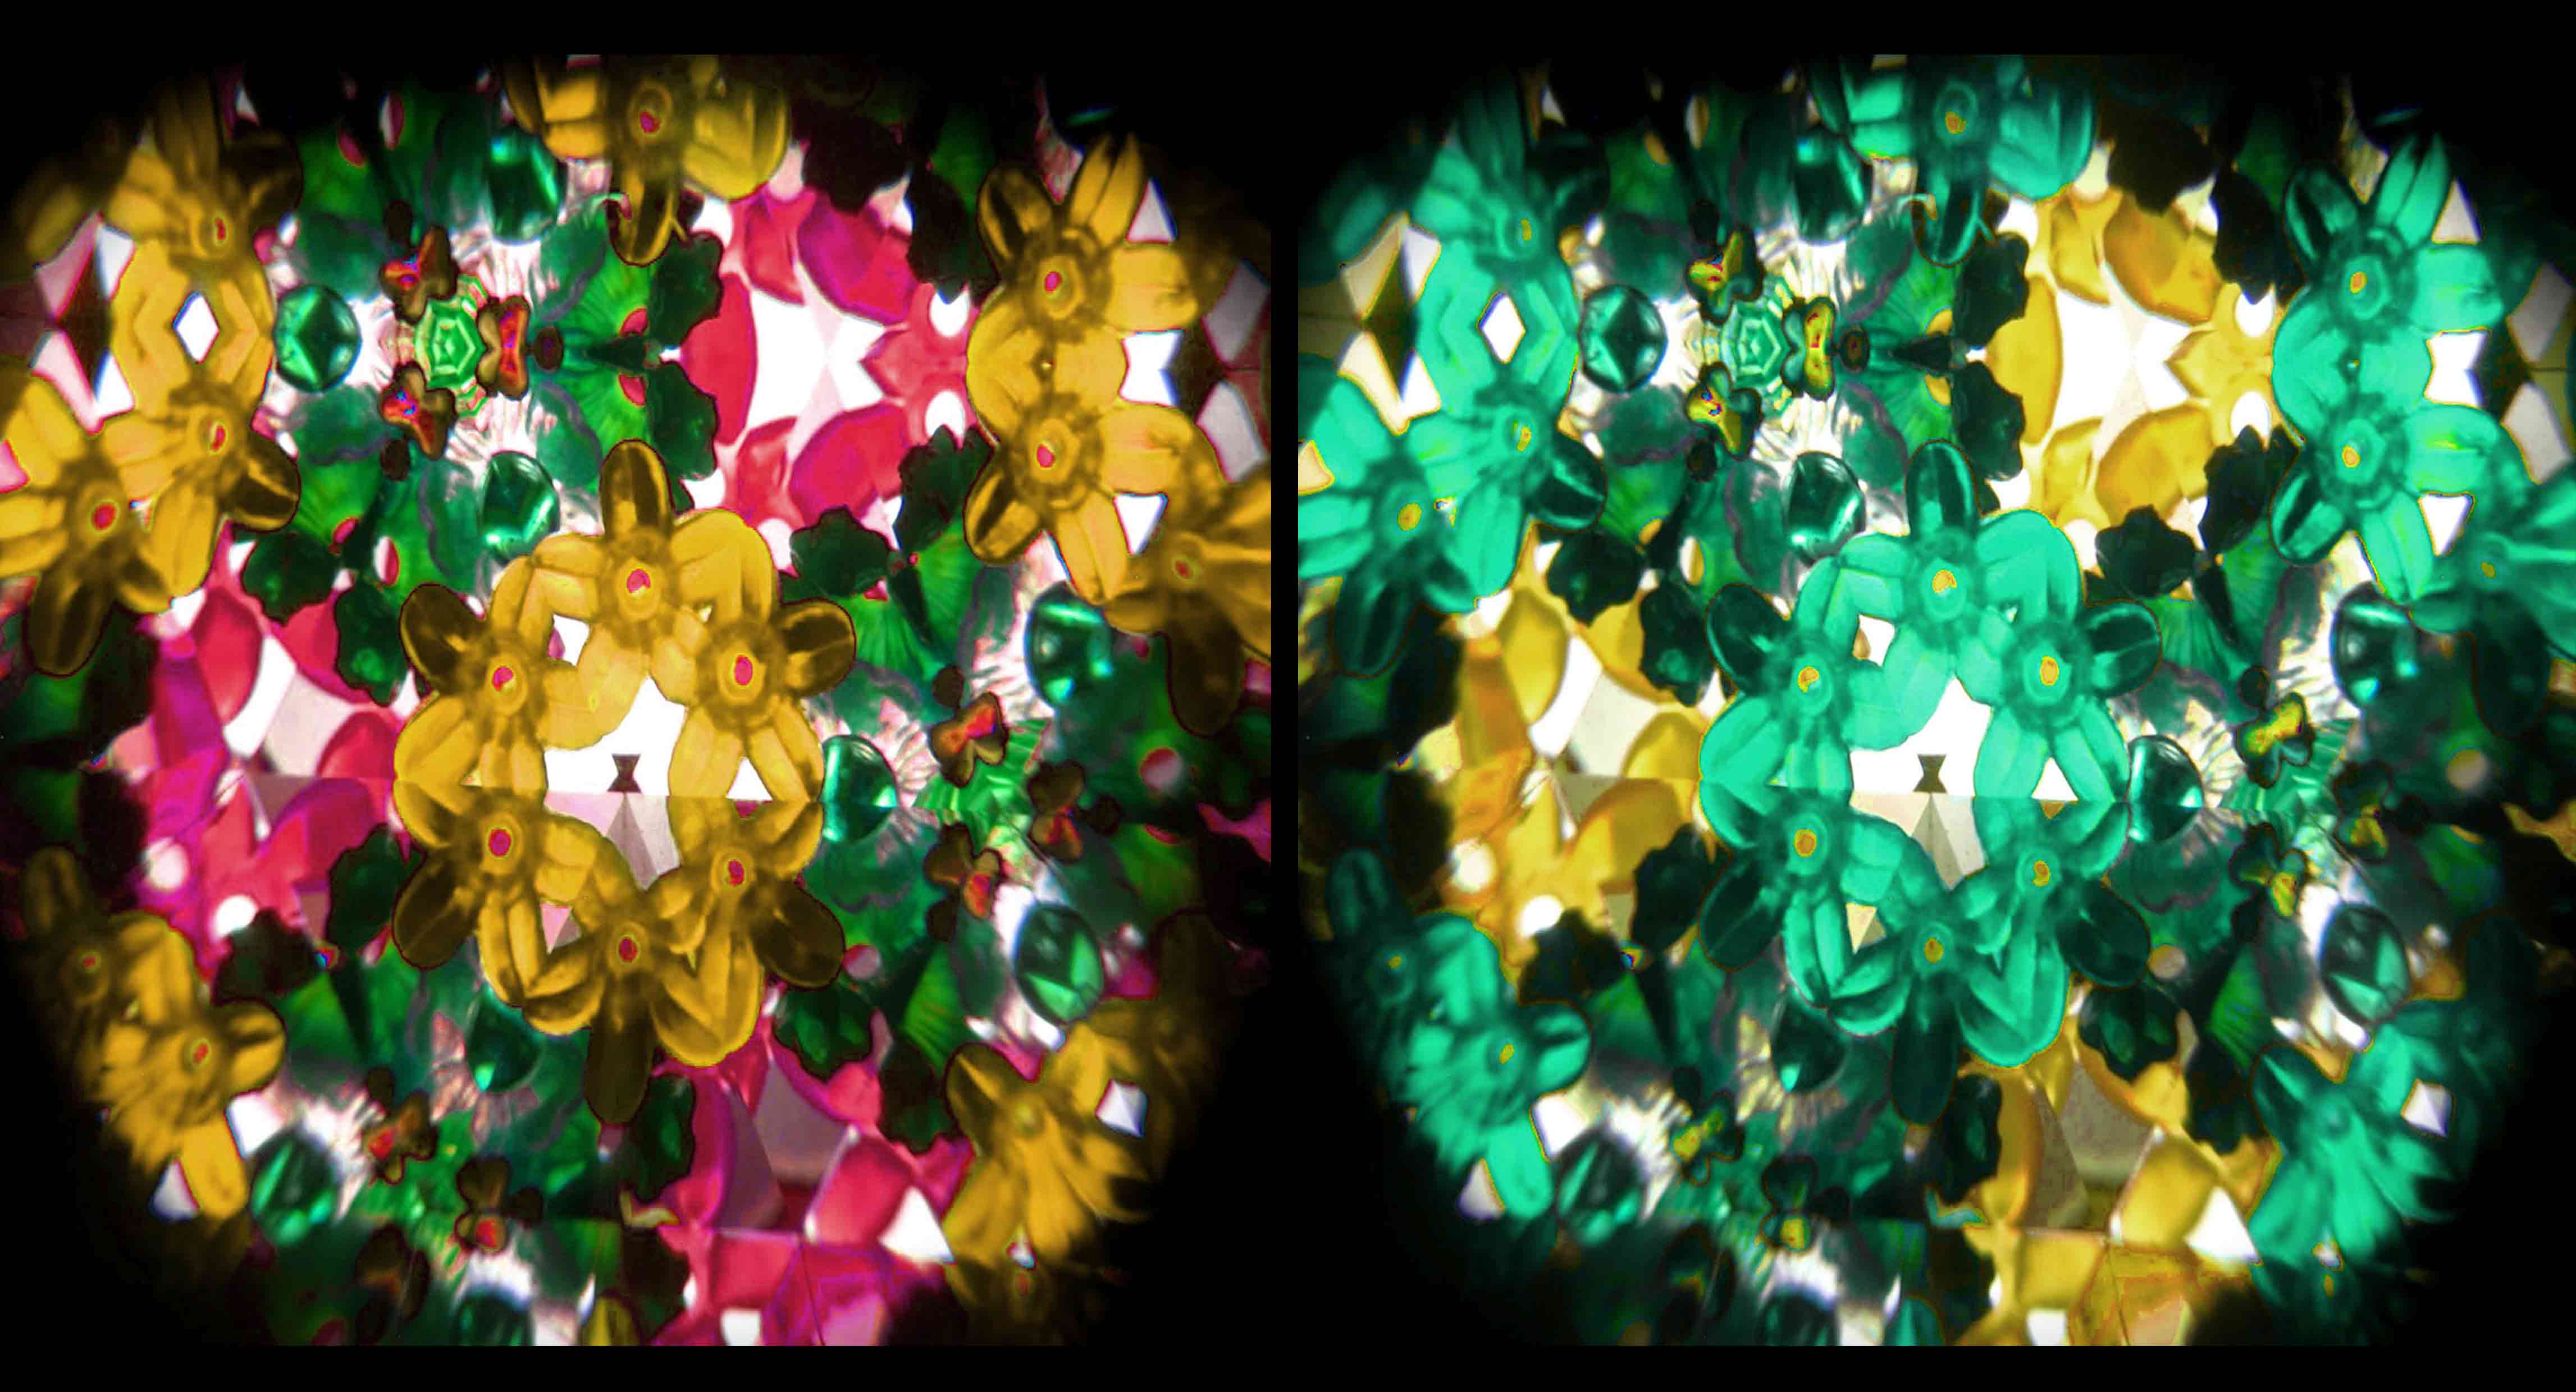
But, how does a kaleidoscope really work? One of the ends of this fun gadget is made out of translucent material that lets the light through. On this end, the different bright elements are loose: sequins, beads, rhinestones… On the other hand, the opposite end is made out of opaque material and has a hole through which we can look. Inside the gadget there are three mirrors in the shape of a triangle. These mirrors reflect the bright pieces and create the optional illusion with cool bright shapes.
In our case, we are going to show you how to create a kaleidoscope replacing the three mirrors with three strips of reflective silver cardboard.
Ready, let’s get to it! We are going to reuse our box for macarons and transform it into a cool kaleidoscope. We love giving our boxes new uses!
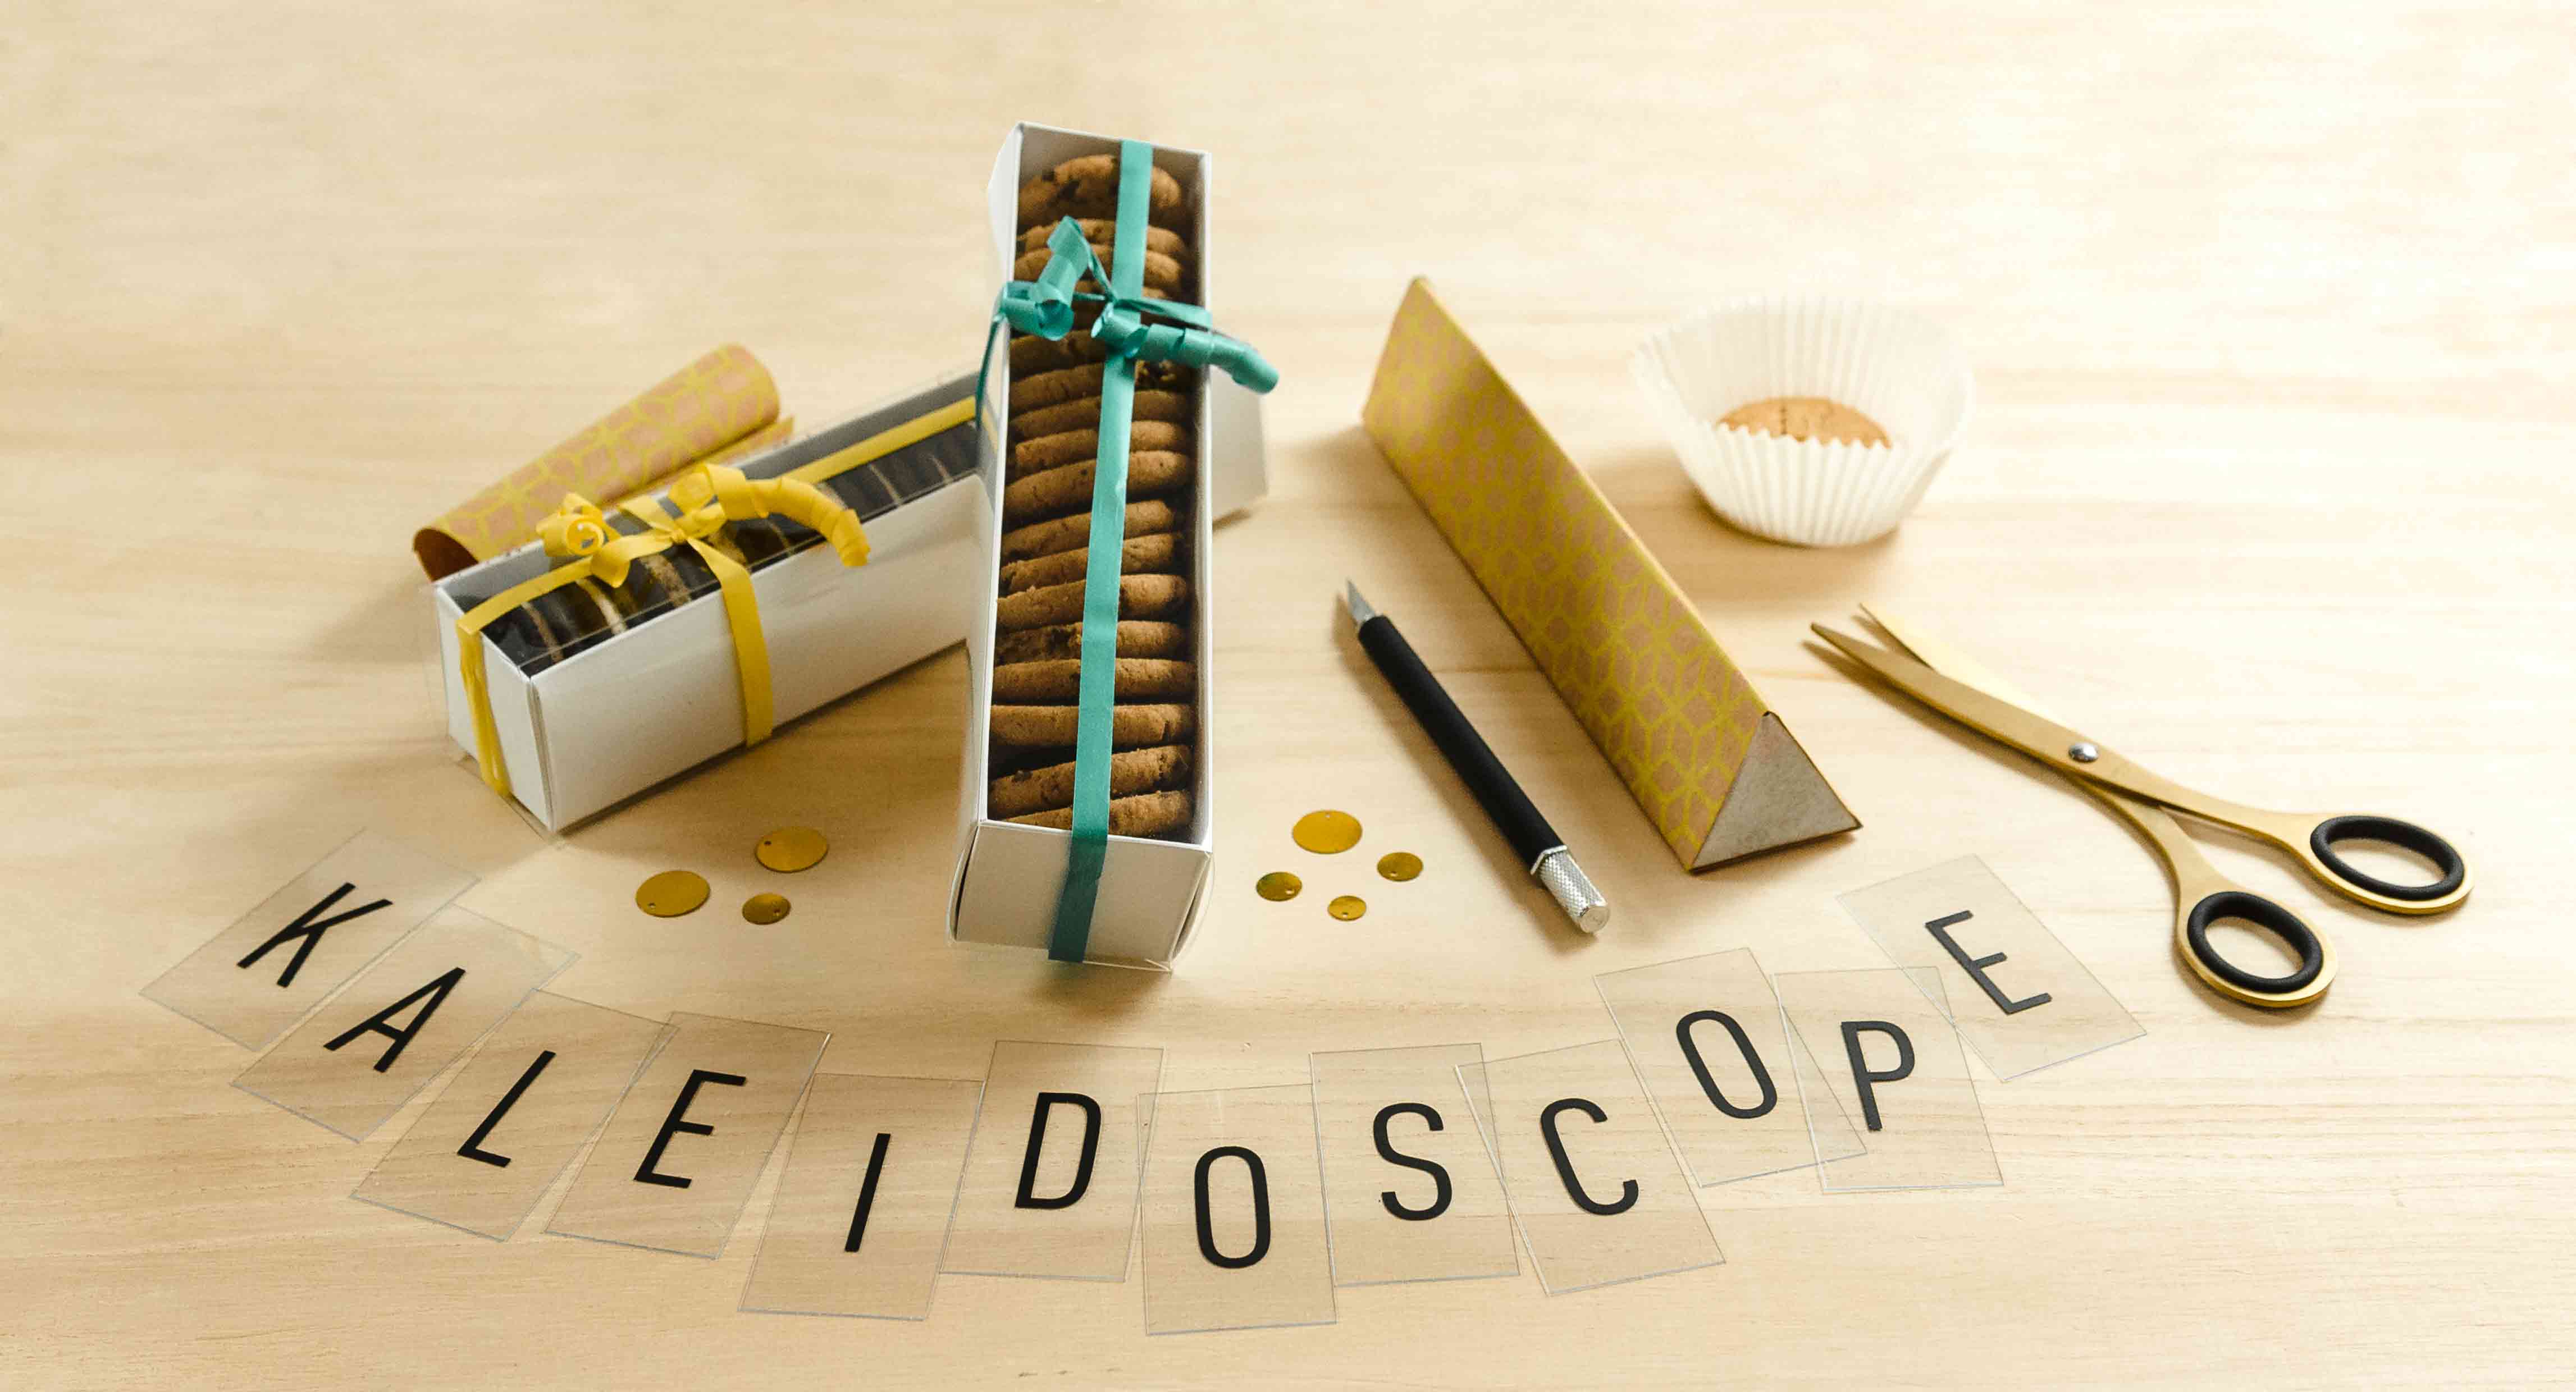
A super post in collaboration with Esencia Gráfica.
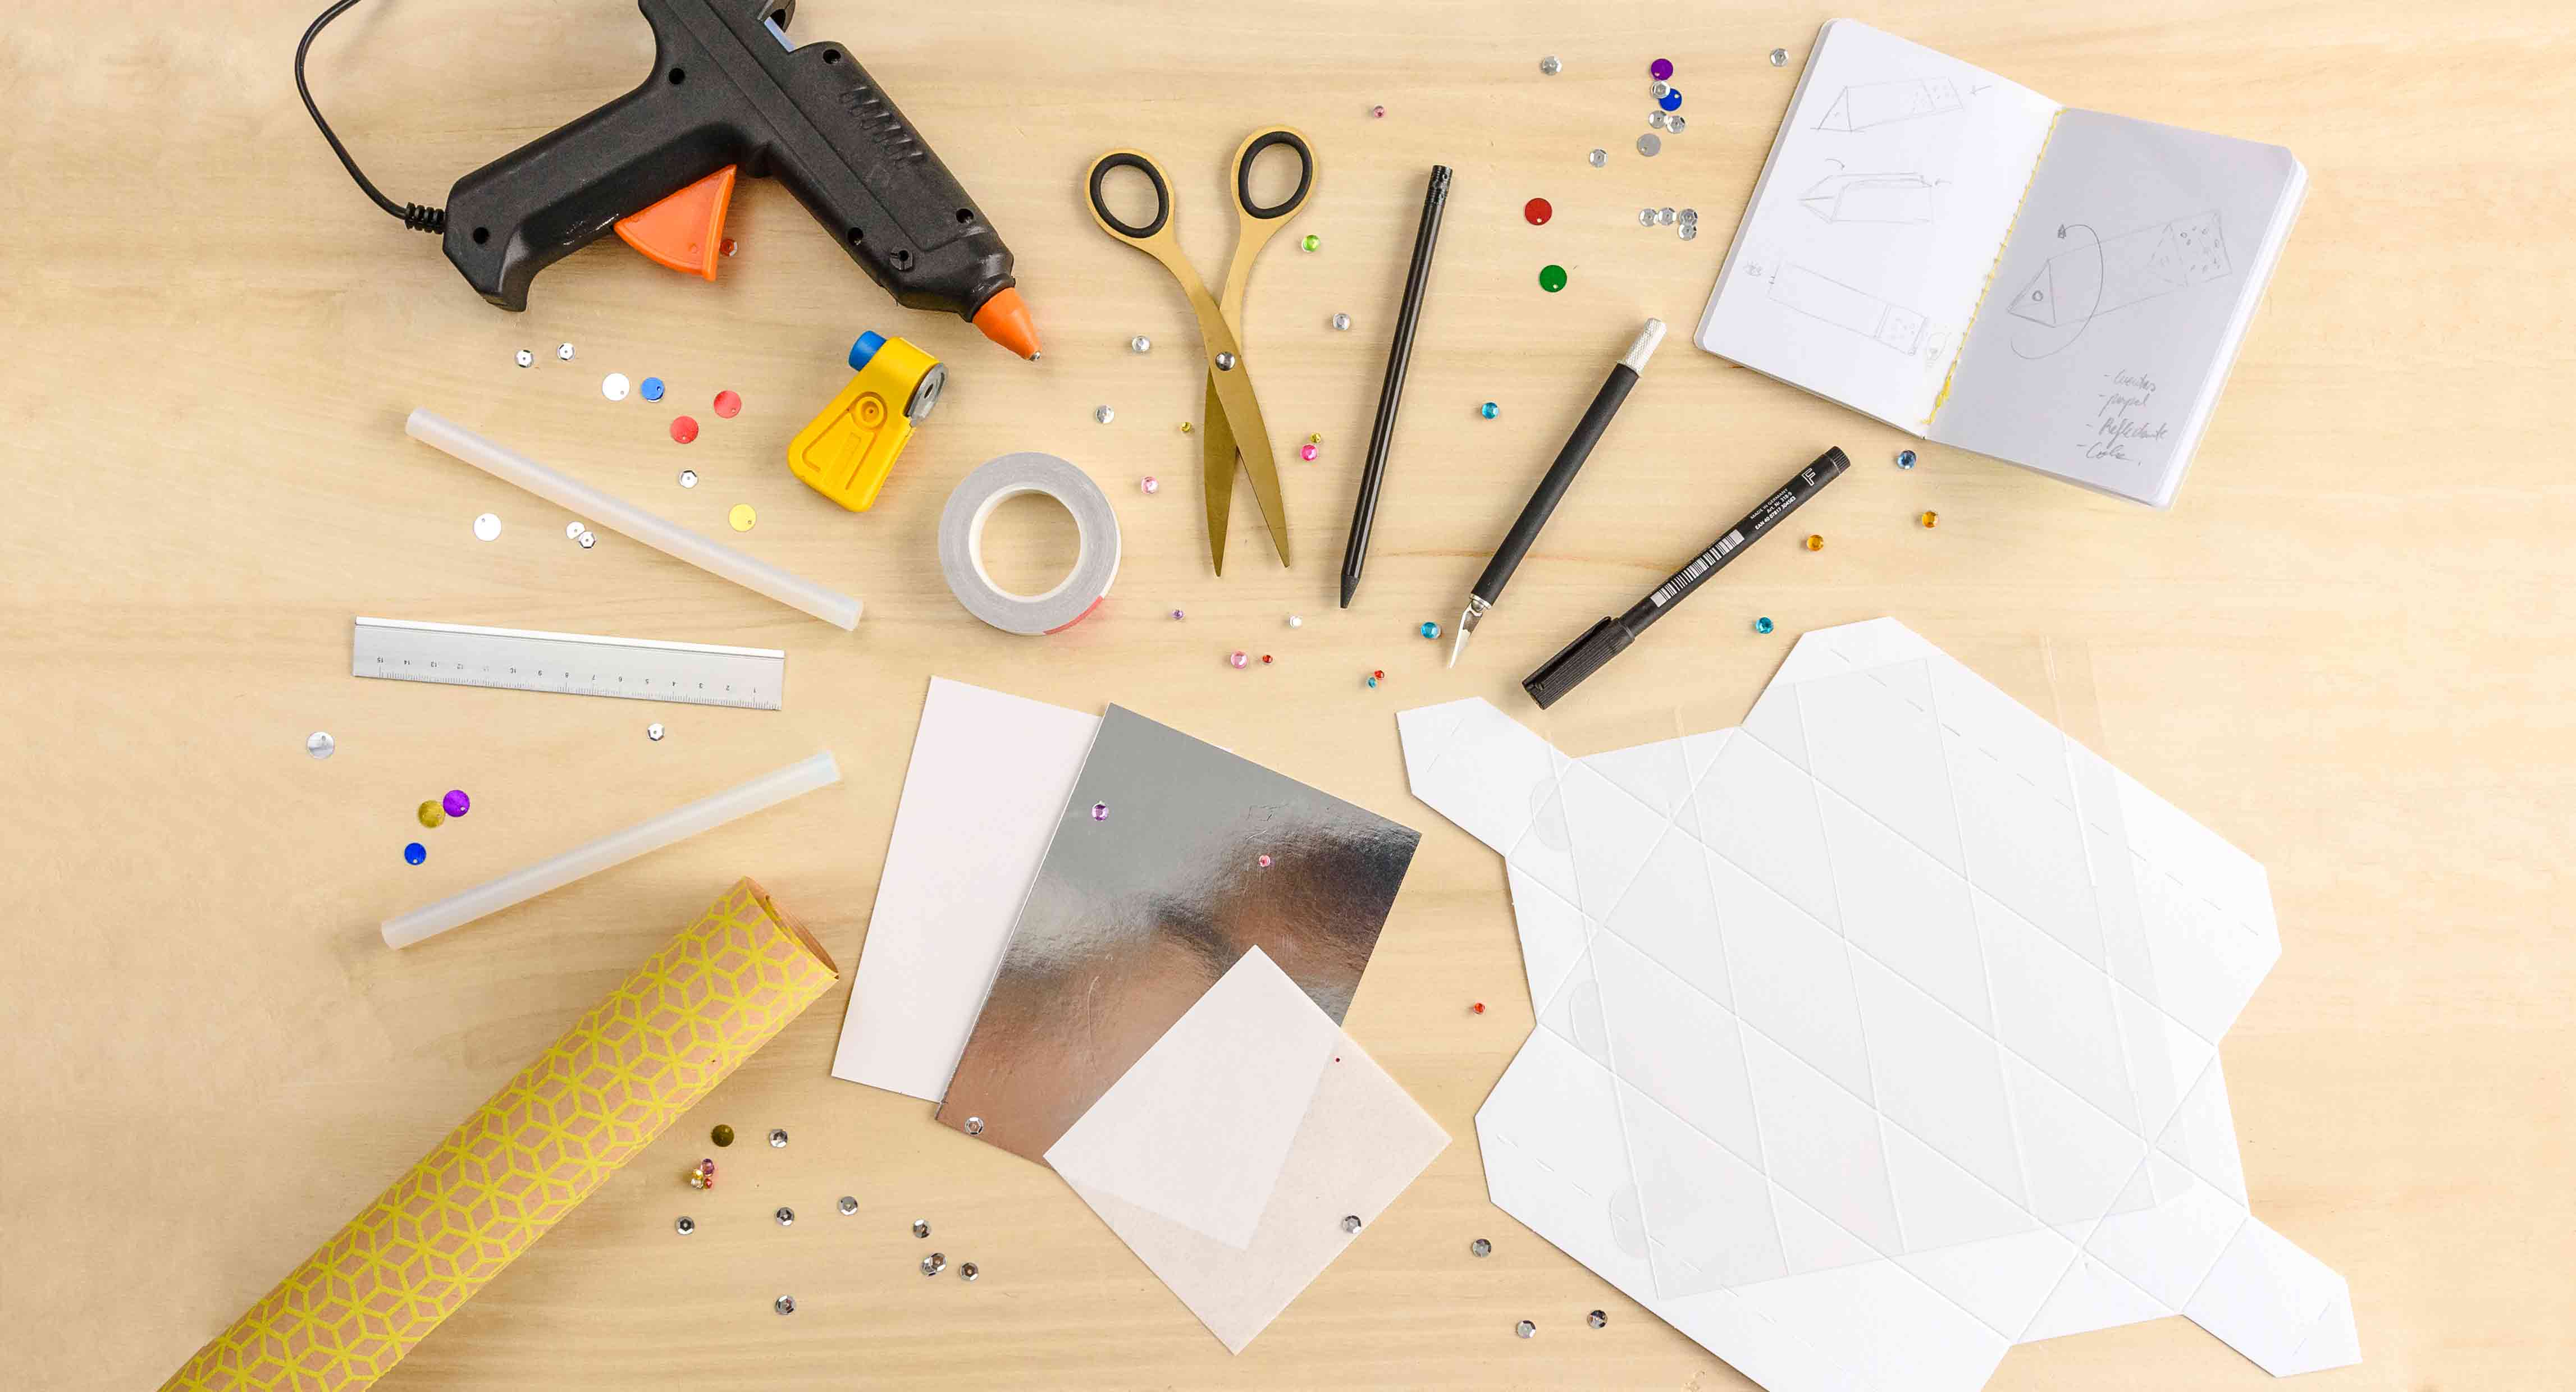
Materials:
- Box for macarons with a see-through lid (ref. 2248)
- Geometrical patterned paper (ref. E-PR3)
- Rhinestones, sequins and/or colourful beads
- Reflective silver cardboard or tin foil (or three long mirrors)
- Tissue paper
- Manual punch for circles (ref. E – HE8)
- Coloured card
- Double-sided tape and/or a hot glue gun
- Scissors and/or a box cutter
- Felt-tip pen and/or pencil
- Ruler
STEP BY STEP:
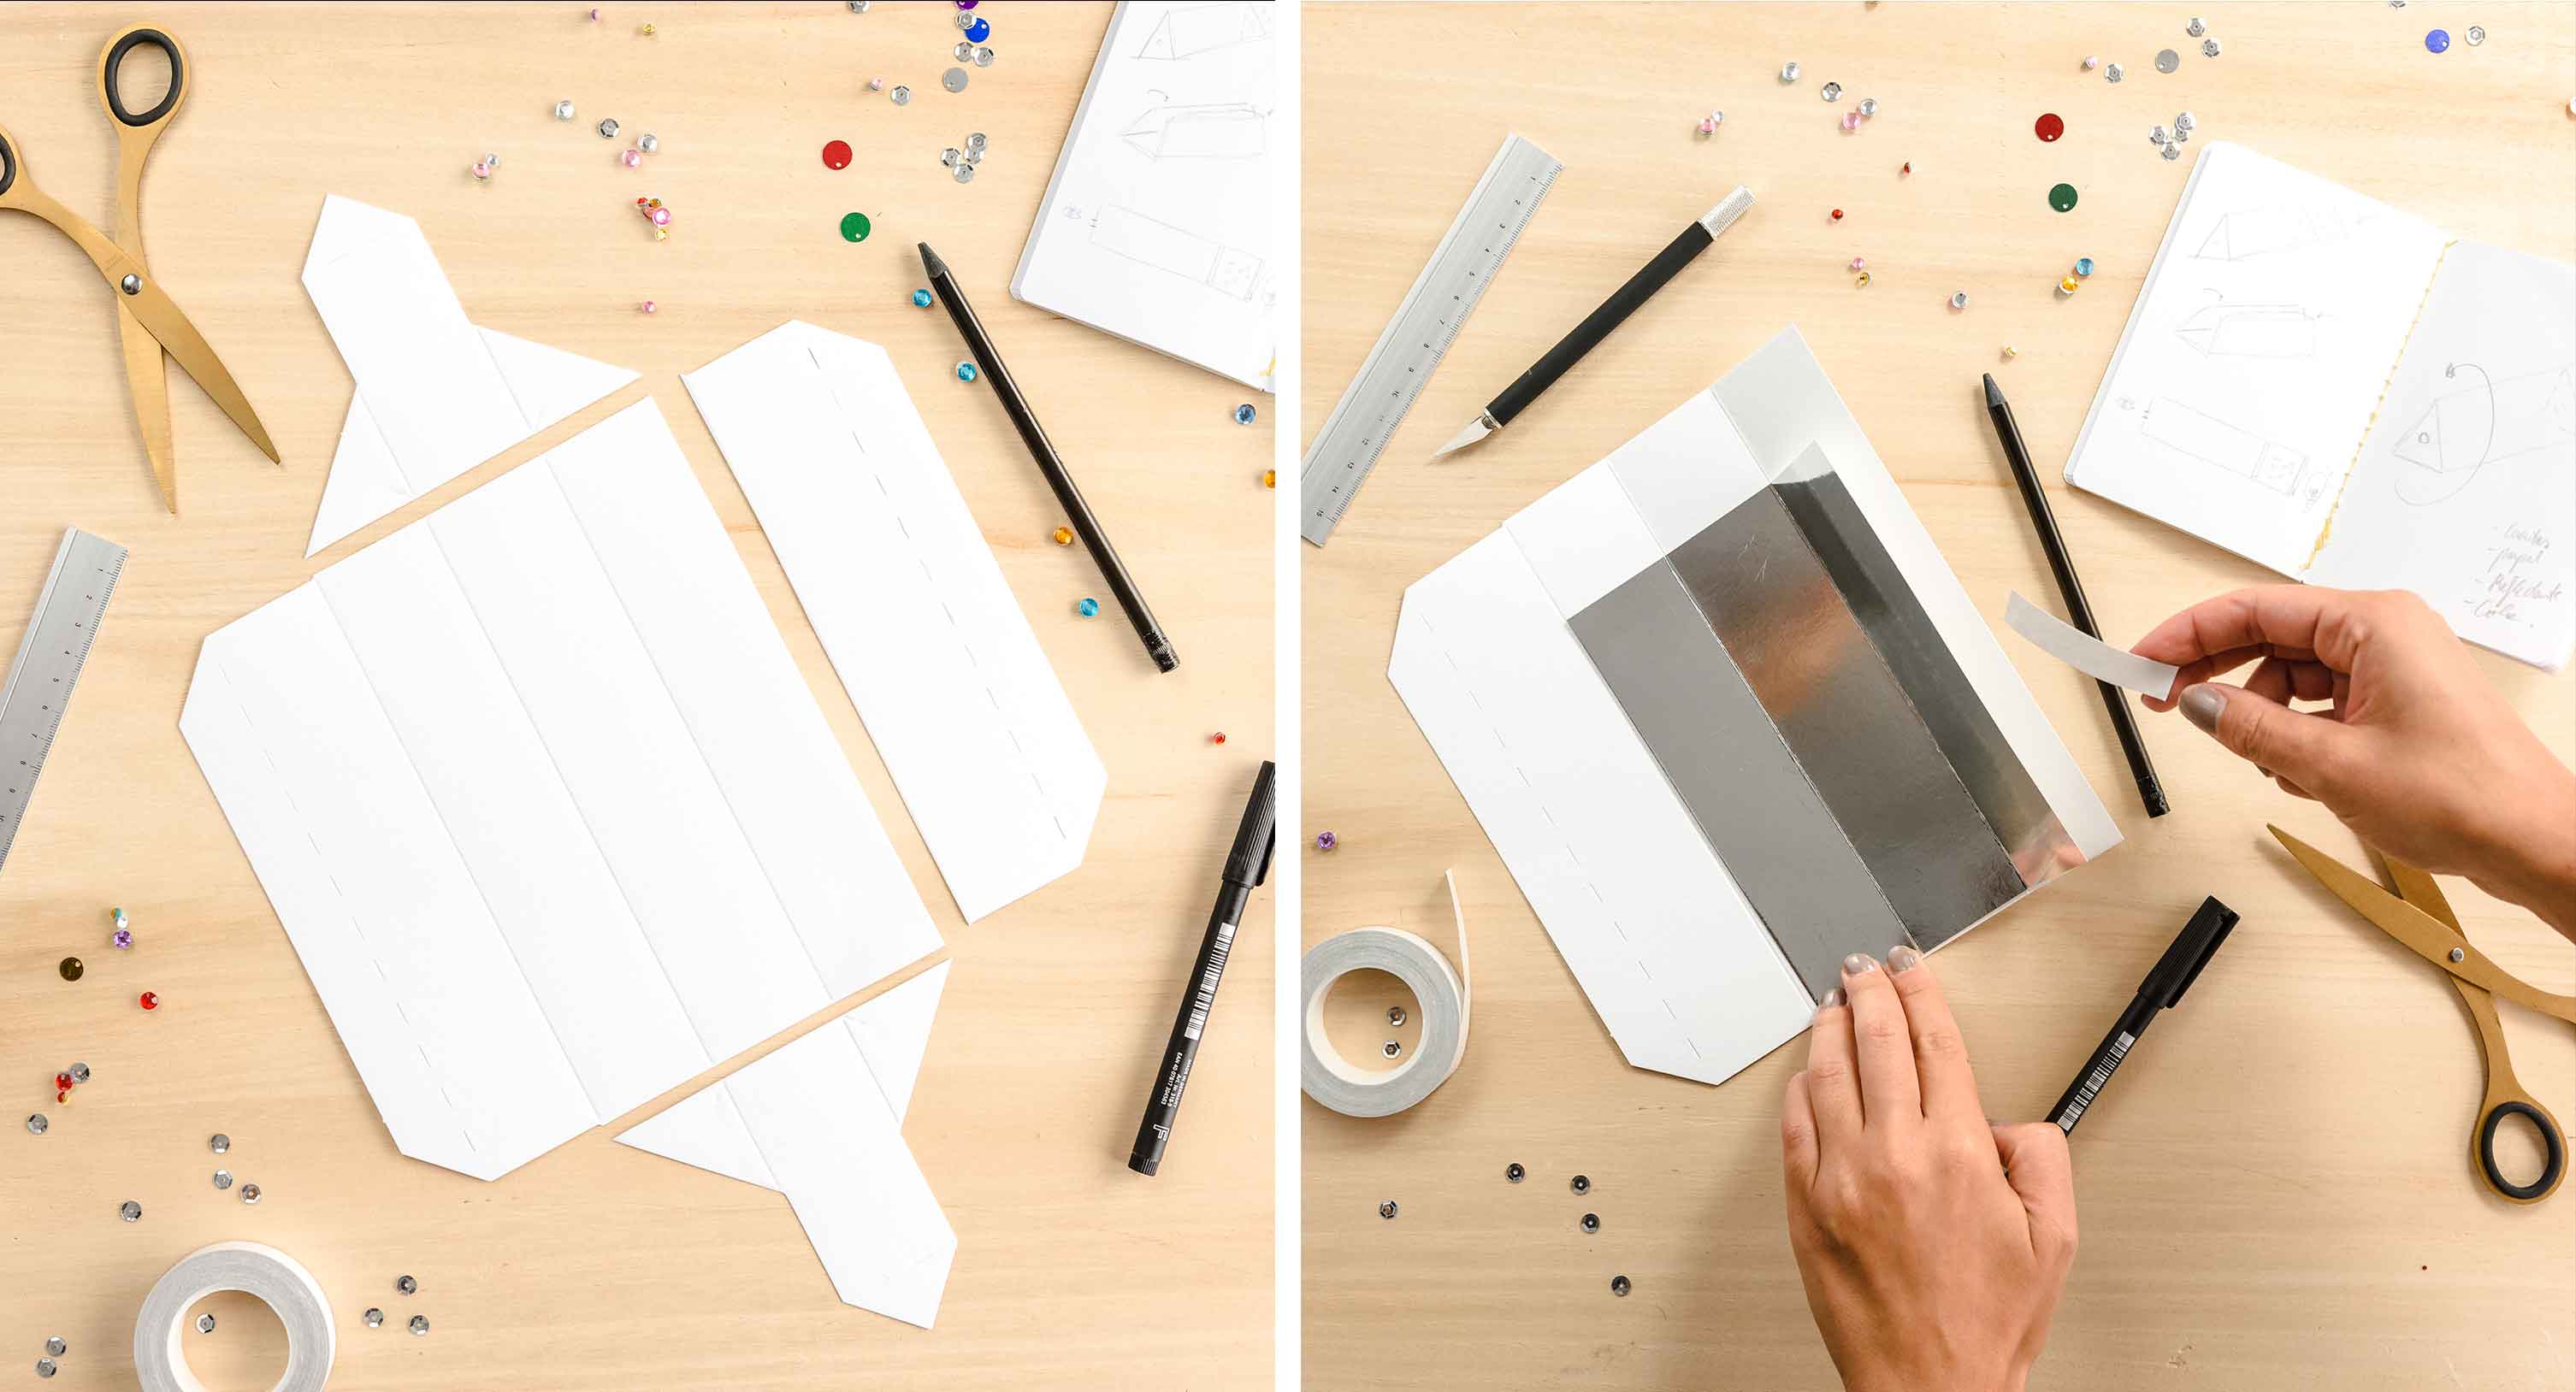
- Using the unfolded macaron box, we cut the two ends and one of the sides of the box.
- Next, we cut out a 13×17 cm piece of reflective silver cardboard (or tin foil). We stick it on one side of the box with the double-sided tape or the glue. Then, we make two 4.5cm folds so it’s divided into three. As you can see, there will be an area of the box with no silver cardboard.
- Now, it’s time to fold the box to make a triangular tube. We will fix the sides in place with double-sided tape or glue.
- On the see-through lid, we will draw an equilateral triangle with 4.5cm sides approximately.
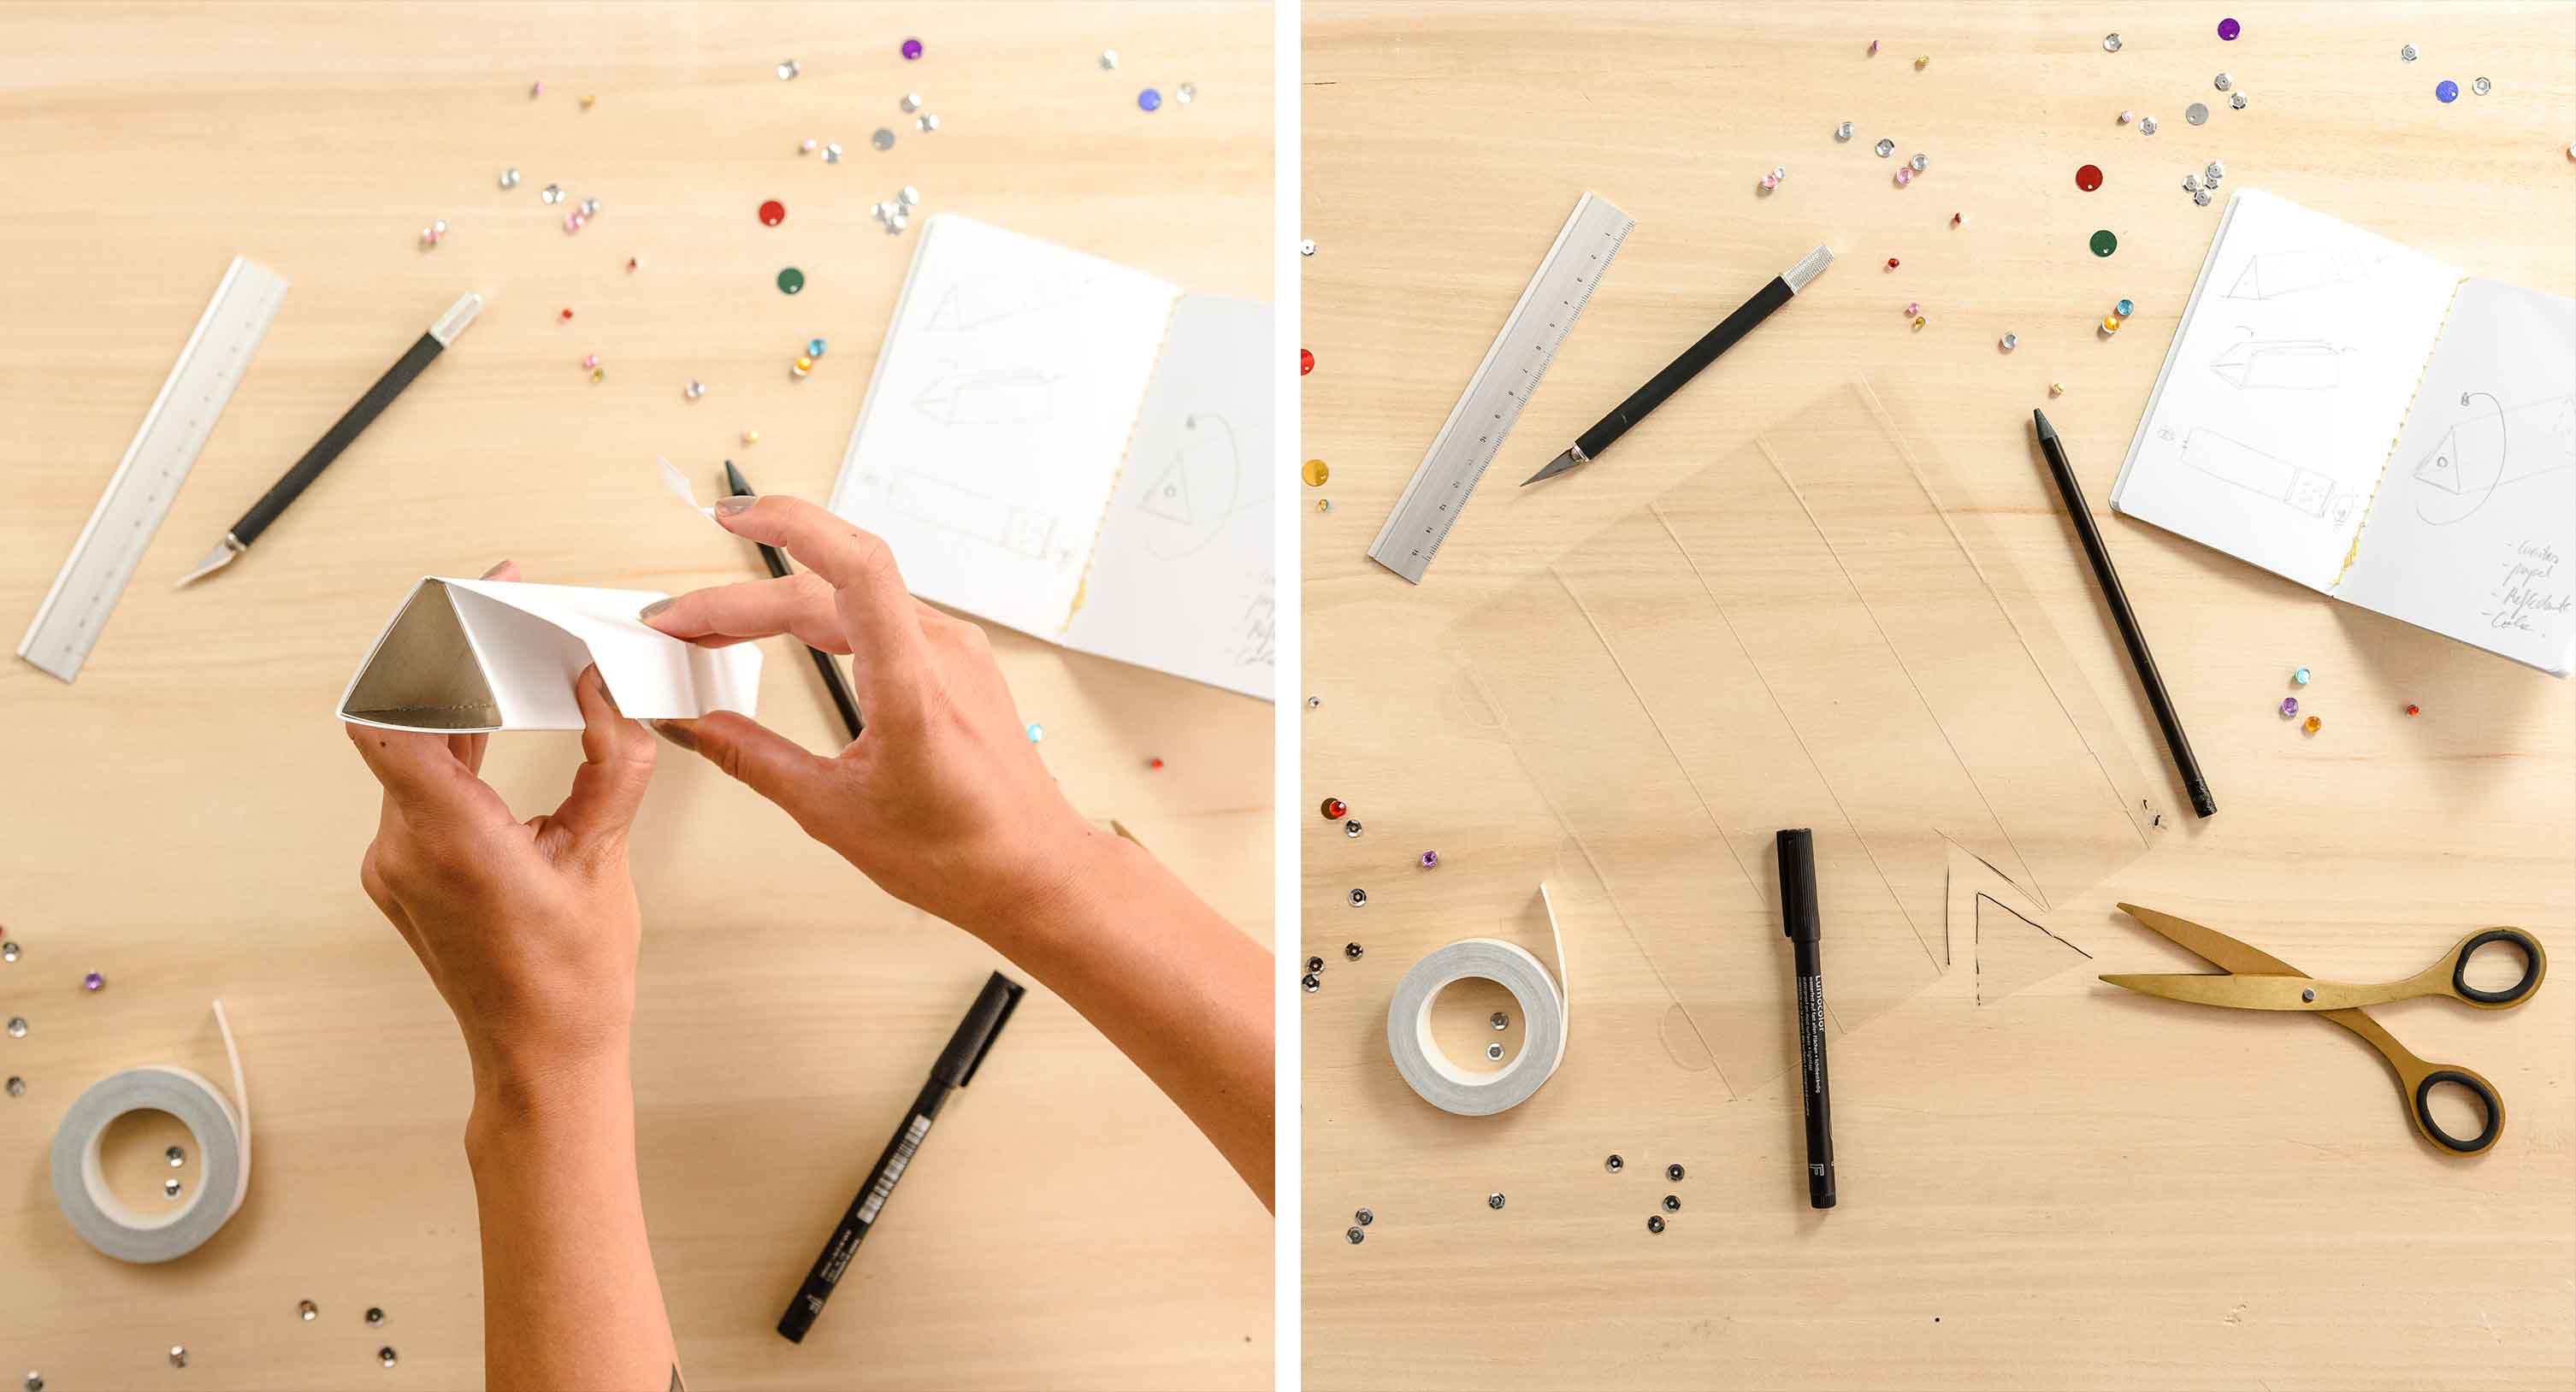
- We will push see-through triangle through the side with no silver cardboard until it touches it.
- Through the end of the see-through triangle, we will introduce the rhinestones, beads and sequins.
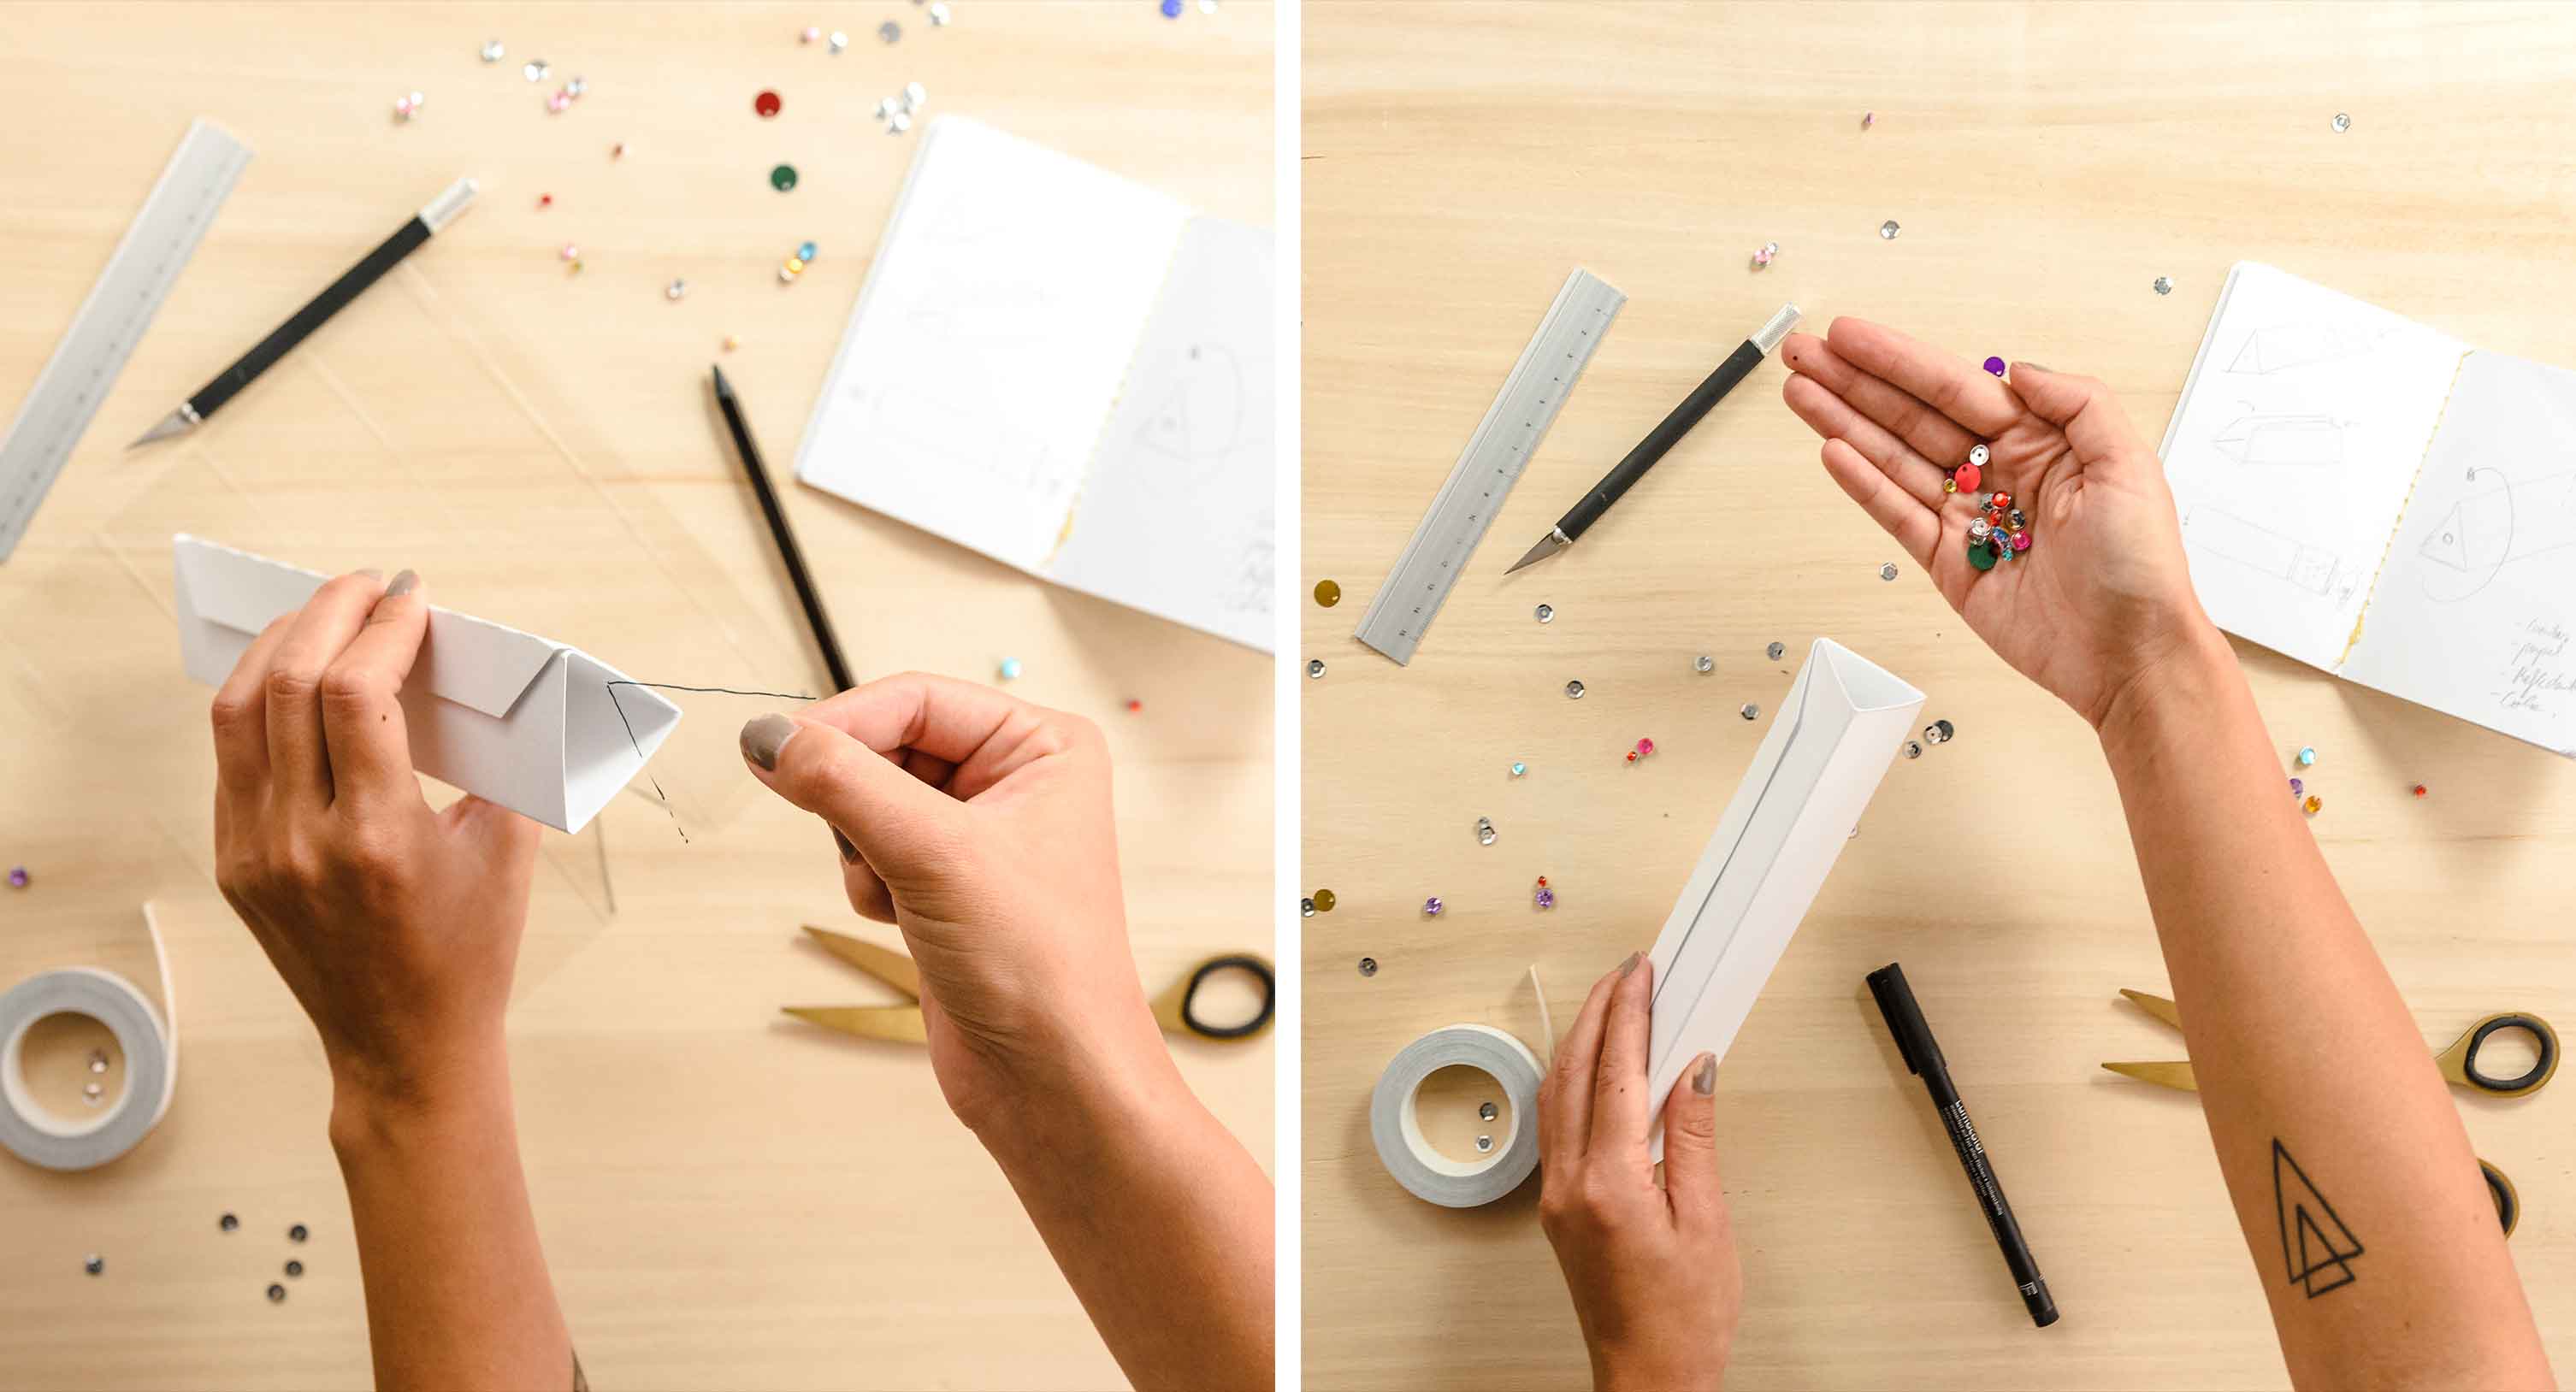
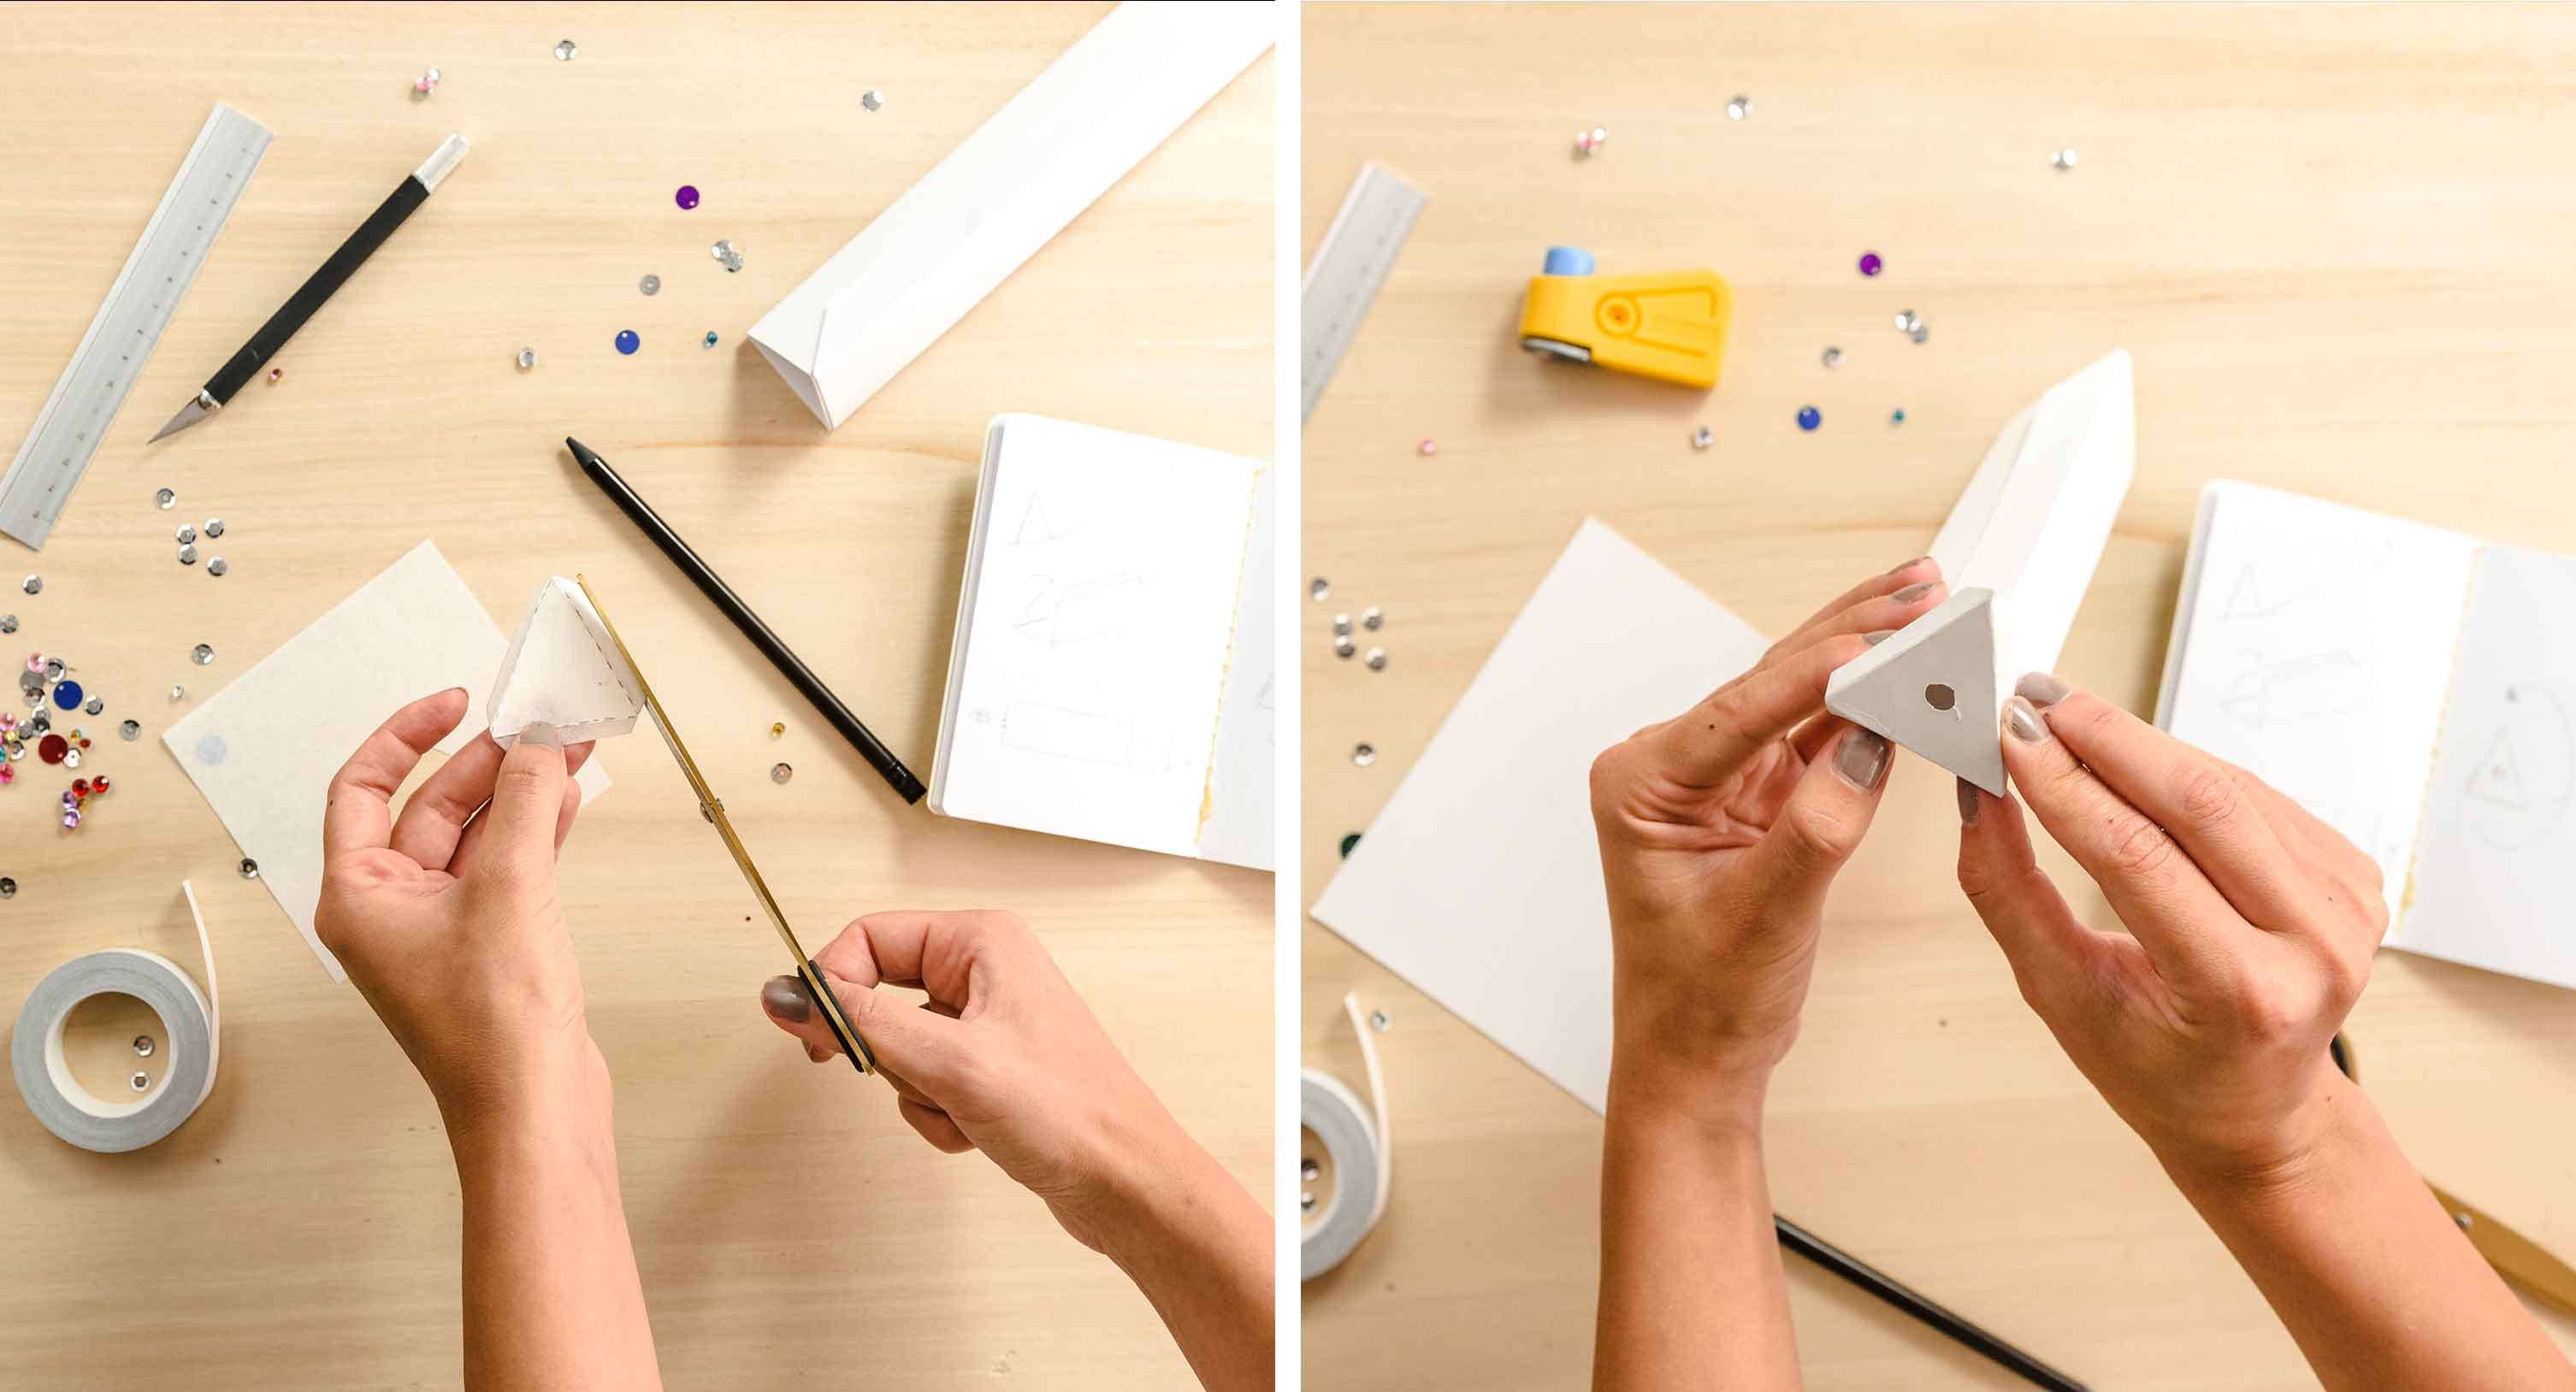
- We will cover it with a tissue paper triangle. The sides of this equilateral triangle should measure appropriately 4.5cm. Also, we must cut it out with three additional flaps so we can fix it with glue to the outside of the box.
- On the other end of the box, we must cut out a similar sized triangle but out of opaque card and add a little hole in the centre. Then, we will stick it to the outside of the box using the flaps.
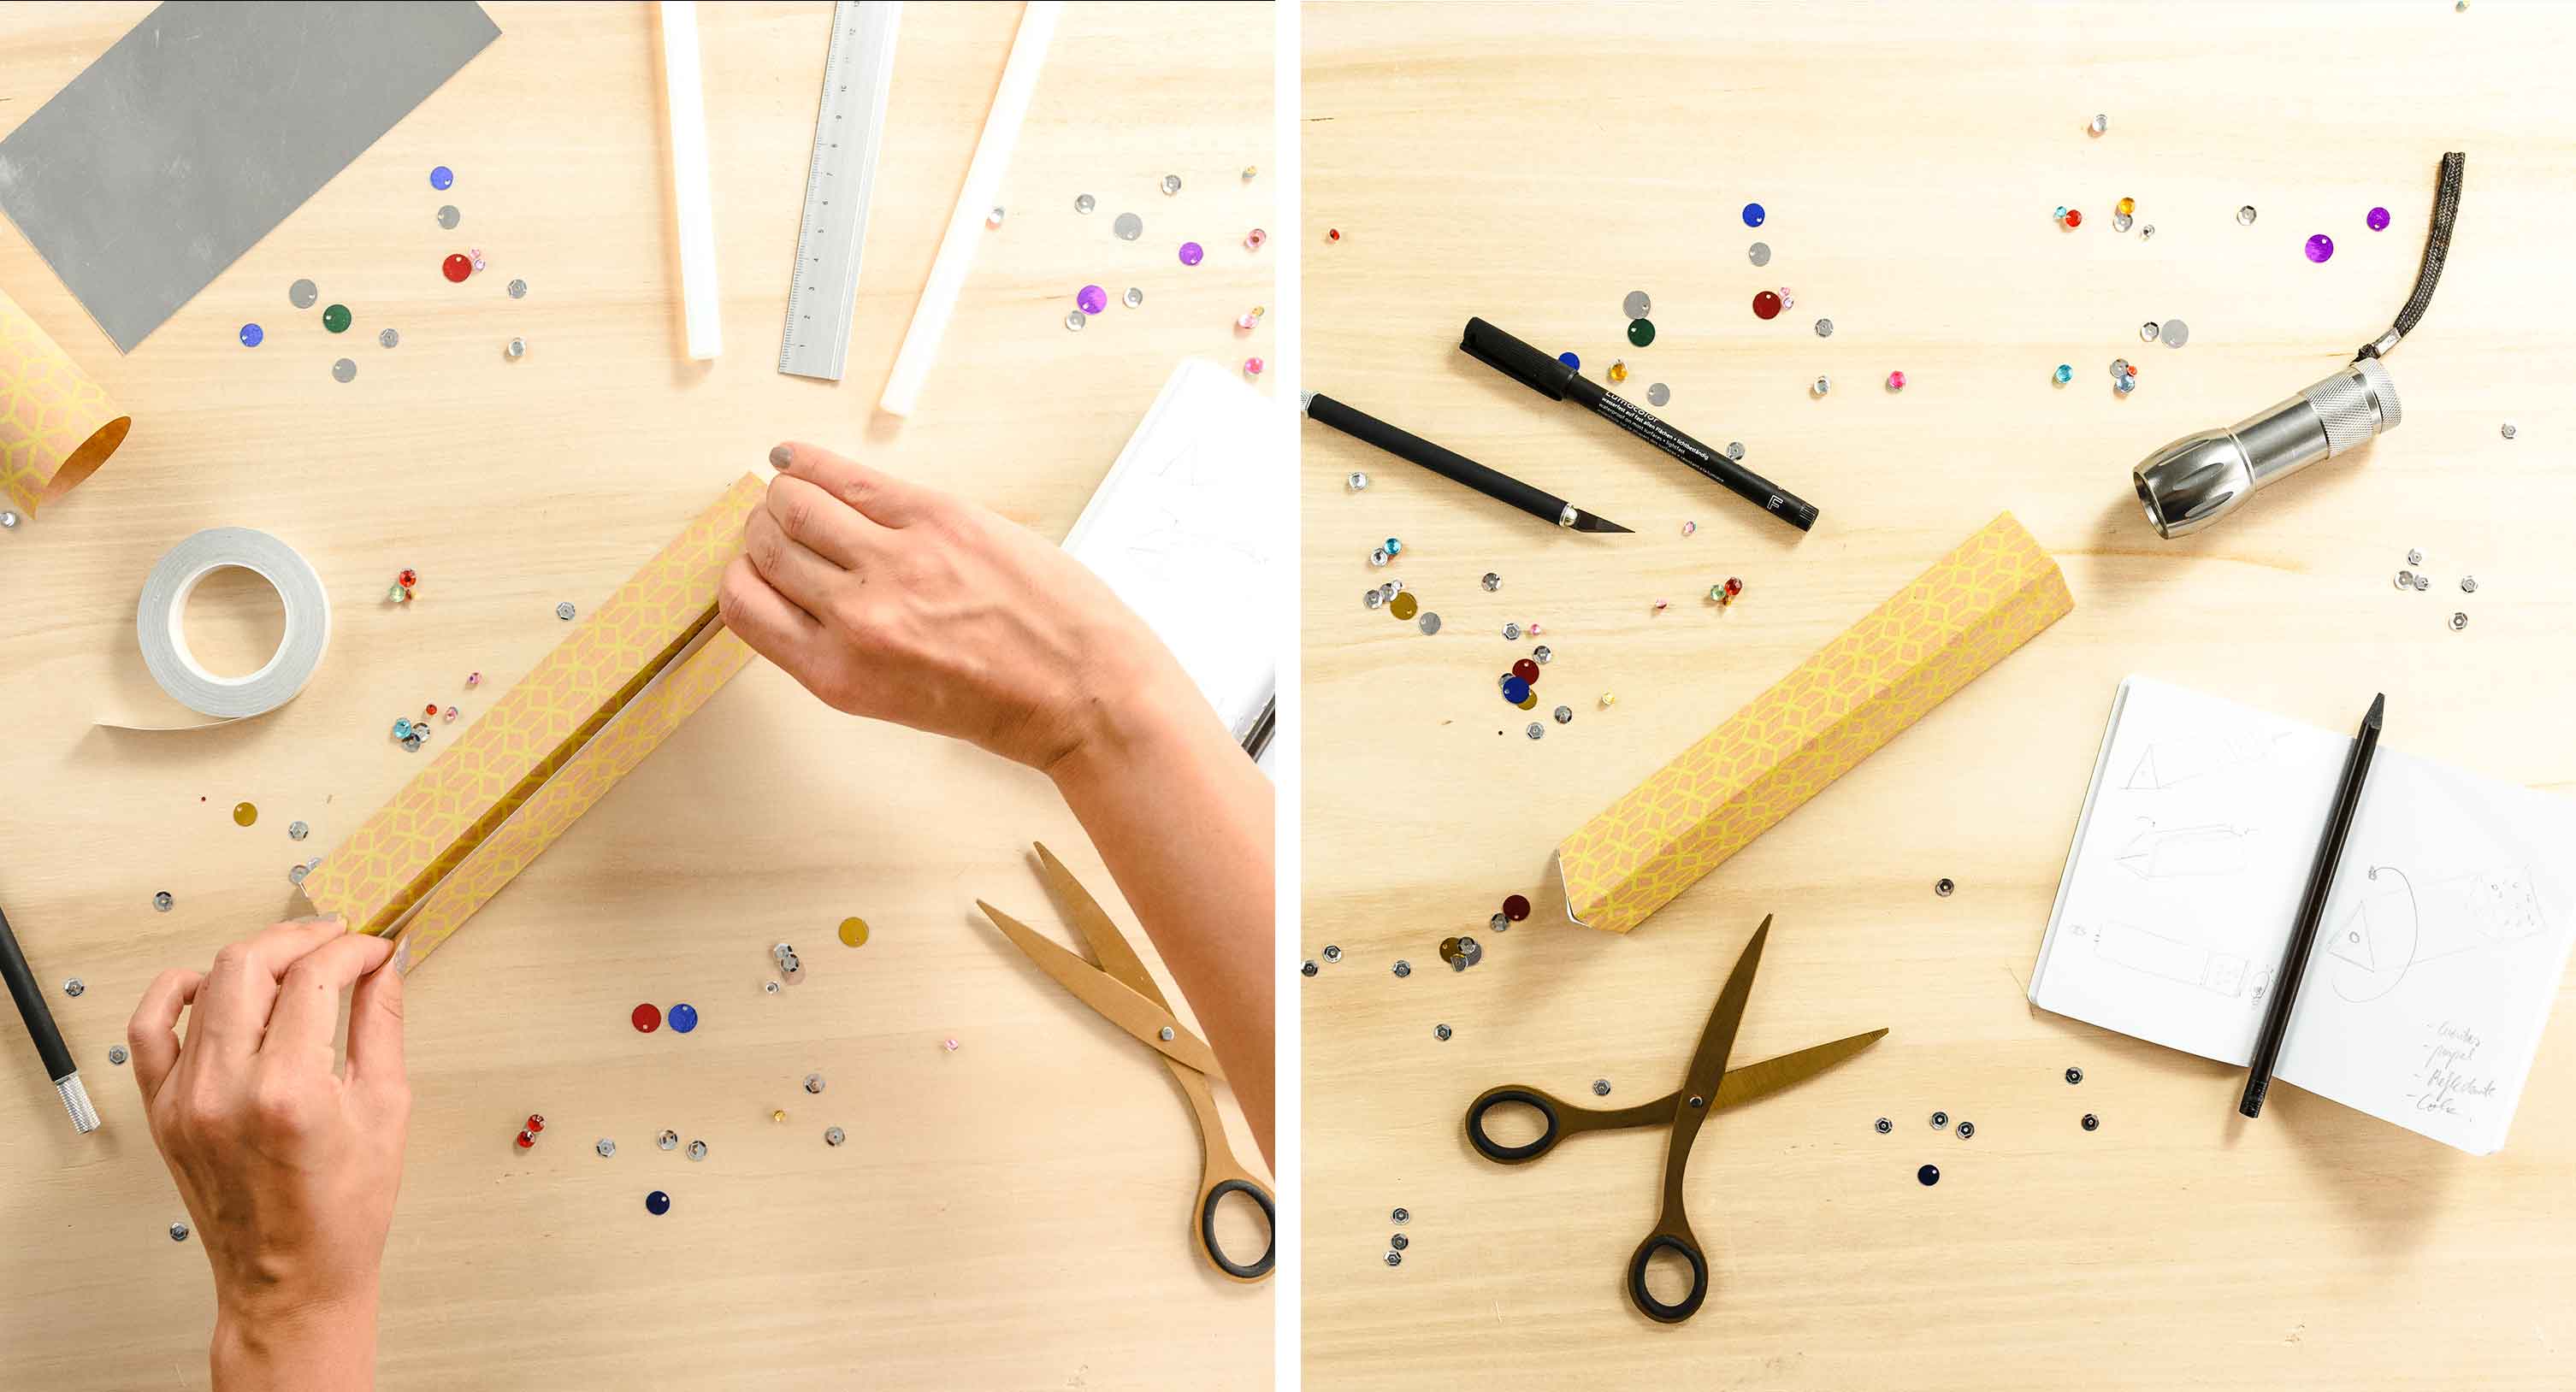
- Finally, we will wrap the outside of the triangular box with wrapping paper, covering it from end to end and hiding the paper flaps of the two triangles on the ends. In our case, we have chosen our geometrical patterned paper, because it is similar to the optical shapes we can see in the kaleidoscope.
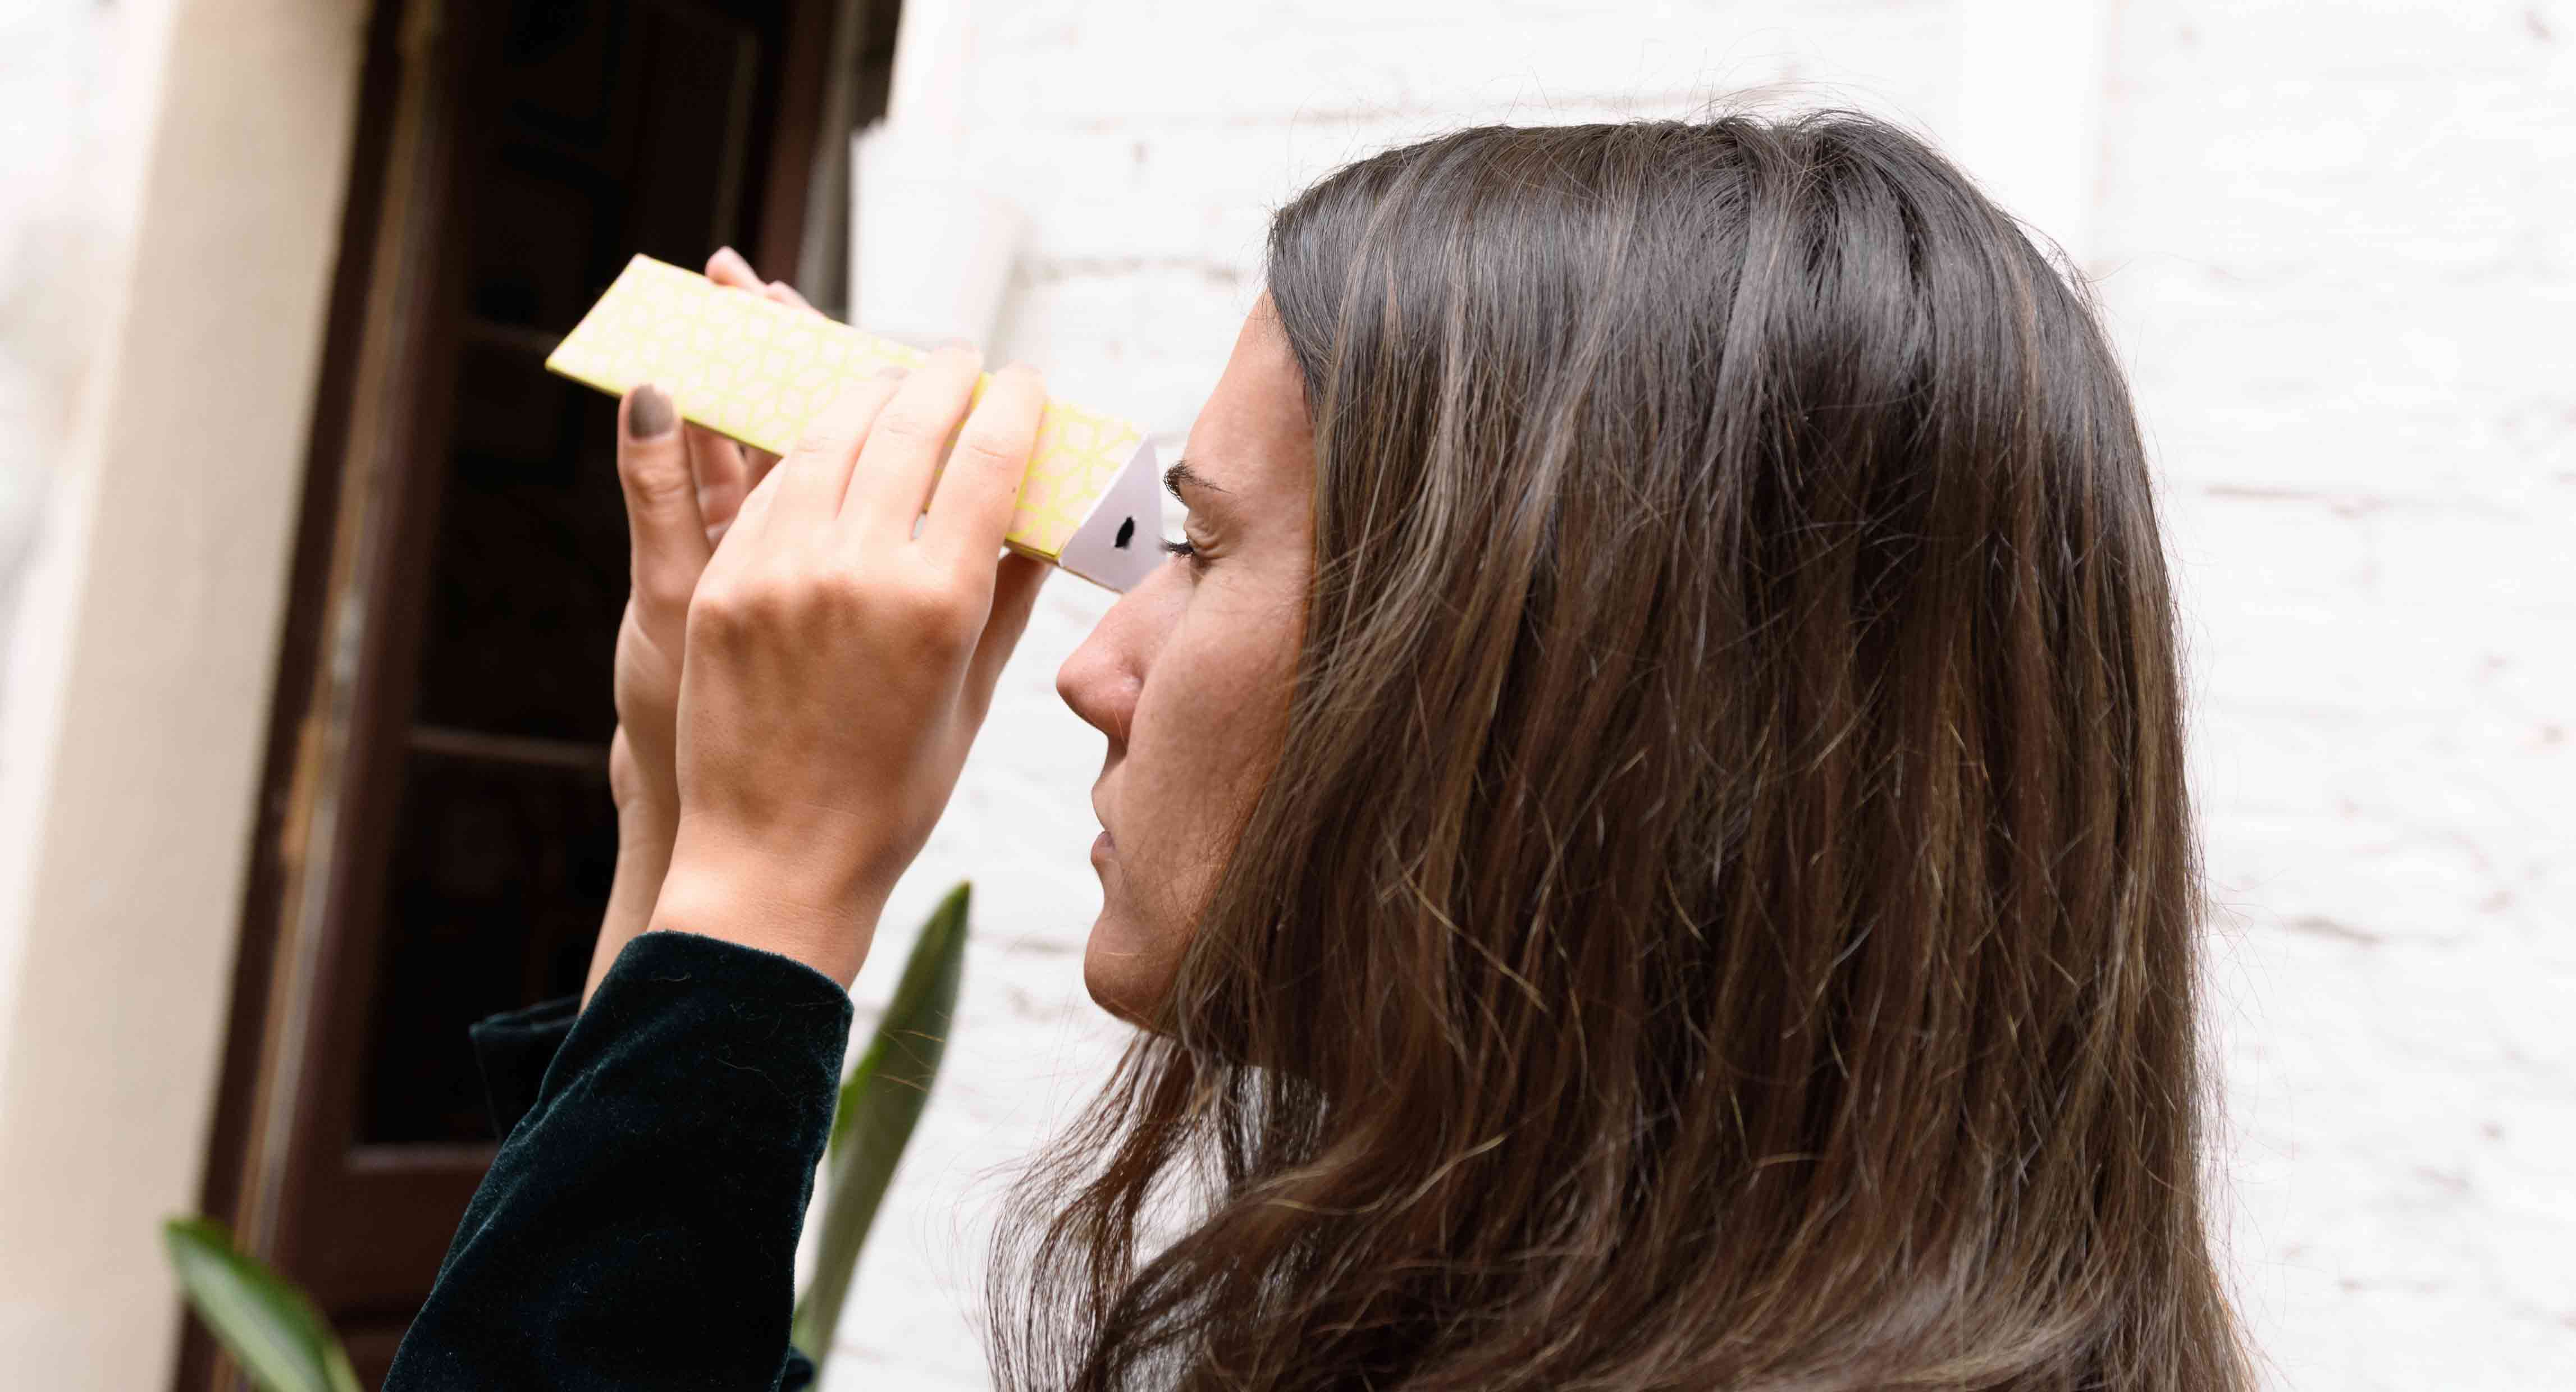
- To start using it, you’ll just need to turn the end with the tissue paper to the light and look through the other end using the little hole.
You can then watch some of the endless patterns and shapes that can be seen in your kaleidoscope. Each time we look ourselves we see cooler shapes. Turn the kaleidoscope as many times as you want to obtain a new colourful pattern!
Enjoy! See you next time!

